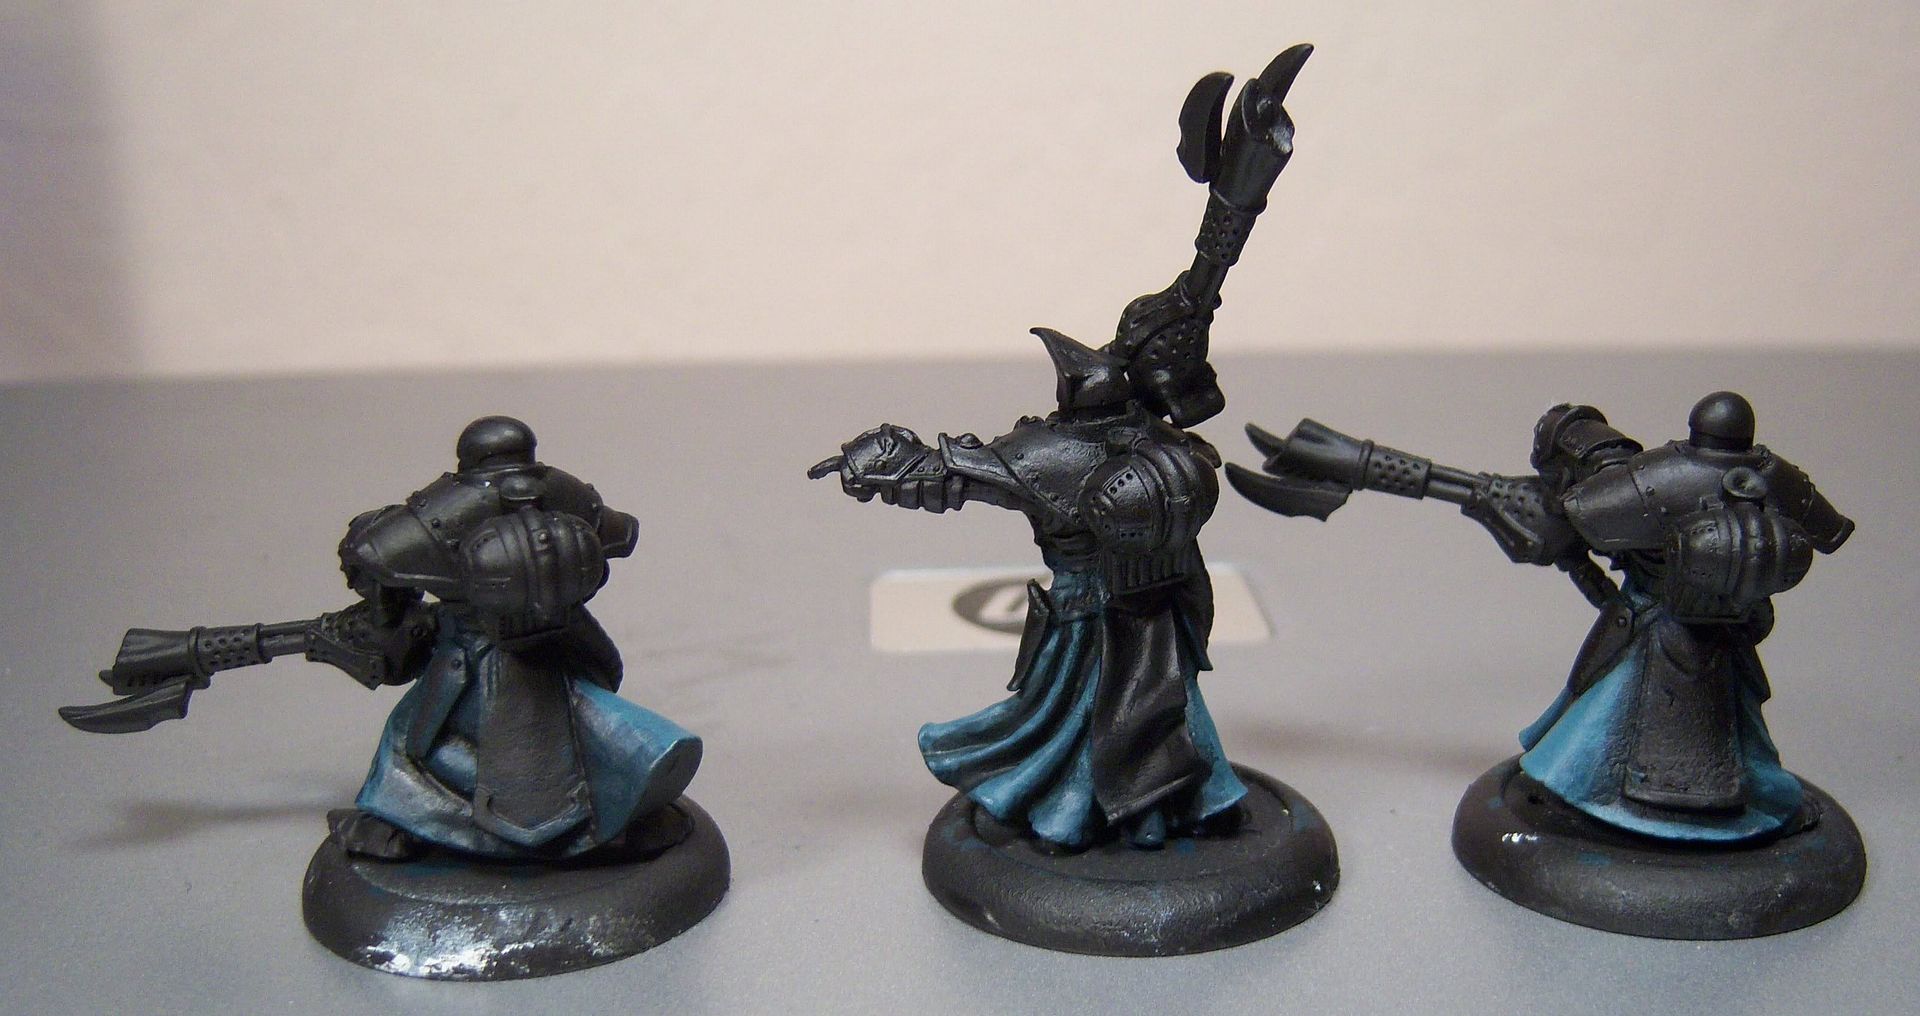
Now, here are some notes on the experience:
- Matt DiPietro is right: Highlighting is way easier than shading.
- The mechanics of switching brushes was made easier after I watched carefully how Ron Kruzie did it in the video. I held the blending brush in my mouth while using the applicator brush, then slightly rotated the applicator brush to hold the blending brush at the same time. After a few swaps, this became very smooth to do.
- Switching quickly after applying paint is key, so it worked best to do small pieces at a time. For example, the high folds of the cloth, I would apply some paint and work one direction, then apply some more paint and work the other direction. When I tried to work both directions in one application, the second side was already starting to dry too quickly.
- The right mix of paint and "water" was important. I'd say the optimal was approximately 5:4 paint to "water". In my case, water is a mixture of water, flow extender, and matt medium (I haven't a clue what the actual ratio was, but probably something like 20:1:4).
- The effect for shading really is a pulling mechanism, with lots of paint in the crevice and pulling paint out of the crevice.
- The effect for highlighing really is a sort of erasing mechanism, sort of pulling paint back up on top of the highlight to erase where there's too much. It will take me a while to get used to this since I'm used to smoothing by slowly pulling paint outward from the highlight.
I think there were probably plenty more things I noticed/learned, but it's getting late, and I'm too sleepy to recall them now. Tomorrow I'm hoping to practice again on some of the smaller armor plates with red tones and see how that compares.
No comments:
Post a Comment