Saturday, March 29, 2008

Fiona the Black

So this model gave me a little inspiration to try something different. I had seen a post on the PP forums of a very cool Skarlock by DeadDogg. He used purple as an undertone in all portions of the model. This was an interesting idea to me, but something I'd never tried before. So, here's my attempt at it...


I used purple in almost everything. The metals got washes tainted with purple ink. The whites have just a touch of purple paint in them. Only the skin and hair were not blending with at least a touch of purple. The blending could have been a little better on the side cloak, but I'm pretty happy with the back of the coat.

I had thought about putting runes on the cloak, but in the end decided against it. Mostly the problem was that I wanted glowing rules, and that would have required using another color that would have good contrast. That just went against my goal for the model, so I abandoned that idea and went ahead and sealed it tonight. Perhaps the next model will get to have runes.

When I first bought this model, admittedly I bought it more for the game stats. But after I started painting it, I really enjoyed the asymmetry of the model and found it to be an intriguing challenge.

Sunday, March 23, 2008

Aiyana

Well, I can't say I'm entirely pleased with this model. It spen a ridiculous amount of time looking aboslutely terrible on my desk. I ended up somewhat rushing it at the end to just get done. For some reason I spent the last week pretty unmotivated about painting at all and this model unfortunately took the brunt of that frustration. It's a lovely model, and I probably would have enjoyed it at a different time.


The pink was especially challenging to work with. I'd never really worked with pink before, and using it on such a large flowing area. However I learned alot about working with it, plus I picked up another tip from the PP forums on two-brush blending that I think will help me in the future once I can get enough practice. Basically, the trick is to put a fairly good size glop of paint down first, then blend it with the second brush. The first brush shouldn't be used to do any sort of blending or placement of paint. We'll see if I can get the hang of that in the future.

Friday, March 14, 2008

Reinholdt

Reinholdt was a total speed paint job. Probably under 5 hours, which for me is pretty fast. Nothing amazing here. I spent most of my effort on the skin, trying to produce a highlighting tone that looked fleshy instead of just brighter. Like I said though, nothing special here. My photo quality has diminished a bit, but hopefully I will be able to correct that before long.


I've been spending alot more of my time lately getting models prepped. The Revenant Crew was sort of painful to assemble since I had to pin all the little bits together, plus a couple of sword hilts broke and had to be glued together. Still though, very cool models. They represent my eventual slide into starting a Cryx army I suspect.

Saturday, March 08, 2008

Holt

Here he is, Holt. He was an odd and somewhat frustrating project. I decided to go with the black coat, but for some reason, that much black just left me feeling like it lacks something. No matter what I had done it would have been alot of one color anyway which probably would have felt the same probably. I wasn't going to use the Cygnar colors in this case. Anyway, it turned out ok, and it was a good experience with painting black again.

11 Weeks To Go!

11 more weeks until Kublacon! I'm counting down mainly because I need to get my act together and have a plan for something to enter in the painting competition. There's basically 6 total categories, made of combinations of fantasy vs sci-fi, and small, large and squad. I've no intention of entering everything of course. I'll be happy to have one or two entries that I really feel happy with. I'll probably keep the whole thing under wraps until after Kubla, but I'll save notes and posts and pics as I go and post them later. In the mean time, I need to start thinking carefully about being ready in 11 weeks. At my current painting pace, this shouldn't be a problem, but I do want to put some extra effort into whatever I'm going to enter.

I've just about got Holt done (just waiting for the basework to dry), and then I can move on to Aiyana. This whole 1-model-per-week thing is making me feel pretty good.

Monday, March 03, 2008

Captain Bartolo Montador, aka Broadsides Bart

Just sealed him this morning. I spent noticably more time on him than all those previous Sea Dogs. I found it ironic that I ended up with a relatively "Menoth" scheme to him. I think it works pretty well though. Somewhat flashy, but not over the top. Places where I spent extra effort:
  • Whites - I really tried to put extra effort into getting the whites to look good. The new lamp definately helped alot here.
  • Metals - I applied some of those metalic techniques I talked about in a previous post from Quentin and Sabastian. Mostly I was trying to shade and highlight the metals better. I think partially it worked and partially it didn't, but at least it's not just a flat coat of metal with metal wash thrown on top. Totally worth the effort. I'll never go to NMM.
  • Face - Admittedly, it could be better, but I tried to put more time on this. I'm still not steady or skilled enough to be painting irises in the eyes and all that, but it's slowly getting better.
  • Basing - This wasn't extra effort on purpose. The chest where Bart rests his foot is sliced to look like it's partially buried. I wanted to keep my pirate basing theme, so I had to substitute something else to be "burying" the chest, so I figured a small pile of coins would do. The coins were made primarily using a tutorial from the Reaper site.


    I actually fielded him last night as well in a 500pt battle against Cryx. The battle was quite amusing, and without going into great detail, my favorite part was an armless Nomad headbutting the DeathJack to the ground and then the Freebooter walking up, trashing the DeathJack, and then chain attack two-handed throwing it back into the Cryx backfield. So pleasing. In the end though I didn't have enough heavy hitting firepower to penetrate Terminus' armor (he was camping focus) and then miscalculated with Alexia and Bart and got whacked. I think Bart would be more fun with a Mariner in tow given his spell options. Still though, a very fun battle.
  • Sunday, March 02, 2008

    Painting Techniques Round Up

    I follow a particular thread on the Privateer Forums called "Ask the Studio". Recently there were a couple posts that got my attention about "blending" techniques. I'm going to shamelessly quote some of the pieces from those posts here so as to comment on them myself.


    "Drybrushing - Yes thats right, drybrushing is infact a blending technique. The biggest advantage of drybrushing is that it is relatively fast and easy to learn and for this reason it is almost always the first technique that miniature painters learn. Smoother transitions can be achieved by applying numerous very light and subtle coats and adding alittle more of your highlight color to your paint mixture with each coat. Expertly drybrushed models can have upwards of 20-30 very light drybrushes although most have far fewer."
    -Matt DiPietro
    This is a technique that I needed demonstrated for me before I really understood. Once I got it, I used this alot, and I mean alot. I still use drybrushing occasionally, but it's for very specific situations. Typically I like the effect of drybrushing when simulating stone, or working on hair and fur.


    "Layering - The definition of layering is a bit fuzzy but when layering is used in the context of blending it means to use very thin paint applied in numerous layers to build up your highlights or shading. Thin paint is very translucent and the layer underneath is tinted rather than covered. With multiple layers the paint is gradually built up. The translucency of the thin paint is the property that causes the layers to blend together. The more numerous the layers used the smoother the blend but the more numerous you layers are the thinner your paint needs to be. When layering, P3 mixing medium or othe matte mediums can be really useful because paint that is thined down a lot with water will run unless applied in very light coats. By mixing in P3 mixing medium as well as some water you can make your paint more translucent while preventing it from running. There are many styles of layering and most painters use thicker paint and fewer layers just to save time/sanity and although the transition between layers is more noticeable the effect is still quite striking especially on the table top."
    -Matt DiPietro
    This is, by and large, what I use most of the time now, with a minor variation. I typically will get my color (highlight or shade) on the model, and then "feather" or blend it out a bit using that brush. This is mostly a brute-force kind of blending that I do, which although I have practiced it alot, is currently my main hinderance to better blending.


    "Feathering - Feathering is using layers of thin paralelle lines to build up your highlights. Layers of lines are painted one within another to gradually build up highlights. Check out the head of the Legion Raek for an example of Feathered blending. Its a technique you don't see very often but it yields a very unique textured look while still blending your layers together. It is worth noting that there a some other techniques that are also called feathering so check out post #267 in this thread for a desciption of these."
    -Matt DiPietro
    I've heard this term used in a number of ways. Some definitions are closer to what I described my current technique as just above. All things considered, I'm probably doing some combination of "Layering" and "Feathering".


    "Two-brush blending - As the name states you need two brushes to use this technique. One brush applies paint to the the model and the second is used to alter the translucency of the paint while it is still wet. Paint is quickly and messily applied in a line, dot, or glob with the first brush and then pushed or pulled into the desired shape using a second brush dampened with blending medium (blending medium is not the same thing as P3 mixing medium you can find blending medium in many art stores). There exsists a secret blending medium out there which just happens to be the very best but also a little dangerous/gross, yup you guessed it-saliva! If you do decide to brush lick and use saliva as your blending medium be careful that you are using non-toxic paint. P3 is non-toxic, but some other mini paints are. If your bottle doesn't say non-toxic on it chances are at least some paints from that range contain cadmium, cobalt, or other heavy metals that can lead to cancer and other health problems. In any case always avoid getting paint in your mouth. The good news is that slaiva is a natural resister which means that paint doesn't stick to it and you can most times blend away without getting paint on your blending brush. Two-brush blending allows a painter to make big jumps in color and still get the smoothest of blends this means fewer layers which results in a lot of time saved."
    -Matt DiPietro
    This is what I've been occasionally practicing. The main barrier for me is still just finding the right places to practice it. There's a size limitation of what surfaces this works best on. I suspect that one of the main problems I was having before was my lighting was throwing too much heat and drying my paint before I could blend it properly. Now that I have my new uberlamp, I need to give this more practice. The application I've had of this technique so far has been pretty good, but I need to get a little more practice under my belt still before I feel comfortable with it.


    "Wet Blending - One of the toughest techniques to do, wet blending is the mixing of two wet colors directly on the mini. It is easiest to do on large open areas. a blob/line of one color is placed on the model and then the brush is cleaned off and the second color is applied next to the first leaving some room in between then using a second brush is used to pull strands of each color into the space between them and mix them together until the transition is flawless. The end effect is like having a basecoat that changes gradually from one color to another."
    -Matt DiPietro
    Uhmm, yeah, I simply don't do this. I don't even try. There's a number of reason, not the least of which is I'm just not fast enough with my hands to do this effectively. Plus, until I master the 2-brush technique, I don't even want to fidget with this.


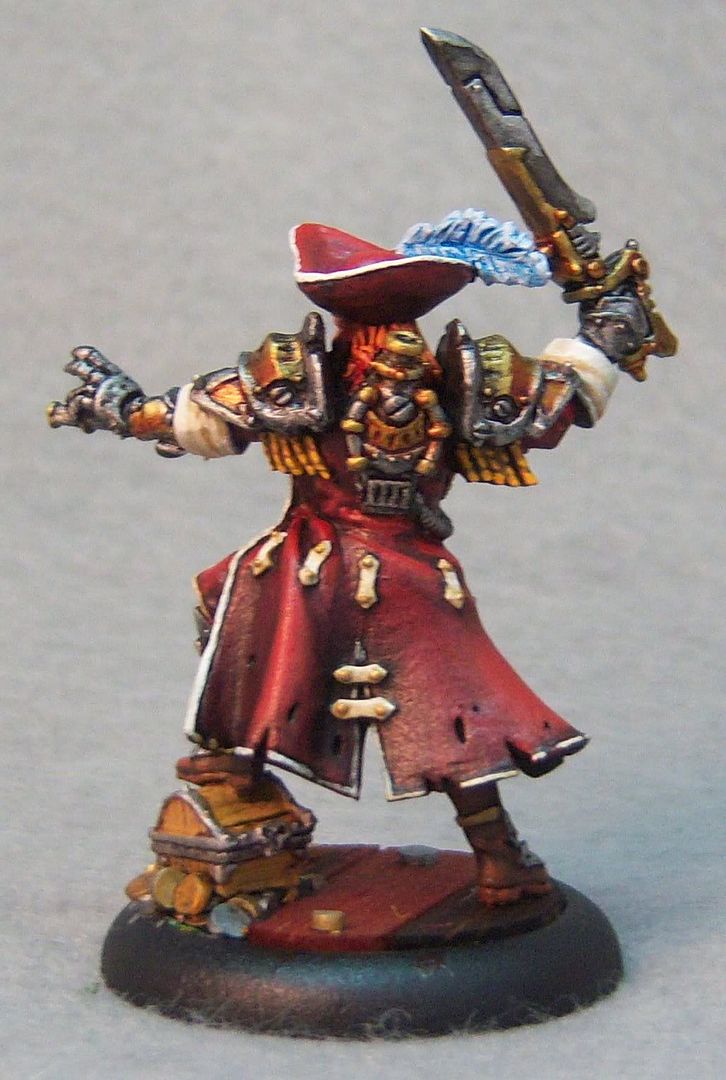
    The last part I wanted to reference was a post by Quentin about shading metals. The post is long and detailed, but the quick sum up is that he first uses a base coat of a medium metal color, then uses several shading passes of very thin black paint. The purpose is to use a matte color and wash it in the recesses to remove any shinyness. I used this technique extensively on the Freebooter and was quite pleased. In his post he also references this article by Sabastian Archer on CMON. Sabastian is a top notch painter and this article is pure genius to me.

    Well, that's it for now. Time to go put the brush to the model and continue painting like I have a pair!

    Wet Palettes

    So as a part of my continuing effort to expand and refine my painting skills, I decided to try out a wet palette. I've gotten into the nasty habit of licking my brushes after I dip them in paint (the saliva is a natural blending medium) and it occured to me that a wet palette might accomplish the same goal. So, I built a super cheap one using an old PP blister pack (cut off the back side), some paper towels, and a sheet of wax paper. So far I haven't used it much, but I somewhat like the results so far. I have a feeling that it is going to prove of limited use, mainly because it seems to noticably thin the paint that I put on it, but it definately does keep the paint wet. I'll try it out for the next couple weeks and report back.

    To credit the larger community out there, in the construction of my wet palette, I used this tutorial mainly.