Thursday, December 06, 2007

WWX: Leathers

Worked over the leathers. It took longer than I expected, mostly just cause of basecoating them. Here's the rundown how how I did them:

* Base coat: Rucksack Tan
* Wash: Skorne Red + Brown Ink + Battlefield Brown
* Wash (thin): Bloodstone + Thamar Black
* Minor black touchups
* Highlight: Rucksack Tan + touch of Skorne Red

I also did the eyes and the metal strap hooks. Those were pretty straight forward, although I don't think the eyes turned out so great. I might redo them later.

WWX: Pokey Bits

All the teeth, spines and claws are done now (mostly). There's some blacklining left to do, and some minor touch-ups, but those parts are pretty much done. This is something I went a little overboard on. I started with Thamar Black, then worked through Battlefield Brown, Rucksack Tan, Jack Bone, Menoth White Base, Menoth White Highlight, and finally pure Morrow White. It takes a long time, but I've been pretty happy with the results.

Tuesday, December 04, 2007

WWX: Getting Better

I've finished the bulk of the skin work now. There's a few cleanup spots, but in general it's done. The steps I added after finishing the fur were mostly to add some highlighting with Coal Black through Ironhull Grey. Then I added a couple very very thin washes of Coal Black through Thamar Black over the whole thing to bury the highlights a bit. This was a technique I learned from practicing wood grain and bone texture and I think it works well here as well.

The model still looks kinda dumb to me at this point, but hopefully once I start filling out the rest of details it will look better. I'll probably keep working tonight, but this was a good point to stop and take a picture and chronicle the effort.

Monday, December 03, 2007

Victory Against Skorne!

Just a quick report. Played against Lance last night. He had a Hexeris list and I had a Testament list. It was the first time I played the Testament. He was recently painted so I figured I'd give him a try. Overall he was ok, but his feat round was pretty ridiculous. In the end I had lost have my knights and a couple chior, but had taken out 4 Ferox, a Bronzeback, Paingivers, a Gator, and most of the Bonegrinders. Admittedly, Hexeris did some of that work for me with a Deathbringer that caught some other stuff. Here's the highlights:
  • Grogspar continues to be awesome. His slowburn screws up alot of plans.
  • The Testament's feat was crazy good.
  • Hallowed Avenger was very handy. I used it to get the Guardian further up the middle and block off some charge options for the Titans.
  • Seneschals are just crazy ridiculous. Nothing like getting a chain attack slam on a Bronzeback and knocking it back into a Titan Gladiator to screw up a whole mess of stuff.
  • The Guardian continues to be one of my favorite jacks.
  • The Agonizer is frustratingly good at removing options.
  • The Titan Gladiator's animus is also frustratingly good at removing options.
  • Daughters continue to be a favorite unit for me. I especially loved having a little flanking unit of Vilmon and his harem full of Daughters and Hawk.
  • Ferox are not fearless, and failing a cmd check can make or break a game. Putting terror on my knights was an amusing way to add more danger to the Ferox charging them.

Well, I'm hoping to get at least one more game in before I leave on my long vacation to Canada. In the mean time, I need to get refocused on painting again. I'm so close to fully painted!

Saturday, December 01, 2007

WWX: The Line Between Fur and Skin

I've started working the furs now. This is the point where the model is in an in-between state and I get frustrated cause it looks sucky. I'm basically hitting the fur areas with a base coat of Trollblood Highlight, and then catching the sculpted fur bits with highlights of Frostbite and then Morrow White. I've also used some Ironhull Grey and Coal Black to blend and smooth the transitions between the fur base coat and the skin. I'm about 30% done at this point and need to take a break to go out, but figured I'd snap a pic anyway. I'll probably get back to it more tonight. I'm thinking that I'll need to do a couple very thing washes of Coal Black of even just straight black to bury the fur highlights a bit and tone it down.

Friday, November 30, 2007

WWX: All Your Base!

Spent this evening working on the base some more. It's mostly done at this point except for putting some static grass and flock and such on it. The remaining work was pretty straightforward:

* Grass base - This is just Iosan green as a base coat with a couple washes of Ordic Olive and Battlefield Brown. My goal here isn't to make it look great, just to provide enough base so that when the static grass and flocking go on top, it looks decent.

* Rocks - Very easy. Just Trollblood Highlight as a base coat, followed by a wash of Ironhull Grey and then highlights of Frostbite.

* Skulls - These I tried something new. Base coat of Jack Bone, then a wash of Vallejo Smoke, then highlights of Menoth White Highlight.

I also put down a base coat of Coal Black over all the skin and fur. After a couple of discussions, I'm going to try to make the skin black and the fur medium grey. It's going to be a stretch for my skills, but it's all about painting like I have a pair.

Thursday, November 29, 2007

Grissel Bloodsong

Grissel marks the fully painted mark for my trolls. I'm now down to just my alt sculpt paladin left to paint. Looks like I'll reach fully painted before Christmas!

There's a couple key things I want to highlight before signing off for the night. First, I'm very happy with how the overall look of the model turned out. It wasn't the best paint job, but I was focused on practicing overall color balance, and specific effects. This one isn't perfect, and the sculpt itself didn't help, but I feel like it worked out ok. The leathers, metals, and wood grain were things I wanted to practice new techniques on too, and they panned out ok I think.

The second item is my photo setup is getting better. I tried out a bunch of different paper backdrops and found that paper is just too reflective. So now I've got a medium grey felt and that seems to be working quite well.


Sunday, November 25, 2007

Cork Bases

Just a quick post.... I decided to experiment with using corkboard for basing. I picked up some cheap cork tiles from the local craft store and followed the excellent tutorial from the Brushthralls site. Here's the end result, which I am quite happy with given the amount of effort needed.

The corkboard I used is actually pretty decent quality, which has plusses and minuses. It did result in a rather flat-topped rock, which looked somewhat unnatural at first. So, I added some moss to the top and that seemed to really help the overall look. Probably next time I'll use more moss and put some on the sides, as well as put together 2 "levels" of cork.

Saturday, November 24, 2007

WWX: Suit Up!

This is going to be a massive project. I started painting the armor plates today and it really hit me how big this is. The model itself is huge, which is causing a couple problems, not the least of which is the sheer amount of brush strokes needed to get the whole thing painted. However, even more annoying, is holding the model is a problem. It's heavy enough that holding it much has caused primer to rub off in a few places. So, to combat that, I've glued and pinned it to the top of an old Testors spray can. Hopefully this will let me hold it safely and still be able to get at the parts I need to get to.

The armor plates are pretty straight forward. First I did the insets, starting with Necrotite Green (3 coats to get a nice smooth undercoat. Next I did a wash of Wurm Green. Then I started doing shading working from Wurm Green through Ordic Olive, then to Cryx Bane Base. I decided to shade rather than highlight because the inset plates were simply easier to shade into the recesses rather than try to blend highlights into the centers of the plate areas.

Once this step was done, I put down a base of Pig Iron on the plates, then covered that with Brass Balls. I find that a base coat of Pig Iron really helps when adding yellowish metallics so that it doesn't take as many coats of paint to get good coverage.

I'll probably do some additional work on the metals of the plates, but I'm exhausted tonight, so I'm going to give it a rest for now.

Friday, November 23, 2007

WWX: Primed and Ready

Primed the WWX this morning. Here's a pic, just for kicks. I started painting the armor plates tonight but honestly didn't get very far. Just filled in the base coat of green on the plates. I can already tell this is going to be a monstrous project.

Thursday, November 22, 2007

WWX: Smoothing the Longcat

I picked up the WWX from Lance today so that I could finish up the last bit of sculpt cleanup and prep work. Most of the work was done already with a couple exceptions. There were a couple join spots that needed smoothing, especially at the waist. Also the right hand and teeth needed to be attached. Anyway, the remaining cleanup was pretty easy. Here's a couple pics...

This project is a Christmas present for Sean, so I'm saving all these posts as drafts until such time as the gift is given. I'm going to once again try to take as many pictures as possible and document all the steps as I go.

Wednesday, November 21, 2007

Victory... sort of...

I played against Eric last night, finally. It's been a long time since either of us played, so there was a fair amount of amateur hour going on. I totally forgot to feat and pull focus from my wracks. Eric totally forgot the extra dice from Liquid Courage when he did a run on Kreoss. In the end, we were getting short on time so he made a run on Kreoss with Borka. If he'd remembered the extra dice, he probably would have killed Kreoss. As it turned out, he came close, but Kreoss lived and then delivered a mighty beatdown on Borka. My dice did some mild betrayal at a couple key points, but overall I can't complain too much. Eric did a good job of defusing my first-strike plan. Very fun game though!

Last night's game illustrated a key point to Warmachine/Hordes: The game is complex, and if you haven't played for a while, it's easy to forget all the intricacies of the models. Timing and special features are a key to the game.

Some highlights from my side of the table:
  • Fielded Hawk for the first time and she was awesome! She whacks champs good! She's like a super Daughter of the Flame.
  • Fielded the Sunburst and it was, for the most part, innefective.
  • Fielded Grogspar, and he continues to rock.
  • Borka's feat round + Liquid Courage + Fell Caller's Inspire is just ridiculous.
  • Calvarly can be dangerous, but I spend alot of effort maneuvering to avoid them and thus negate alot of their value.

Project: Transport

I'm going to start a new sub-project... building a better carrying case. I'm rather inspired based on a post from the Privateer boards. I've been using the Army Transport case for a while now, and I like it, but I have a couple issues:
  1. I have the small case, cause the larger cases are... well... large. I like the size of the small case.
  2. The trays, although very protective, are 1 per level in my case.
  3. It's hard to make a tray that will fit lots of models, and a varied set of models. Maybe there's a secret art to it, but I seem to have optimized my trays to specific models too much, and now I can't really store other models in those trays.

So my plan is simple: I want to create some trays that are essentially half-sized to the normal foam trays I have, and make them so that the models can stand upright (to avoid foam rubbing against the model's paint, and make the slots a little more flexible in terms of what models will fit. I've already got a pile of cardboard, so the real first step is to find the foam.

Sunday, November 18, 2007

Testament of Menoth

This week's installment is the Testament of Menoth. I'm glad to get him done for a couple reasons, not the least of which is I love this sculpt. It was however, a little challenging to paint. For some reason I just couldn't find my groove until I was about halfway through. I kept struggling with what order to paint the various sections in. Eventually I had to just set the model down, examine the whole thing, and make a tactical plan of how to go about painting it. This was very uncharacteristic for me. Typically I just intuitively work my way through the model without having to think too much about it. The most tactical I usually get is to just make a list of all the remaining small details. Anyway, once I got organized, it was a pleasure to paint. I'm really looking forward to fielding him, if I can ever get a game in. *sigh* It's been probably 6 weeks since I played last, but that's another model.

Something specific to note on this model is that I took extra time and care in "shading" the metals, particularly on his weapon. This is one of my goals for the next few models. I'm also starting to get a bit more of the hang of the 2-brush method, although I still have a long ways to go (as evidenced by the poor blending on his black robe).

Monday, November 12, 2007

Link Dump

Just a quick post, more for my own tracking than anything else. Below are a couple interesting links that I didn't want to lose track of.

Tiny Magnets! - These little guys seem like they could be real useful for a whole variety of applications.

Kublacon Painting Competion 07 - These are the pics of the winning entries from Kublacon07.

Sunday, November 11, 2007

First Mate Hawk

Here she is, in all her pirate goodness. Hawk was somewhat challenging to paint due to her dainty nature, but overall was a pleasure. Painting smaller models like this is definately challenging and sharpening my skills.


Here's some notes of things I put extra effort into, or tried a new technique:

  • The leathers were something I put more effort into than before. I used to use one layer of paint, one of ink, and then maybe a highlight if I felt ambitious. For these I went a little further. The lighter brown used Bootstrap Leather, then a wash of Battlefield Brown, then three highlight layers of Bootstrap Leather and Rucksack Tan. The darker leathers were a base of Bloodstone, then a wash of GW Skaven Brown ink, then 3 highlights of Bloodstone and Khador Red Highlight. It was more work for sure, but I'm very happy with the results.
  • The blades of her swords were done with multiple highlights of various metals, all the way to pure Vallejo Metal Medium. Highlighting and working metals is something I definately need alot more experience with.
  • I specifically tried to work hard on her face, all the way down to carefully painting the eyes and shading the lips with a touch of a fleshy pink color.
  • Purple is a color I've never really worked with, and this model presented a nice opportunity for that. Of course, it also lead to a rather "Joker"ish look to her, but I'm ok with that. Overall the purple worked pretty well, using Beaten Purple, Carnal Pink, and GW Hybrid Purple ink, and of course some Thamar Black.

I'm now down to 3 models left to paint. I totally enjoyed painting this pirate, and am looking forward to getting some more to paint. For this model, I designate her as "unbounded" for time, and just to keep working on until I feel that she's really done to my satisfaction. This is in preparation towards the Kublacon painting competition next year. I'm not expecting to win, but I'd like to feel like not a shmuck putting one of my models in the competition. I'm sure I'll be posting more about that in the near future.

Tuesday, November 06, 2007

Krielstone Scribes

I think I've finally found a methodology to painting squads that keeps me from getting too frustrated. Rather than working by color, I work by element, completely shading that element before moving to the next one. This served me pretty well working on these guys. It also helps to pick larger elements at the start if possible. For these guys I did skin first, then main leathers, then weapons. By that point they were 70% covered in paint. Anyway, it's nice to have these little buggers finished. This leaves me with just one troll left, and 4 models total unpainted.


Tuesday, October 30, 2007

Back to Action

Well, I'm back from my cruise, and I'm stoked to be painting again. The cruise was great, and in a divergence from my normal painting-focused entries, here's some highlights:
  • Got lots of sun
  • Went ATV riding through St Maartan (favorite thing)
  • Went horseback riding in the ocean (literally, up to my waist!)
  • Went helmet diving in St Thomas (spooky but fun)
  • Read Generations
  • Nearly finished The Fabric of the Universe by Brian Greene
  • Relaxed a ton
  • Ate way too much
  • Saw a pile of movies: Monster House, The Hoax, The Holiday, Evan Almighty, License to Wed, Zodiac, others that I can't remember, plus alot of football

Oh, and an additional side note, the pureblood that I painted for my buddy Sean won best painted model at the Stampede tourney at his LGS. I'm stoked. It gets me even more pumped up for Kublacon.

Time to get crackin! I got the 5 Krielstone Scribes primed and awaiting paint right now. Then on to solos once I'm warmed up again.

Monday, October 15, 2007

Trollkin Champions

Finally finished the champs. They had been about 75% done for well over a week now. This last weekend I wrapped up the many little details and then finished sealing them this morning before work. Overall, they weren't as painful to do as I expected, but I also didn't go for more than what I consider a tabletop quality job. No painting like I have a pair here, with perhaps the exception of using two brush shading on the skin.

Saturday, October 06, 2007

Squads are Hard

I'm currently working on the Trollkin Champs and they are coming along ok, but I have to admit to less than my standard effort on these guys. The models are ok, but the poses of their arms is making painting them a bit challenging. Painting them in pieces would have been just as annoying though. Anyway, I'm trying to get at least one layer of paint on them each day. Today I did all the metalics, and a couple days ago I finished up the skin. Between those two steps, they are actually quite a ways towards done, at least at first glance. However there's plenty of details that will drag them out I'm sure.

Tuesday, September 25, 2007

Krielstone Bearer

Finished up the Krielstone Bearer. The scribes are queued up for later though. I spent a little less effort on the painting quality this time and more effort on the overall composition and story effect instead. There were a couple specific things I focused on. First, I wanted to pick out a handful of the runes to have glowing. My "glowing" effect isn't great, but I'm more satisfied with it than I was on the Fell Caller. I also did a little OSL work on the runes around his hands and above his head, putting some reflected green on those spots. Second, I wanted to make the stone look like it had been uprooted from the ground recently, so I used some Vallejo smoke to make a "dirt line" on the bottom of the stone. Overall I wanted this to draw the attention to the stone more than the troll. Again, not my best painting quality effort, but I'm happy with the overall results.

Leaf it to Nature

I've had a couple people ask me where I got the leaves that I used on the various bases I've done (like Doomshaper for example). So, it got me curious myself about these little magical decorations.


The "leaves" are actually a part of the seed pods of Birch trees. Here's a picture of a Birch tree:


The seed pods grow in great numbers on a single tree and look like this:


When you flake apart the seed pods, they separate into seeds and then the little "leaf" bits, that are great for basing, like this:


And there you have it!

Monday, September 17, 2007

Alten Ashley

Finished up Alten Ashley this weekend. He was pretty fun to paint actually, despite a rather plain pose. I took this opportunity to try out a bunch of things. First, pics...


Basing: I wanted to try my hand at a slate base. I wasn't able to get any milliput in time, so I picked up some stuff called Super Sculpey. It requires baking, which limits its uses. However, it worked relatively well as a substitute. I used Ali McVey's slate bases tutorial on the brushthralls' site (which seems to be unavailable at the moment, so no link). Overall though, I like how this base turned out for a first attempt.

Wood grain: I tried my hand at painting wood grain on the rifle stock. Basically I started with rucksack tan, then painted grain lines with bloodstone, then did a couple thin glazes using a mix of rucksack tan, bootstrap leather and matte medium in roughly a 1:2:4 ratio. The key was making sure the glaze was thin enough to not hide the detail below, but thick enough to shift the color.

Two Brush: I used the two-brush technique much more extensively here. His coat, pants, and other misc places. The coat really turned out great I think. Still a couple rough transition spots, but after I finished it, I just kept staring at it thinking to myself how I've started to turn another corner with painting now.

Armor: I used a mix of armor wash and matte medium when washing the metals. It really dulled them down noticably, which I actually liked. I think less matte medium will be better in the future, but I do like the initial results I had. It also helped so that highlights added after the armor wash really stand out more.

Red Leather: This is something I wanted to try out just for kicks. I love the reddish leather look on some of the stuff that I've seen come out of the PP studio lately, and wanted to start figuring out how to build up that color. For this model, I used a mix of khador red base and bootstrap leather, and then glazed it with rust brown ink and matte medium. It's ok, but definately needs more refinement, especially in highlighting. The basic color is pretty close to what I'm looking for, but it needs more depth.

Photo: Ok, this is actually a problem area. The color on the above photos is really bad. I need to spend some time to enhance my photo rig some more. I'm thinking the background is a big issue at this point. That'll be my first adjustment.

Enough for now... All hell's broken loose at work, and I need to try to stay sane. Hopefully my painting time doesn't suffer too much.

Friday, September 14, 2007

Flameguard Cleansers

Finished up the flameguard cleansers. Actually ended spending more time on these guys than I originally intended. I skipped some detail level but they are tabletop quality enough. They were great for practicing the two brush technique though. Nothing here got more than 1 highlight and one shade coat.

Wednesday, September 12, 2007

Late Tournament Report

I played in a 750pt Warmachine tournament last weekend, and am just now getting around to posting. *sigh* The tournament was actually alot of fun with one minor issue. I tied, lost and won (in that order) my games, which unfortunately left me 2 tournament points short of the Menoth coin. Oh well.

I only really played one list for all three games, despite having a backup Amon list: Severius, Guardian, Revenger, Daughters, Deliverers(6), Zealots(10) with Monolith, Knights Exemplar, Rhupert, Eiryss, Vilmon, Paladin, 2 Seneschals, and Grogspar.

The first game was against my old arch rival Lance who was playing Cryx with eDeneghra. This battle was truly epic, with very dramatic moments. In the end, the battle resulted in a tie for VPs.

The second game was against a Cygnar player using Seige. This game unfortunately only lasted 2 rounds before time was called. This made me sad for a couple reasons. I had gone first, and at the beginning of my third turn, I was still in control of the 3 control points AND I was primed to deliver a severe beatdown. As it was, I lost the game due to time being called and not having enough opportunity to leverage my troops. I'm still a little pissed about this, but my opponent was clearly having issues dealing with the Menoth knot, so hopefully I gave him a nasty headache at least.

The third game was against a superb Cryx player named Brian, who has previously stomped the ever living crap out of me. Somehow, I managed to get a caster kill against eSkarre and pulled out the win. However, I should note, that Brian had me dead to rights a couple times and either opted for a different strategy, or had a bad dice roll. Severius was down to 3 damage left by the end of the game. All in all though, it was an incredibly fun battle and I had to give kudos to Brian for such a fun and challenging battle.

Overall, the tournament was a blast. I still dislike the time/turn limit, but honestly I think the only good solution is chess clocks and penalties for taking too long. Anyway, life/work is taking up all my time, and I need to bolt now.

Monday, September 03, 2007

Dervish

Finished the Dervish. Nothing special here, and really a mediocre paint job. However, this was my last protectorate warjack left to paint. Odds are I probably won't get any more of them. For this one, I decided to add some battle damage and really dirty it up a fair amount.

Sunday, September 02, 2007

Two Brush Update

Well, I got a bit of practice in today in the midst of working on the Devout. I opted to use my six Temple Flameguard Cleansers for practicing on (rather than the Devout) since they had several surfaces that seemed easier to practice on. I of course (un)cleverly chose black as the color for the robes to work with which made the exercise a bit more challenging I suspect. I started with a base coat of Coal Black, shaded with Thamar Black, and the highlighted with a mix of Coal Black and Frostbite (about 2:1 roughly). That's it... just 3 colors used in order to achieve the look below.

Now, here are some notes on the experience:

  • Matt DiPietro is right: Highlighting is way easier than shading.
  • The mechanics of switching brushes was made easier after I watched carefully how Ron Kruzie did it in the video. I held the blending brush in my mouth while using the applicator brush, then slightly rotated the applicator brush to hold the blending brush at the same time. After a few swaps, this became very smooth to do.
  • Switching quickly after applying paint is key, so it worked best to do small pieces at a time. For example, the high folds of the cloth, I would apply some paint and work one direction, then apply some more paint and work the other direction. When I tried to work both directions in one application, the second side was already starting to dry too quickly.
  • The right mix of paint and "water" was important. I'd say the optimal was approximately 5:4 paint to "water". In my case, water is a mixture of water, flow extender, and matt medium (I haven't a clue what the actual ratio was, but probably something like 20:1:4).
  • The effect for shading really is a pulling mechanism, with lots of paint in the crevice and pulling paint out of the crevice.
  • The effect for highlighing really is a sort of erasing mechanism, sort of pulling paint back up on top of the highlight to erase where there's too much. It will take me a while to get used to this since I'm used to smoothing by slowly pulling paint outward from the highlight.

I think there were probably plenty more things I noticed/learned, but it's getting late, and I'm too sleepy to recall them now. Tomorrow I'm hoping to practice again on some of the smaller armor plates with red tones and see how that compares.

The "Two Brush" Blending Technique

In honor of this 3 day Labor Day weekend, I've dedicated myself to learning the "Two Brush" blending technique that has been talked about much lately. If you aren't familiar with it, here's a video clip of Ron Kruzie at GenCon Indy 2006 using the two brush technique to highlight.

The concept is relatively straightforward, but I'll defer to a description by Matt DiPietro on one of the Privateer Forum threads (the post is buried somewhere in the thread):

"One method is called pushing and the other is called pulling and they are often used in conjunction. You can also just run your blending bush (you're using two brushes I assume) along the edge of your fresh paint and just smooth the transition. Pushing paint is kind of like using your second brush like an eraser. Highlights are much harder to do than shades using blending so if you're just starting out you should start with shading. lay down a midtone as your base coat and make sure that there is absolutely no patchy bits. Then choose a color for your shadows. glob a bunch of paint into the a crevice of your model then use a second brush that has been wetted with blending medium (aka saliva*) use it to pull some of that paint out of the crevice. If you pull too much or too far just push the paint back in to the crevice/fold repeat until satisfied. Afew tips... if you get water marks/bath rings when you blend adjust the consistency of your paint; too much water and you'll get a ring not enough and the same thing happens. Use your best brush as your blender and your more worn brush as your paint aplicator. It often helps to use a bigger brush for blending, I use a #2 almost exclusively, even for fine details. Once you've mastered blending your shading then move on and try highlighting at least thats my advice."

So, with the video, description, plenty of W&N S7's, and a fresh load of motivation, I am embarking on learning this technique this weekend. I'll post notes as I go along, and if I get extremely motivated, I'll even try to take a little bit of video with my new camera and see if I can post it.

Friday, August 31, 2007

Doc Killingsworth

I actually finished Doc a couple days ago, but here he is. This was a fun model, but it had alot of little bits to him. By the end I had well over half my paints spread out on my desk. Painting Doc marks the completion of all my mercs. I'm now down to just Protectorate and Trolls to paint

The blood splatters were a new experience for me. I don't think they turned out great, but they are ok. I tried using a little bit of brown in the middle of the blood spots to make it look more dried and dark.
I also made a more concentrated effort to focus on color balance on this model. Not a super great job I have to say, but it was good practice to think about it. I tried to keep a color balance that would keep the eyes shifting over the whole model rather than draw the attention to a single spot.
I've also got a battle report to type up, but I might not get to it. For some reason I'm really behind on blogging. Maybe today will be further catch-up day.

Wednesday, August 29, 2007

Holding Models While Painting

It occurred to me the other day when my buddy dropped by for a game that there's alot of people that have asked how to hold models while painting them. Here's my technique for those interested. I always paint seperate from the base now, even waiting until after I seal the model to attach it to the base sometimes. I basically have 2 techniques for holding models while painting. Below is an accompanying picture that illustrates my two techniques.

Pin and cork: If the model is relatively small, I'll put an extra long pin through the foot, prime the model, then stab the pin through a cork. The cork gives me plenty of holding surface and also tends to fit the pin tightly, keeping the model from spinning while holding it.

Base and empty can: For larger models, I'll glue a base to the top of an empy Testor's spray can. The cans are roughly 50mm which is perfect for large bases. Then I use pliers to slightly bend the tab on the bottom of the model to cause it to fit tightly into the base's slot. The can makes for a very handy grip and is large enough to brace both hands together with. In the picture below I cleverly didn't put a model in the slot, but I'm sure you get the idea.


Monday, August 27, 2007

GenCon Indy Painting Competition

Here's a link for the entries of the GenCon competition. This is more for my own benefit, but others might not have seen it. I aspire to enter this competition one of these years. I'll start with Kubla first though.

Sunday, August 26, 2007

Swamp Gobbers

Whipped these little guys out real fast. Did all the painting in 1 day, which again is very fast for me. The bases I had made previously in preparation for these little guys (Swamp Gobbers deserve swamp bases of course). No really uncharted territory here except for the brighter orange leather that I did. For this I used P3 Heartfire and then a generous layer of the lovely GW Rust Brown ink. I'm nearly out of the stuff now, so I'm going to have to look into getting some more. This technique is fast, and has some striking results, but does make the models a bit brighter than I originally planned. Overall though, for getting finished in 1 day, I'm happy.

Saturday, August 25, 2007

High Reclaimer


Finally put a base on the High Reclaimer last night and sealed him this morning. This was admittedly a pretty fast paint job. I took a rather different approach to the black than I've used before. This time I used the P3 Coal Black with what I feel is a pretty striking result. It took a few washes and highlights, but I'm quite pleased with the results for having been a first try. I also used metal medium and black paint together to do the metals on various places where I wanted to create a black steel sort of effect. It's certainly not my best blending job, but I think this model only took me 5 hours to complete, which is a record for me.


At this point, I'm down to just the Testament of Menoth for Protectorate warcasters left to paint!

Tuesday, August 21, 2007

Missing Comics, or Memories

Went through another box of comics tonight. I was sure that I had the Wolverine limited series, but I can't seem to find it. I also recall having some other limited series that are just not there either. Either they got misplaced, or I sold them long ago and don't remember doing so. In any case, here's the next box:

Robotech The New Generation: 8, 10-13
Robotech The Macross Saga: 12, 14-17
Robotech Masters: 9-13
Longshot limited series: 1-6
Nightcrawler limited series: 1-4
Doctor Who: 57-60
Destroyer Duck: 1-7
Harlan Ellison's Dream Corridor: 1, 3-5
Harlan Ellison's Dream Corridor Special
Elf Quest Metamorphosis: 1
Elf Quest New Blood: 2-35
Elf Quest New Blood Summer Special: 1
Elf Quest New Blood '93 Summer Special: 1
Elf Quest Two-Spear: 1-5
Elf Quest Summer Special 2001: 1, 2
Elf Quest Hidden Years: 1-29
Elf Quest Worldpool: 1
Elf Quest Kings Cross: 1, 2
Elf Quest Kahui: 1-6
Mythography: 3
The Rebels: 1
Jink: 1, 2
Hercules: 1-5
2010 limited series: 1, 2
Excalibur: 1-13, 15-17
Web of Spiderman: 3-14, 16, 17, 19, 21-25, 27
Web of Spiderman Annual: 1
Akira: 1, 21, 23-38
Torg: 2-4
Questprobe featuring the Hulk: 1
Questprobe featuring Spiderman: 2
Questprobe featuring Human Torch and Thing: 3
Kitty Pride and Wolvering limited series: 1-6
Lobocop: 1
Genocyber: 1, 2, 4
HP Lovecraft's Cthulhu: 1-3
The Nam: 1-26
Transformers: 5-28
Transformers Headmasters: 1
Transformers limited series: 2, 4
Transformers Universe: 3, 4
Shogun Warriors: 2, 5, 6
Dune limited series: 1-3
Last Starfighter limited series: 1-3

Monday, August 20, 2007

Gurgle

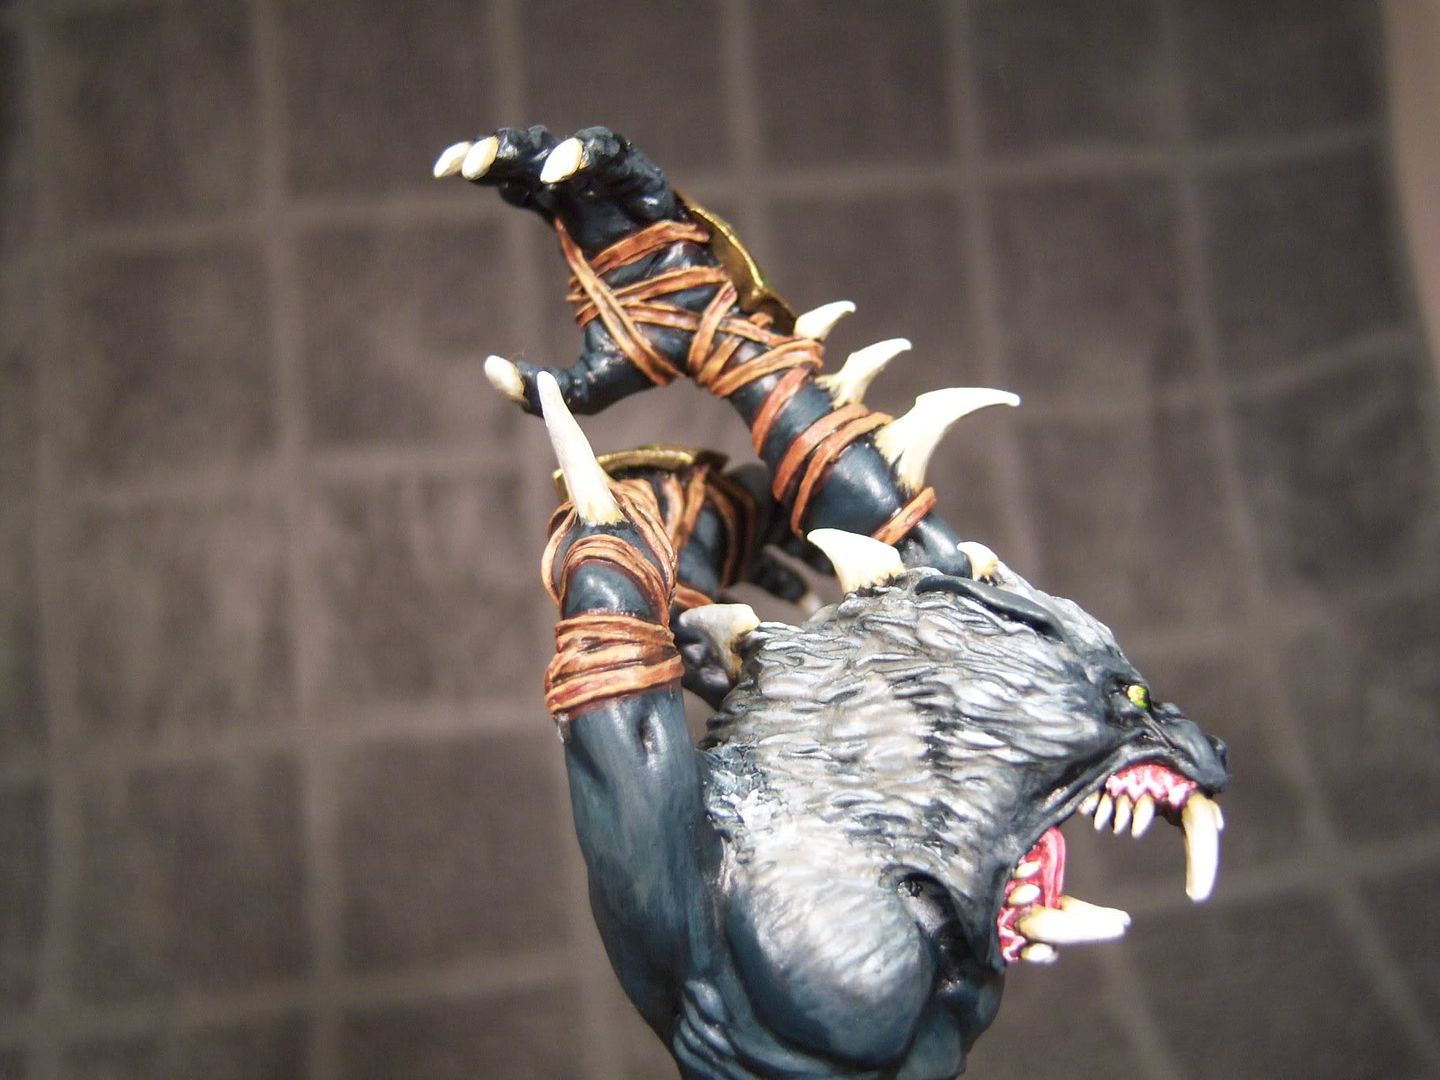
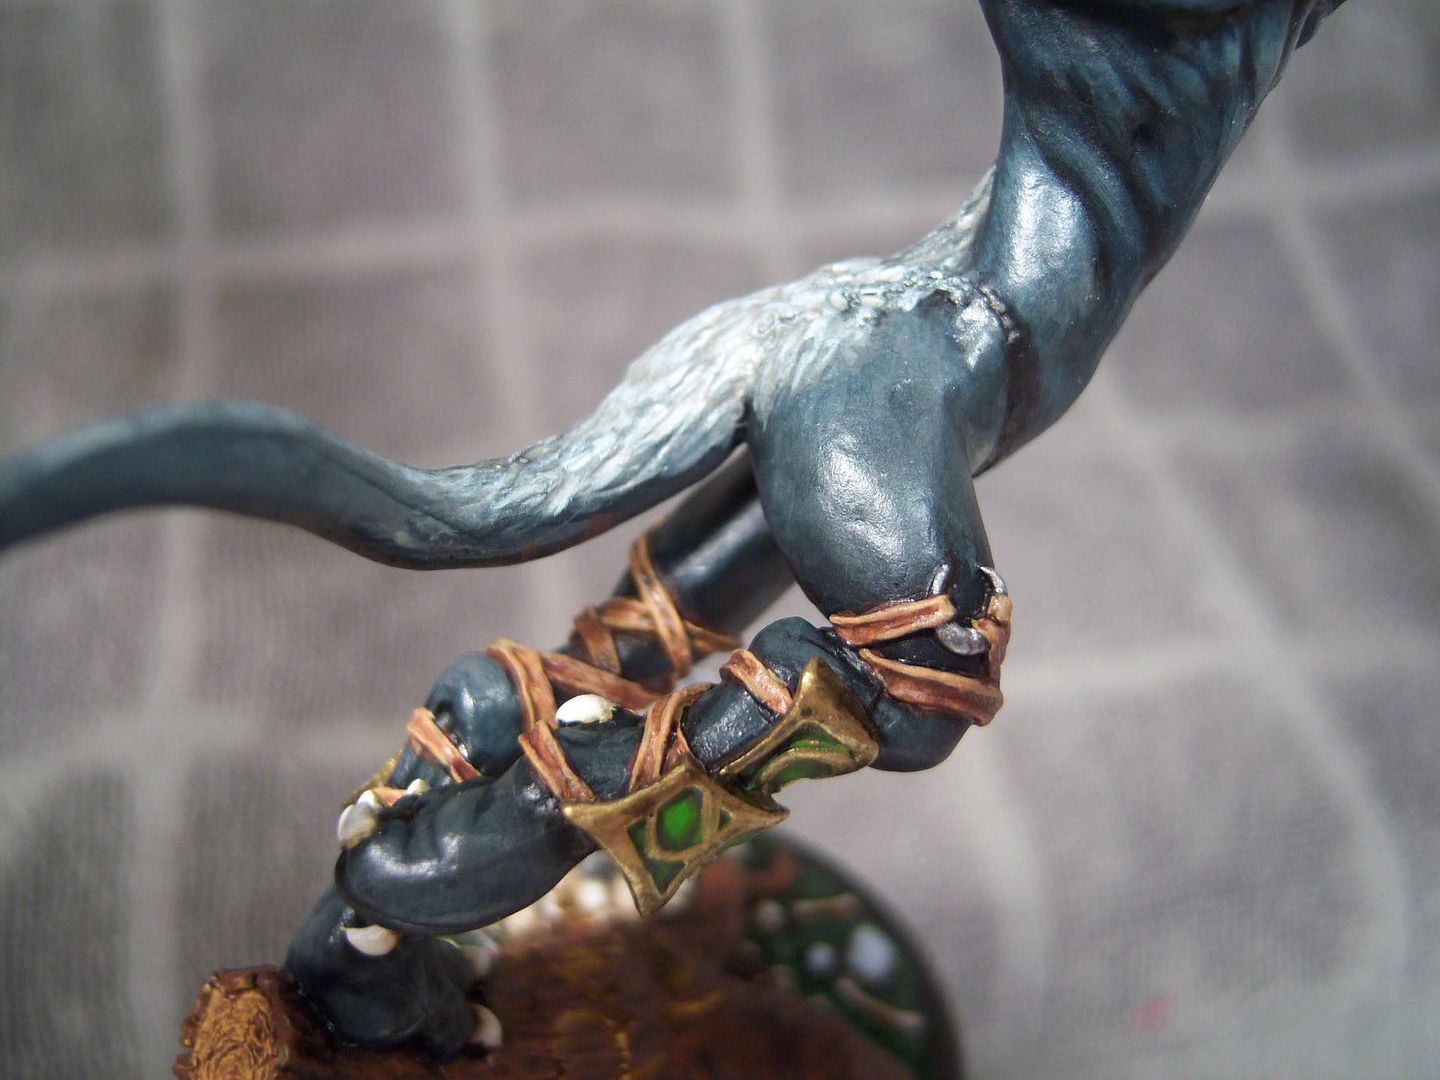
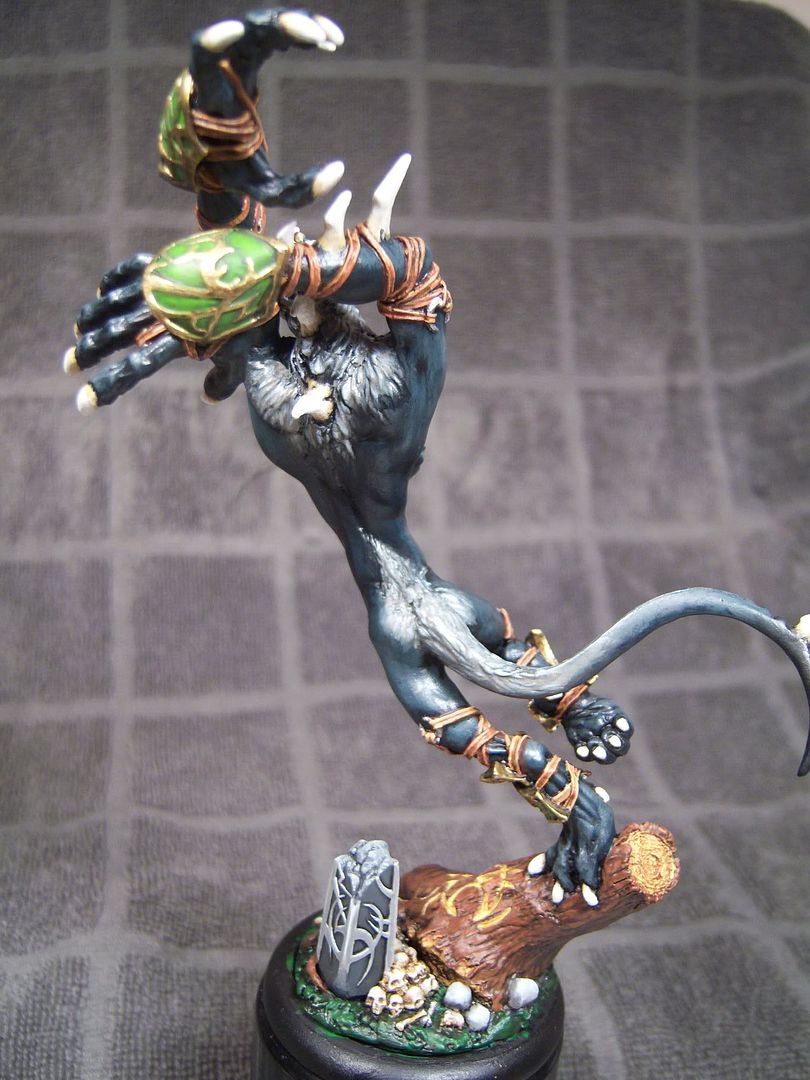
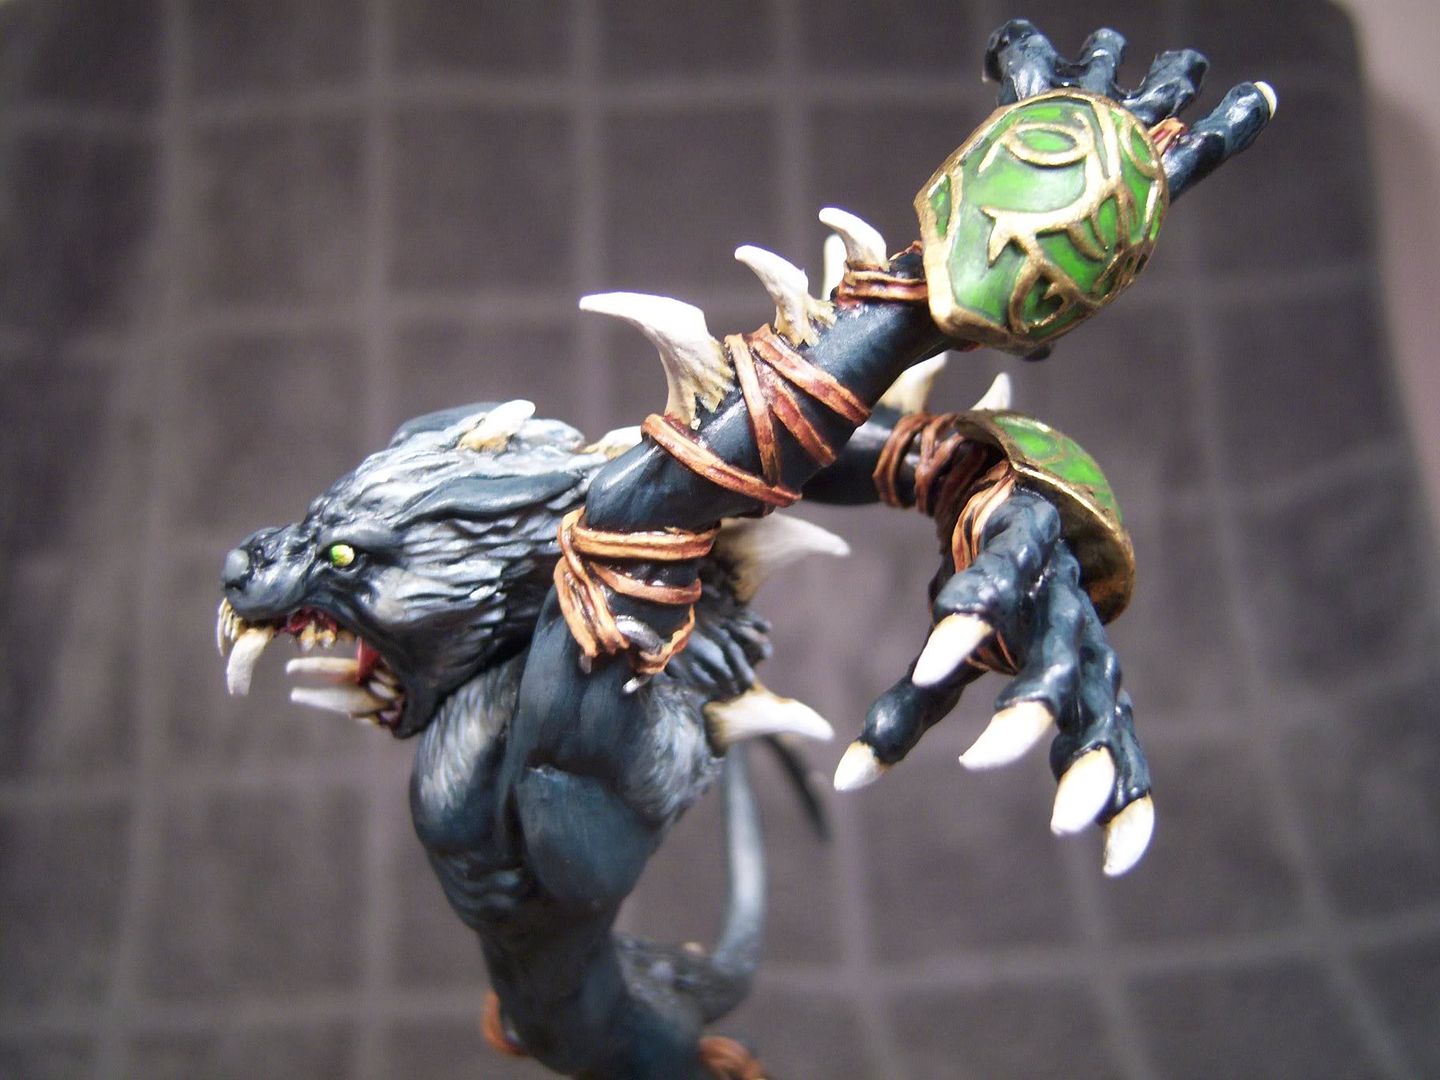
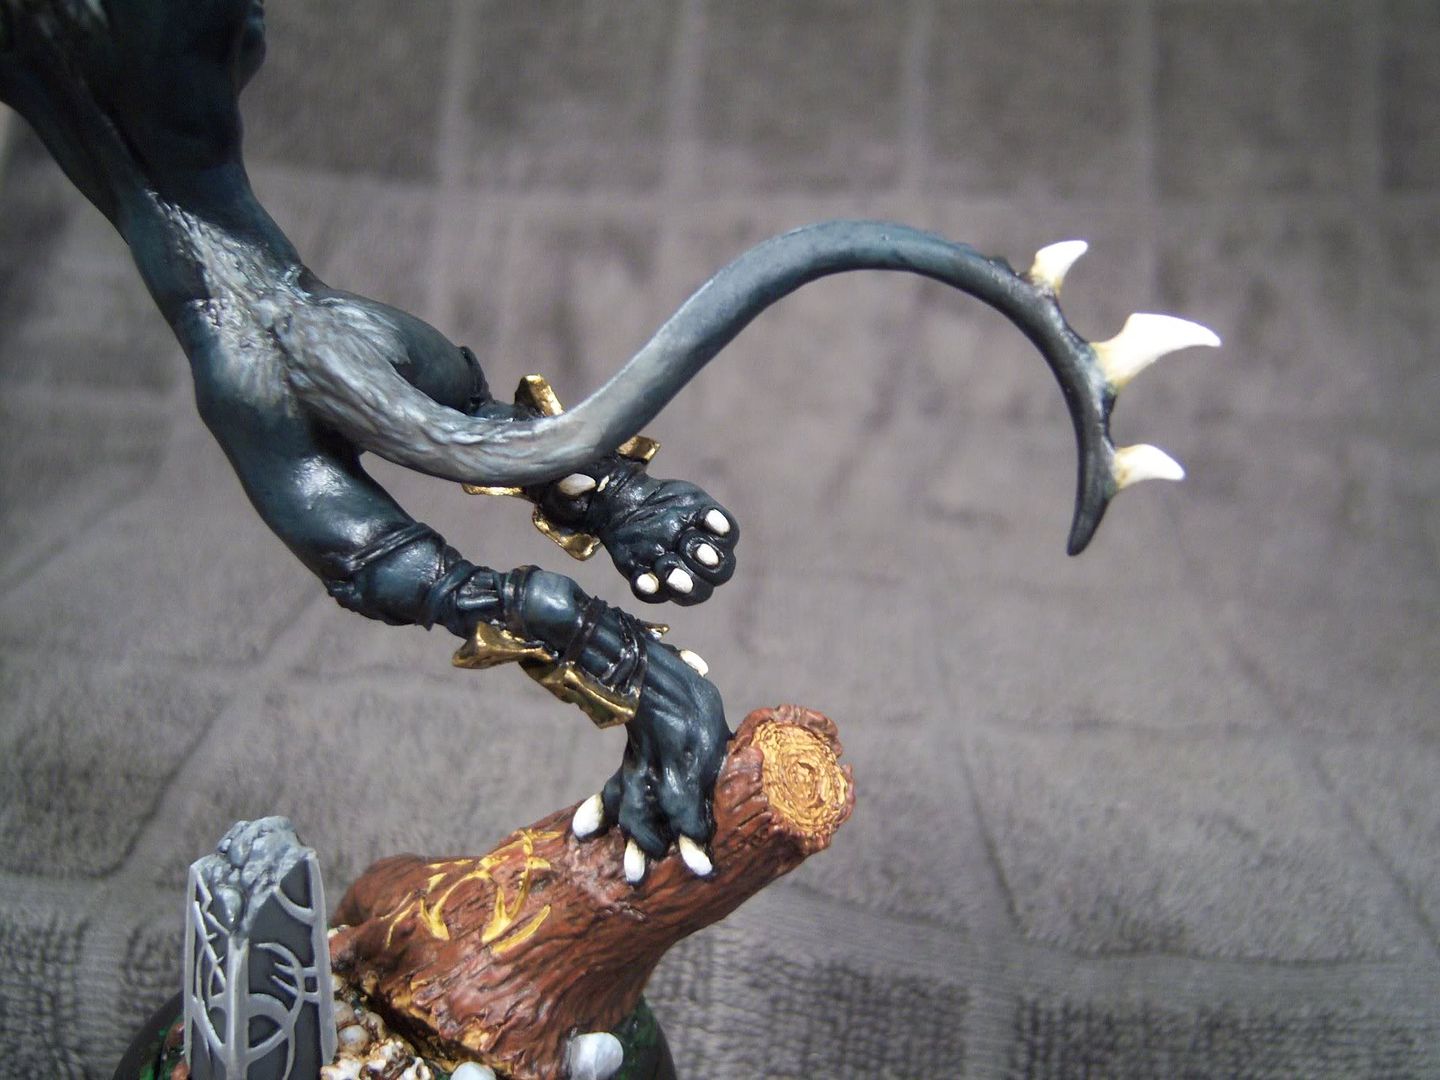
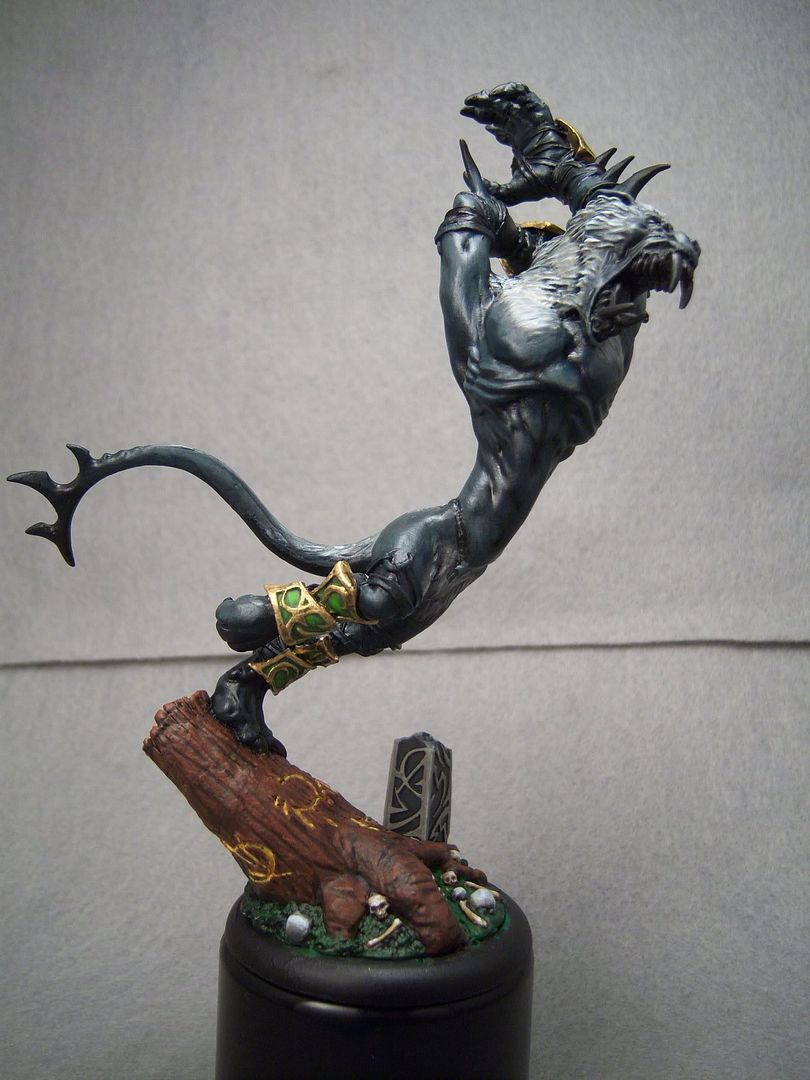
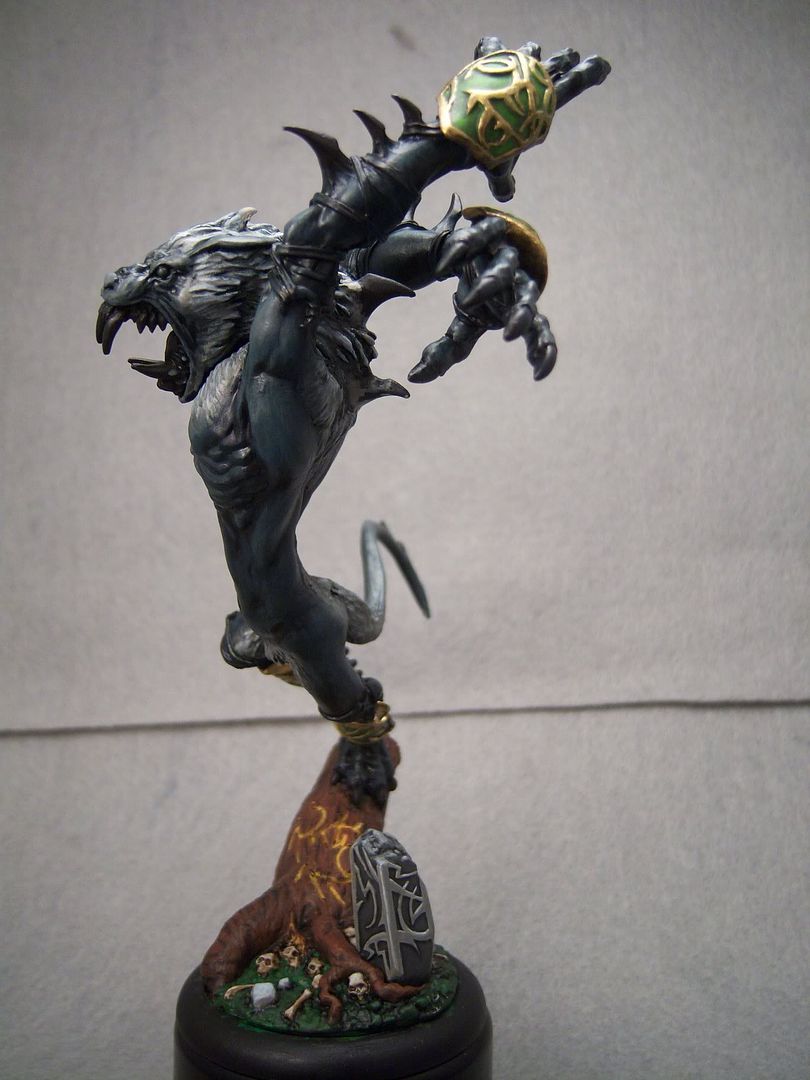
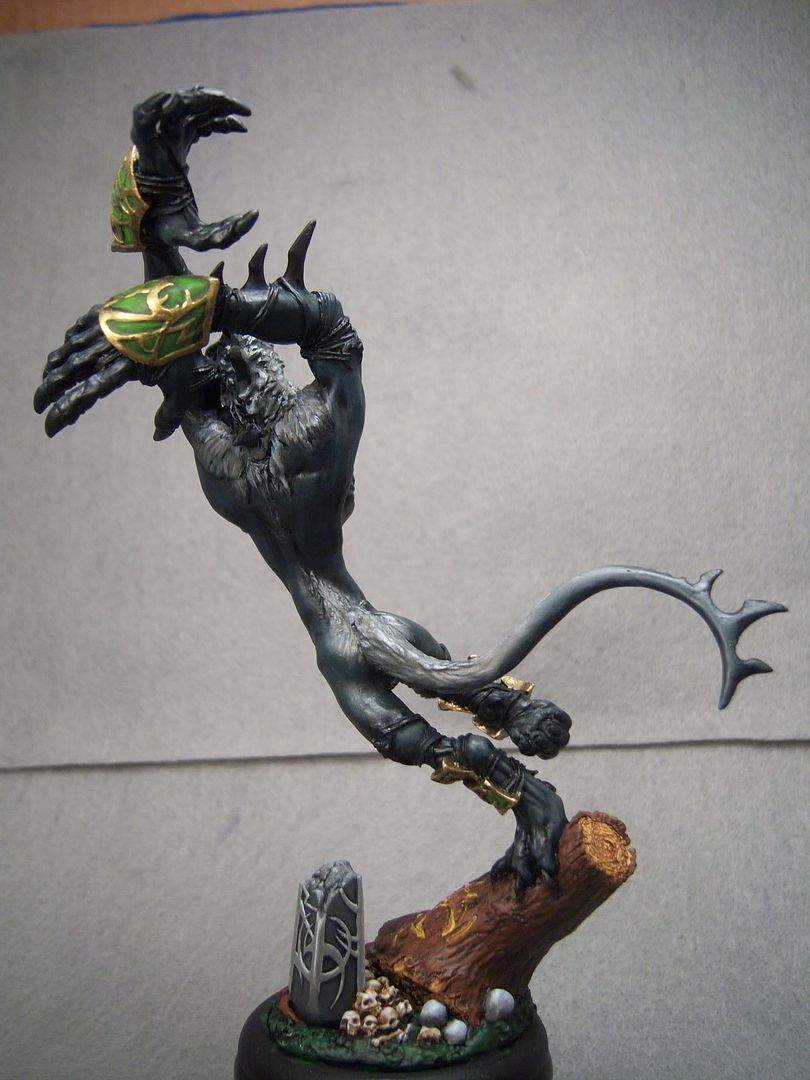
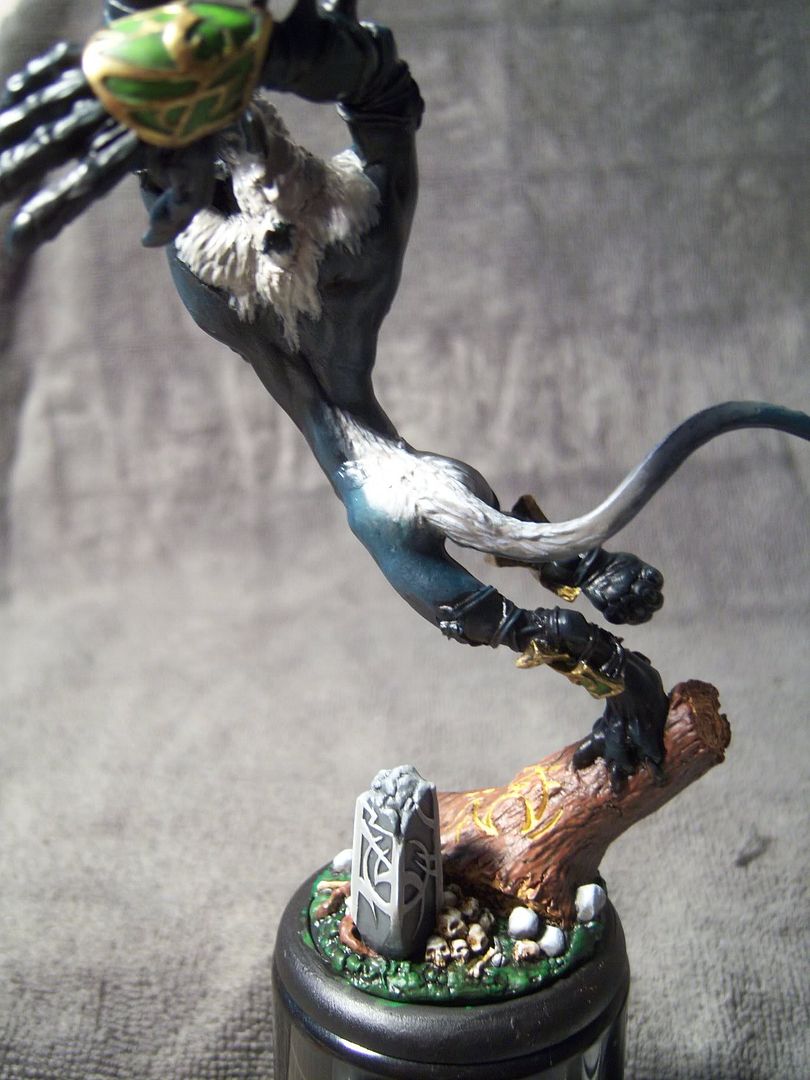
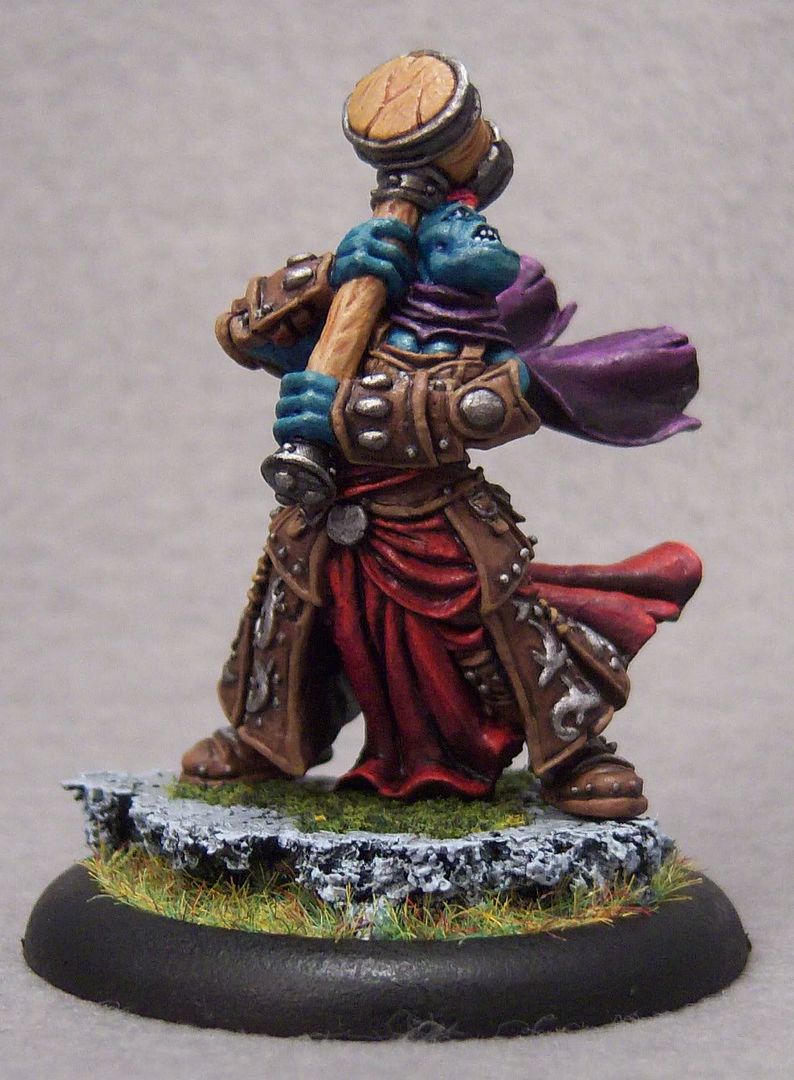
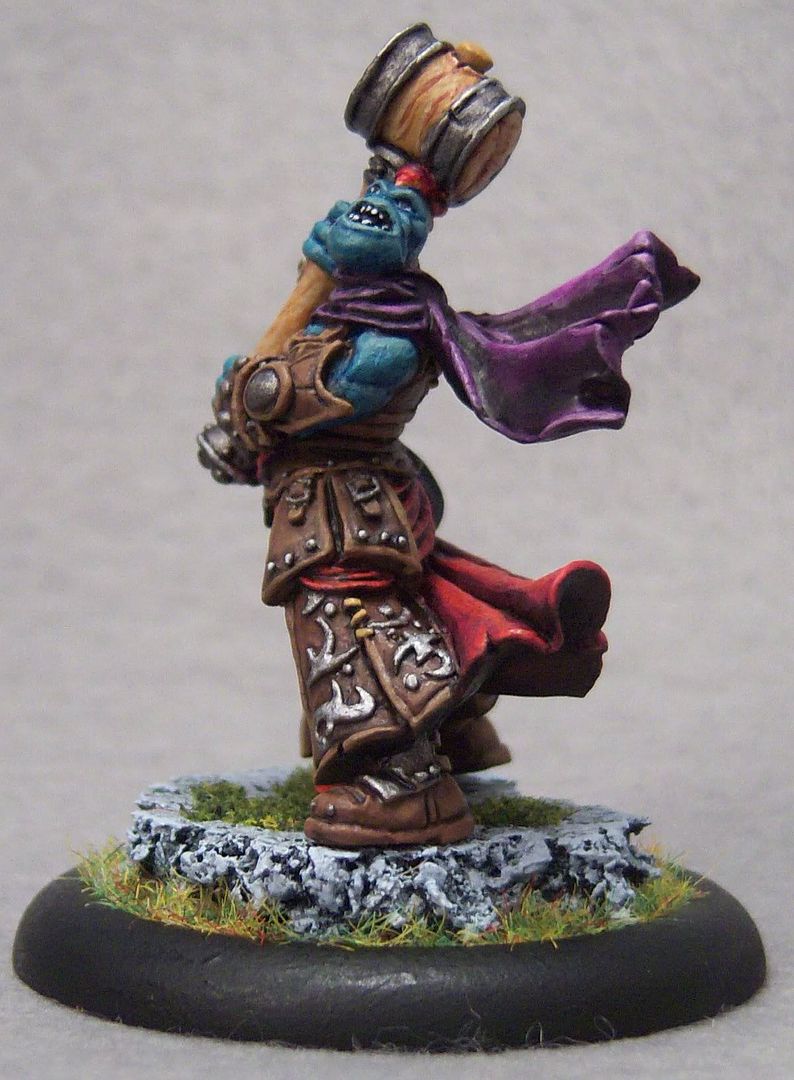
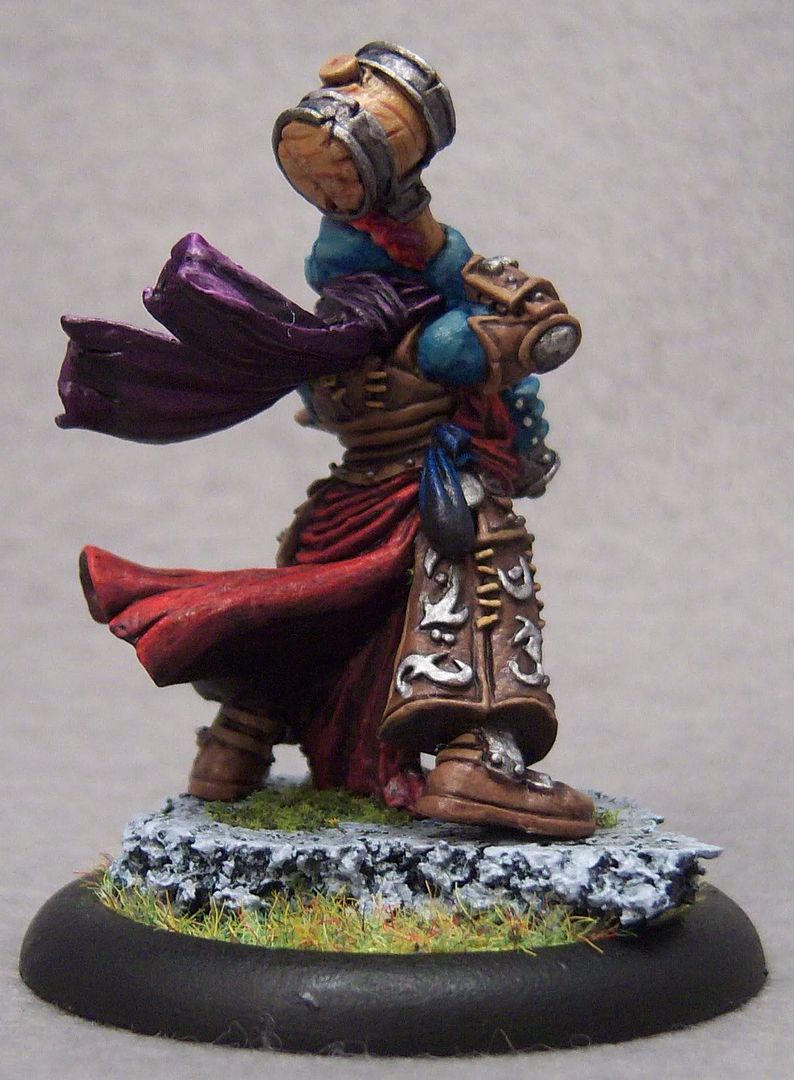
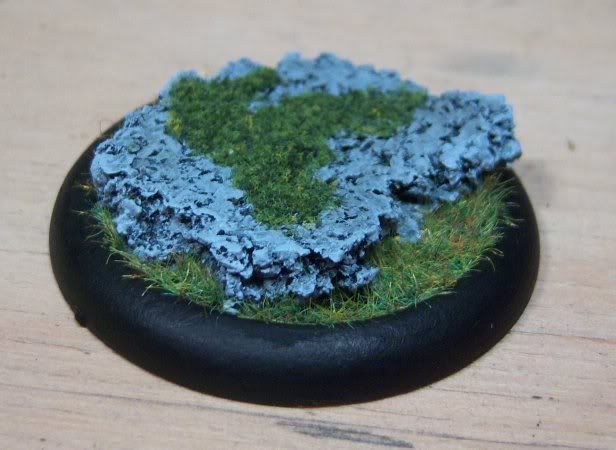
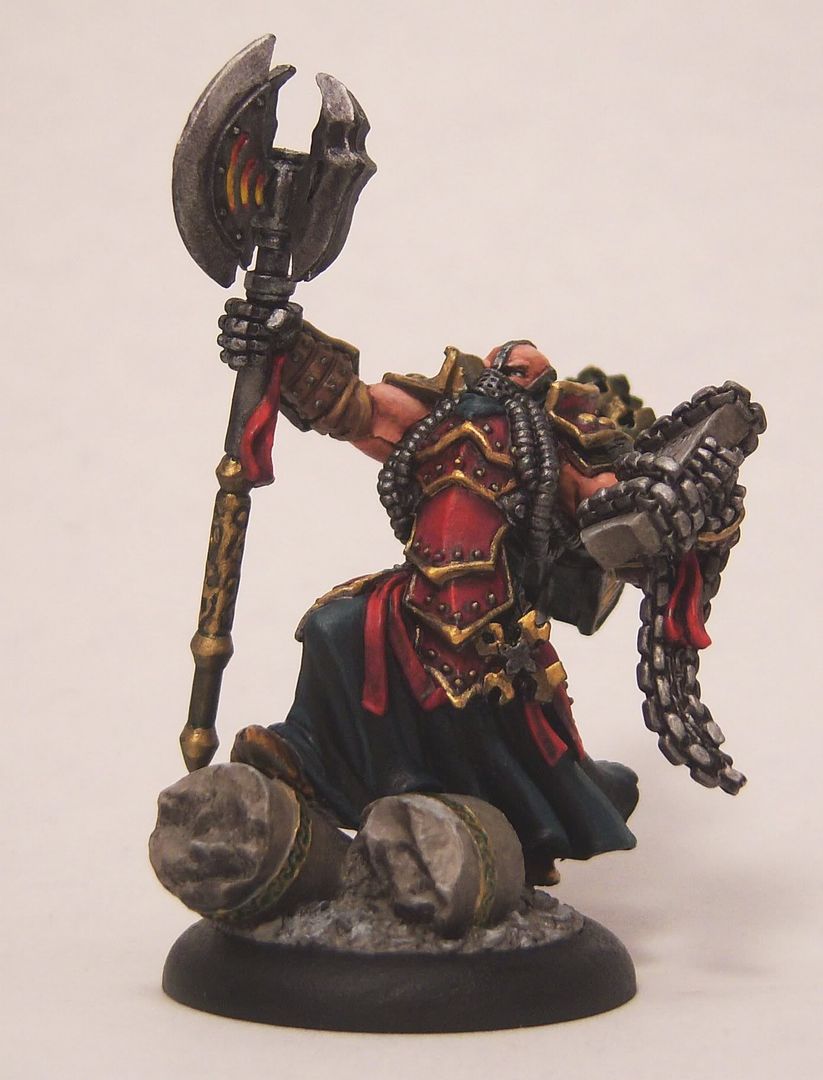
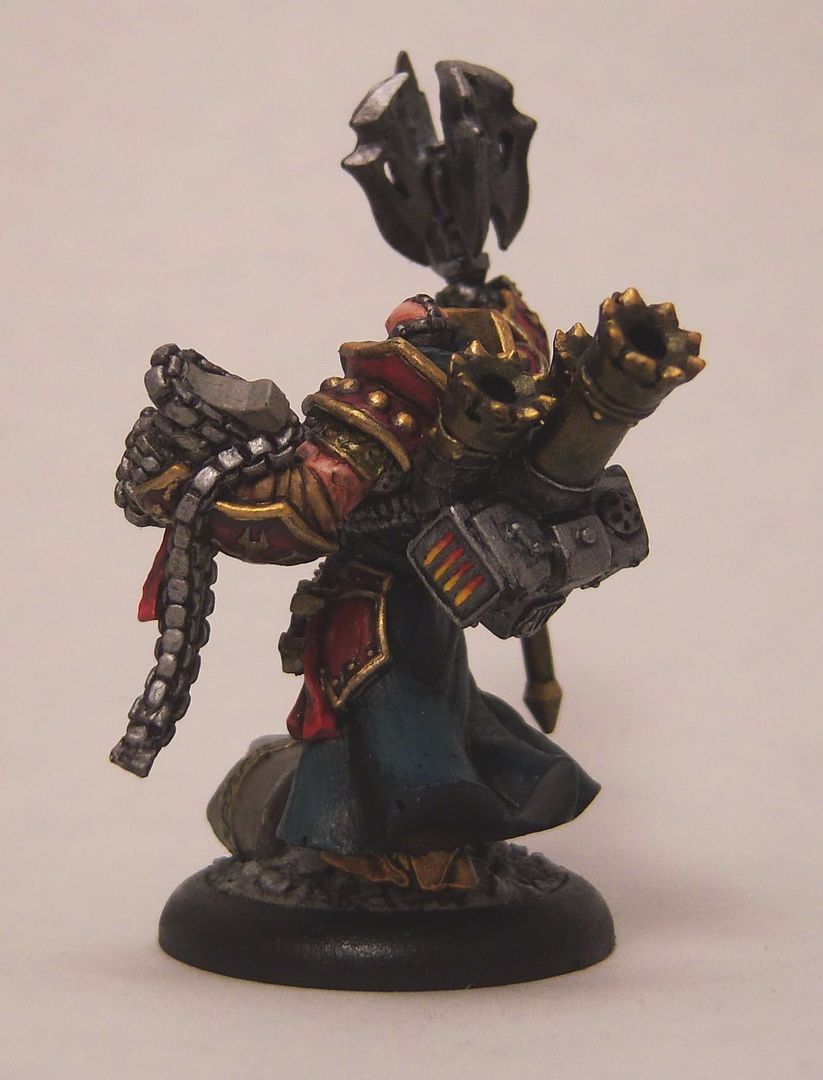
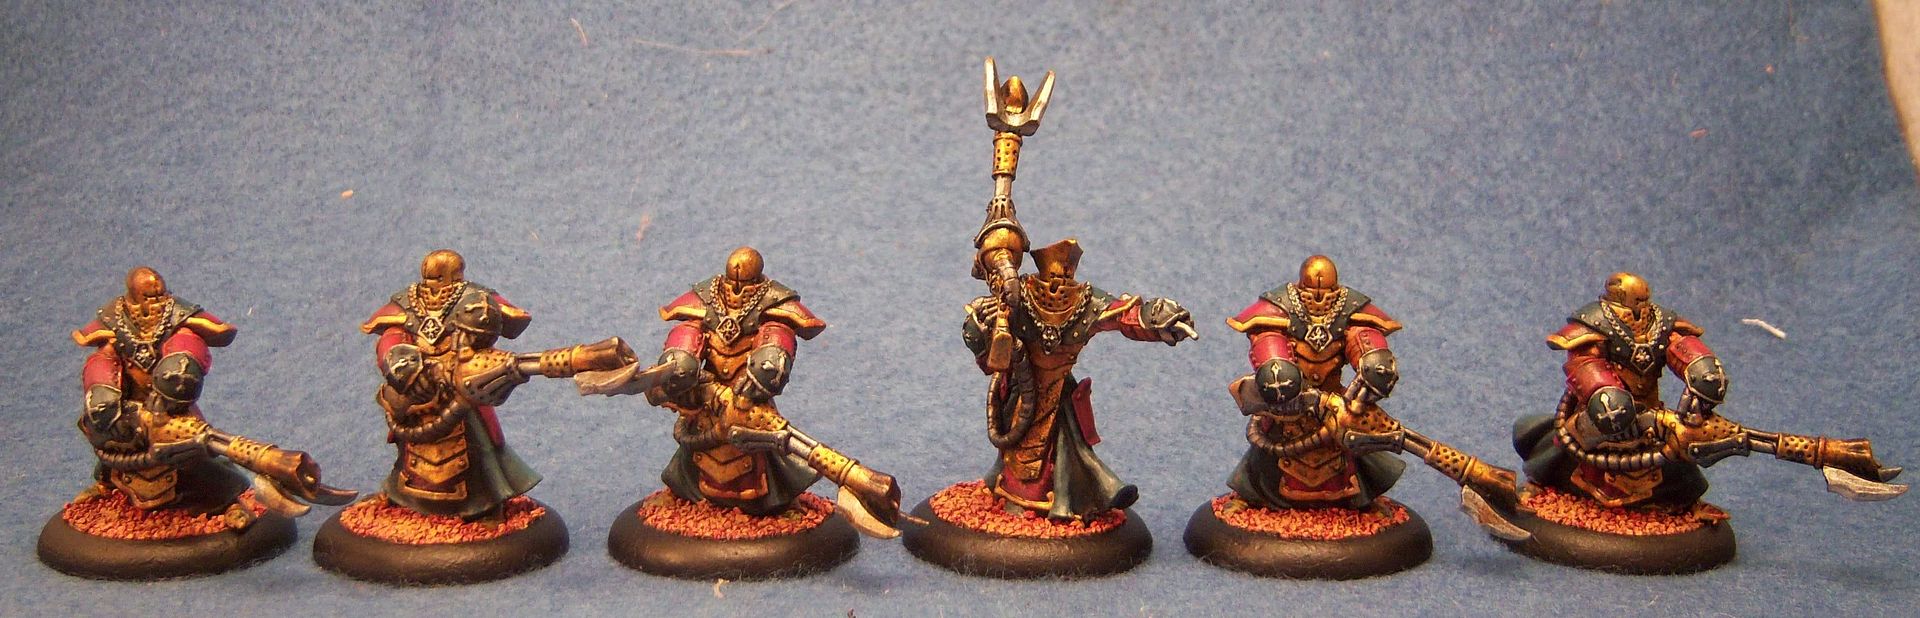
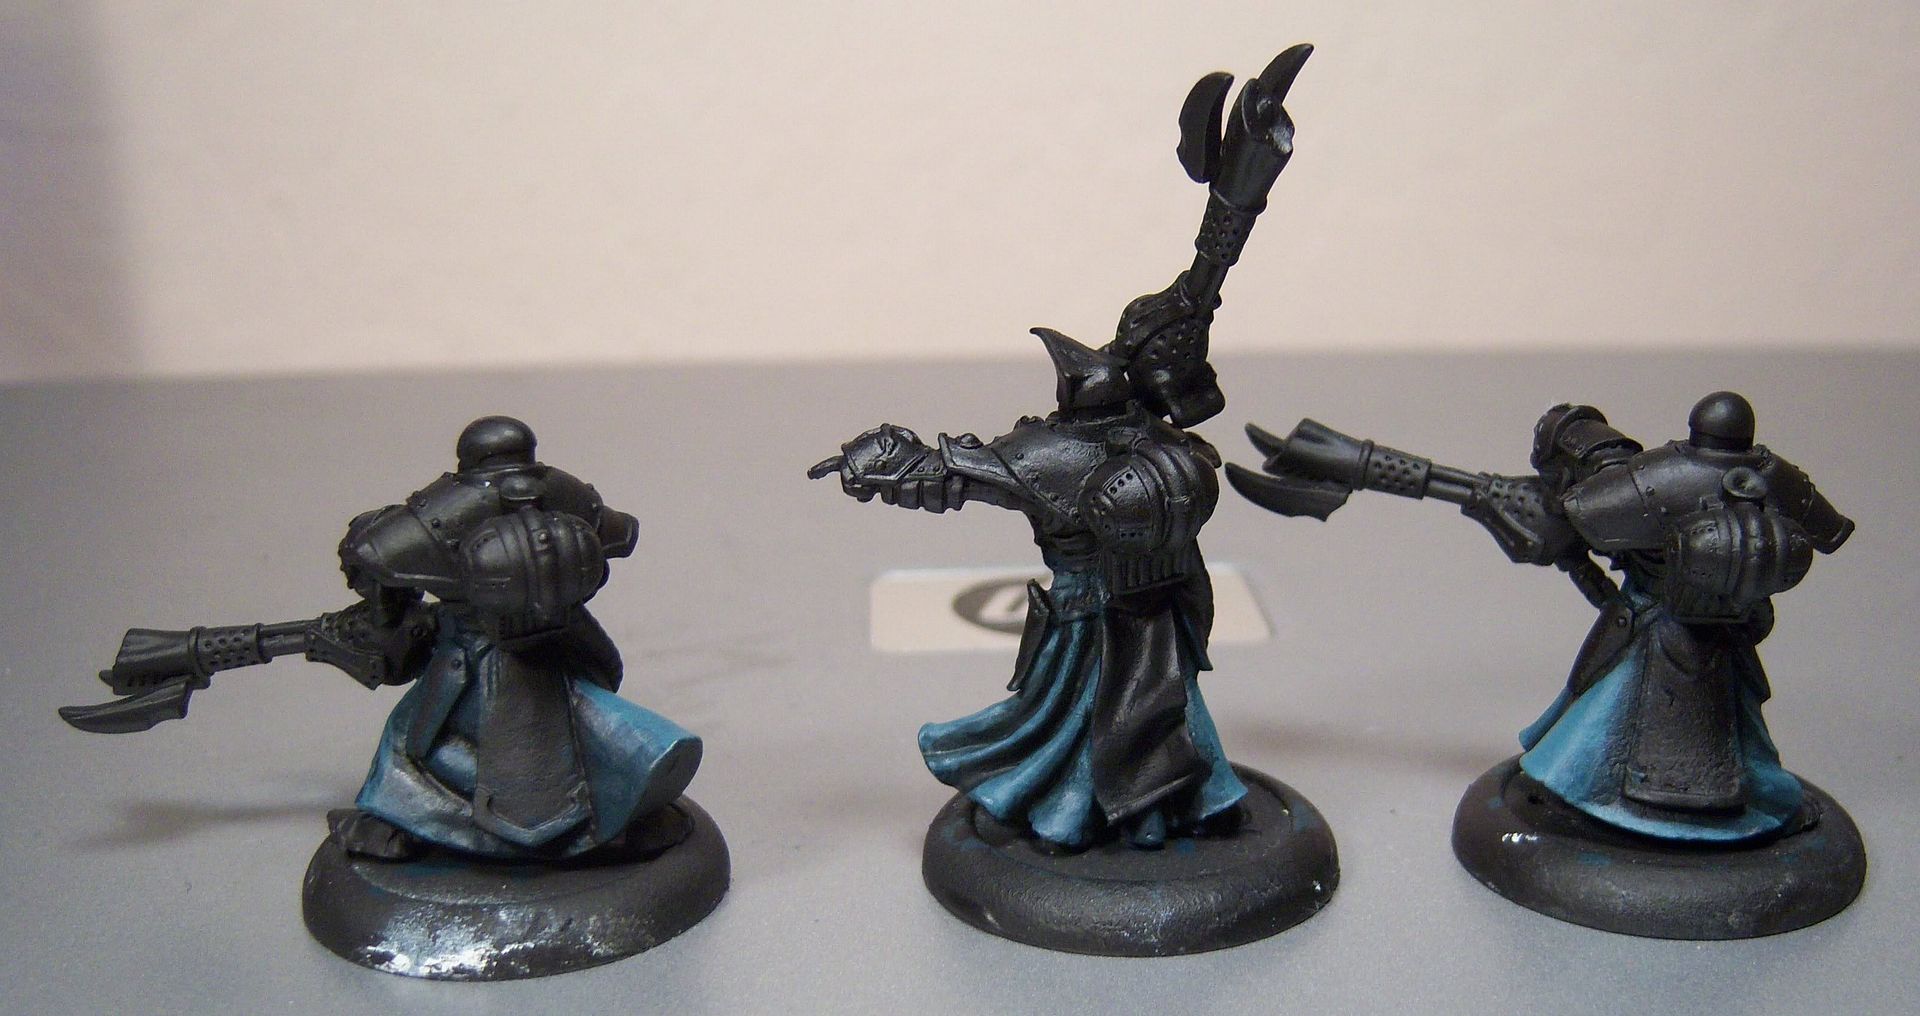
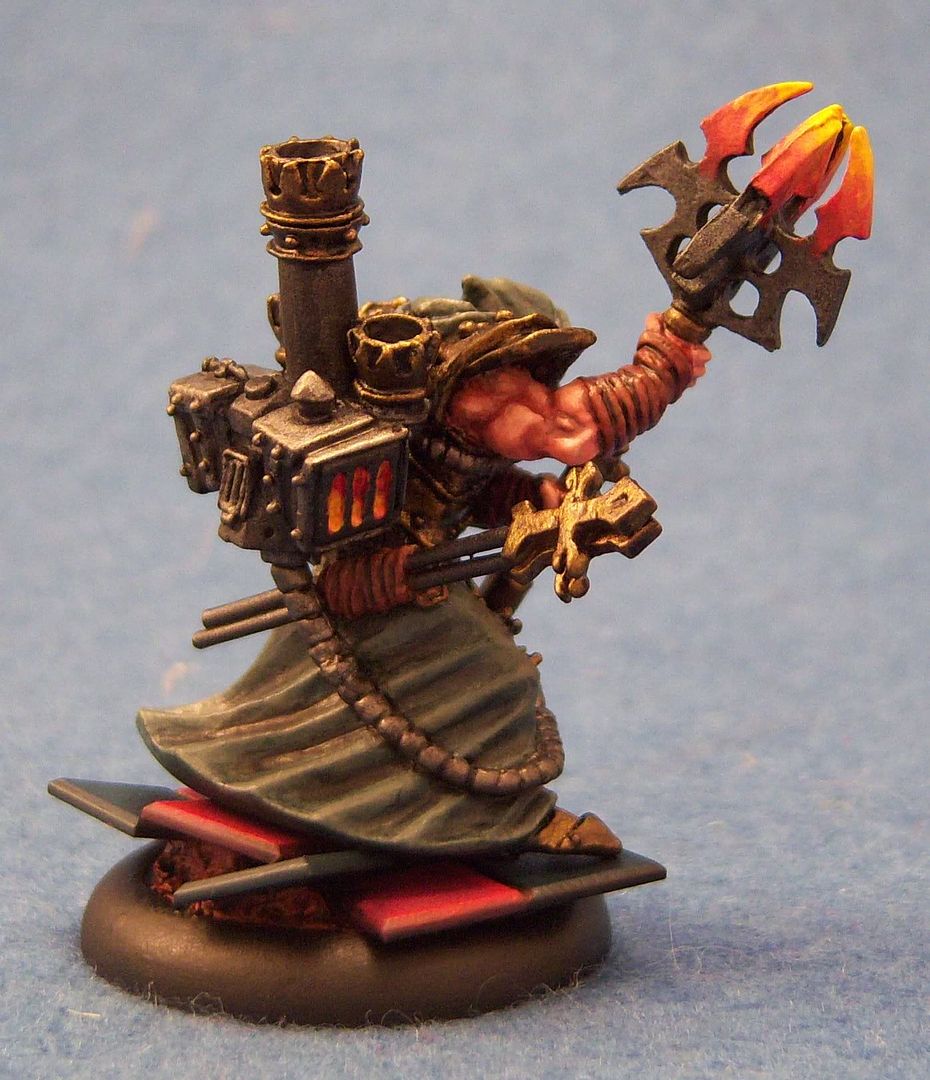
Back from DC, and life is just ridiculously crazy for me still. Probably won't get back to painting seriously for another week or so. The High Reclaimer is done except for a base, but I have a stack of other tasks I want to clear off first. One of them is to catalog my comics and start unloading the ones I don't want to keep.

For my own tracking purposes, here's the list of comics I cataloged last night from the first of 4 boxes:

Peter Parker, The Spectacular Spiderman: 1, 35, 94, 95, 99-112, 114, 116, 117, 119-128
Peter Parker, The Spectacular Spiderman Annual: 5, 6
Spiderman and His Amazing Friends: 1
Spiderman and Daredevil: 1
Marvel Two-In-One: 90
The Amazing Spiderman: 59, 75, 93, 109, 128, 133, 136, 141, 142, 144, 148, 149, 151-154, 156, 159-163, 165-183, 185-190, 192, 193, 195-200, 202, 203, 205, 206, 208-210, 212, 218, 220, 223-226, 228, 234-237, 240, 244, 246, 257, 258, 260-276, 278-287, 289, 290
Giant Size Spiderman and Master of Kung Fu: 2
Marvel Tales Starring Spiderman: 69-71, 127, 137, 170, 172-180, 182, 183, 185-190, 192, 193, 195-200
Marvel Team Up: 75, 82, 120, 147, 150
Marvel Team Up Annual: 6
New Mutants: 1, 16, 17, 20-26, 28-38, 40-42, 44, 46-48, 52-58, 60-72
New Mutants Annual: 1-4
New Mutants Special Edition: 1
Uncanny X Men: 153, 170-220, 222-250
Uncanny X Men Annual: 8-12
Giant Size X Men: 1
Heroes for Hope: 1
Classic X Men: 1, 2, 4-6, 8, 9
X Factor: 1, 2, 4, 6, 11, 12, 24-26
X Factor Annual: 1
Incredible Hulk and Wolverine: 1

Wednesday, August 08, 2007

Taking a Break

Work is sending me to DC for all of next week, and between that and the general insanity of my life right now, painting has been temporarily been put on hold. I've got alot of irons in the fire so to speak and need to get my personal life in order again. I'll probably try to dabble with paint a bit, but nothing serious is going to happen anytime soon.

Saturday, August 04, 2007

Pureblood Warpwolf

Well, it's finally done. Overall I think it's pretty decent. The skin could have used some reworking in additional spots, but there's a point at which I have to just decide it's done. Perhaps one day I'll just stick out a model until I'm completely happy with it, but that will be sometime well in the future. I've got other little guys calling out for some paint. Some final notes about this paint job:

The little rune stones were actually quite easy. I just gave them a coat of Ironhull Grey, then a wash of black ink, then some highlights of white with just a touch of Ironhull Grey in it. I specifically didn't use Frostbite to make sure they didn't blend in perfectly with the skin.

The eyes were sort of a pain, and in general I hate painting eyes. For these I just used Cygnar Blue Highlight as a base, then added white to it in successive highlights (about 3) until I did a final dot of just pure white.

The base was easy. Just added a bunch of static grass, and then some of the tall grass in a bunch. I'm still not really good with the tall grass, but this batch seems ok. I also added some of the tiny leaves to help give a little more variation to the base.

In summary, this was a great model to paint. Some particular challenges and learning experiences was working the large skin surfaces, particularly in a shading of white I don't normally use.