Showing posts with label gnarlhorn. Show all posts

Monday, August 11, 2008

Gnarlhorn Satyr


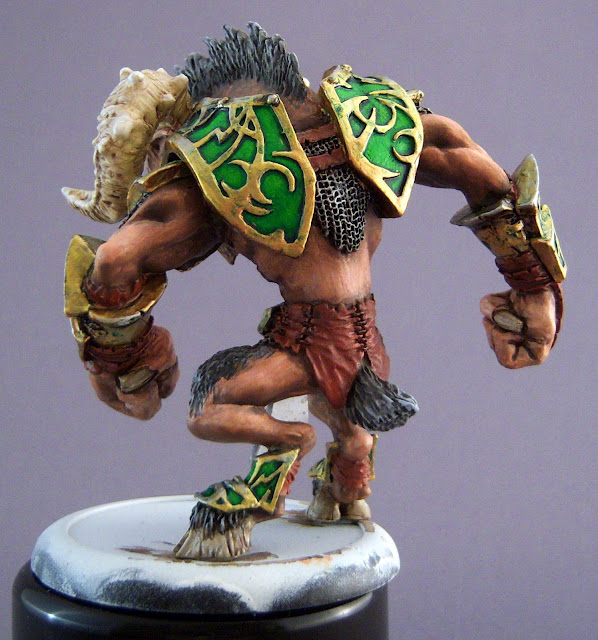
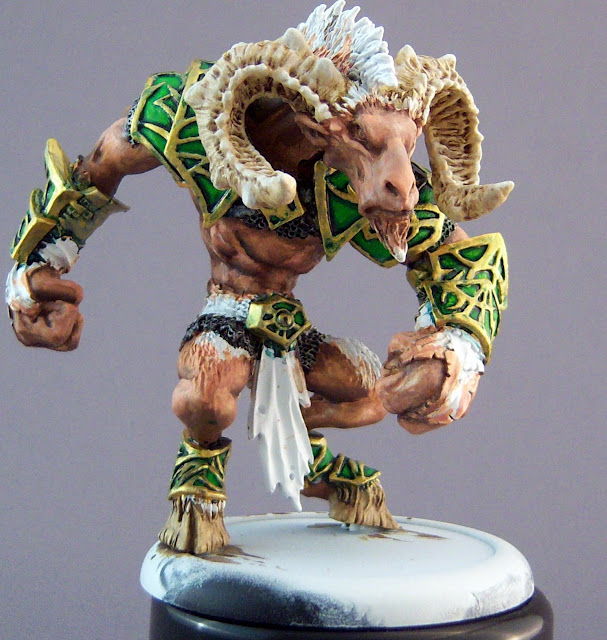
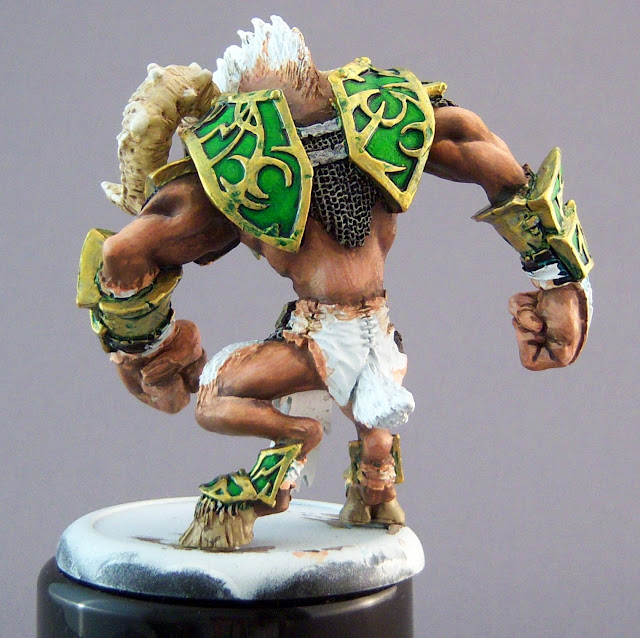
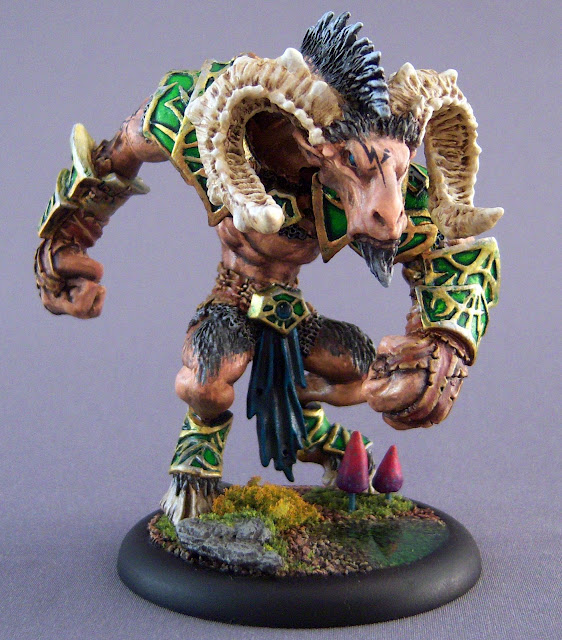
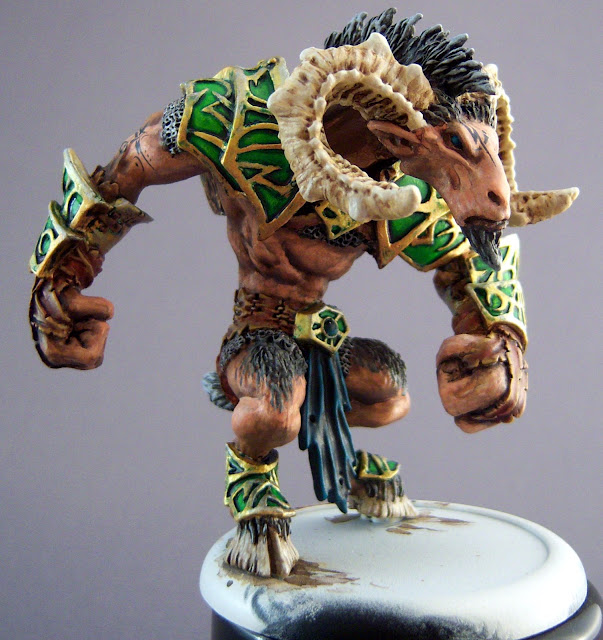
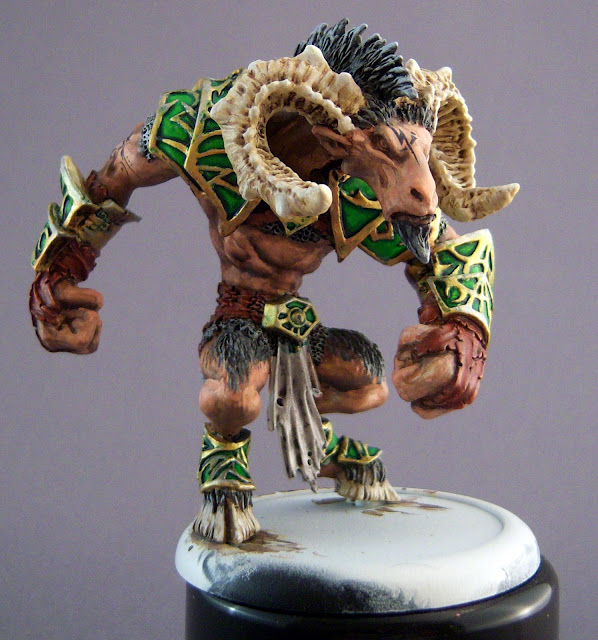
He's done! And what a joy he was to paint. Seriously, this was a very fun model. A good level of detail for a large model, with surfaces allowing for some experimentation.

I've noticed that more dramatic highlights and shadows can really help a model pop. There's definately a fine line on what's good and what's overdone though. I'm still too conservative in my contrast level I think, but maybe that's just me. I experimented a bit more with higher levels of contrast between the shadows and the highlights and I think it paid off well, especially on the leathers.
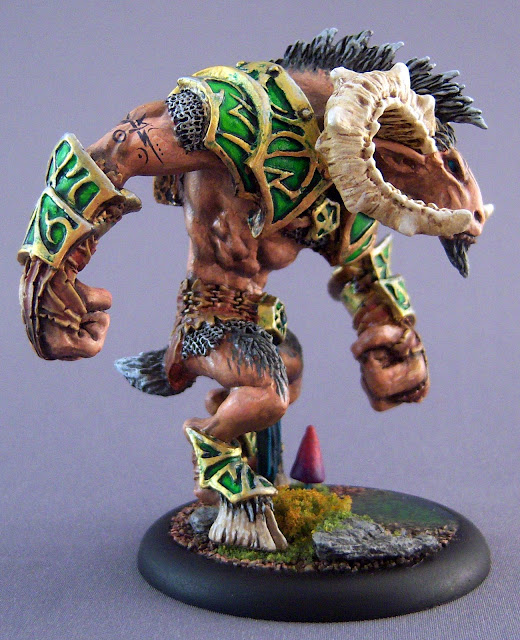
Two-brush blending is really useful in small areas. Now that I've gotten more used to the mechanics of it, I'm starting to use this technique more automatically. Even on fairly small areas (like Gnarly's righteous six-pack stomach muscles) it works quite well.

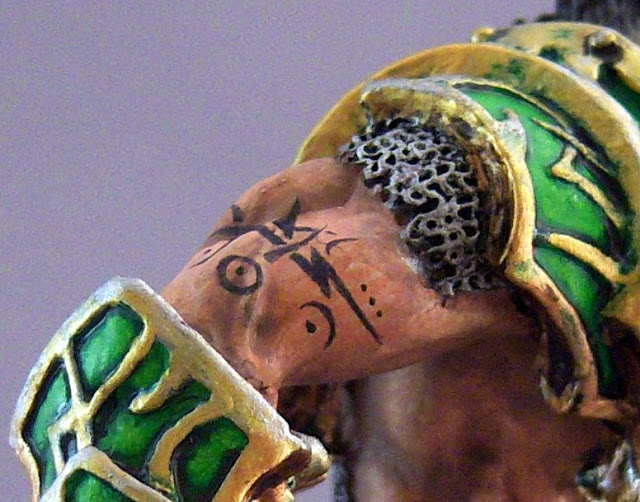
Tattoos are fun. They were intimidating when I was first learning how to do them, but later on now they are becoming a blast. Fixing mistakes on tattoos is a little painful, but the process is pretty easy. I found that sketching on a piece of paper ahead of time is vital, along with using just a touch of flow aid, but thinning paints with water is not very helpful.
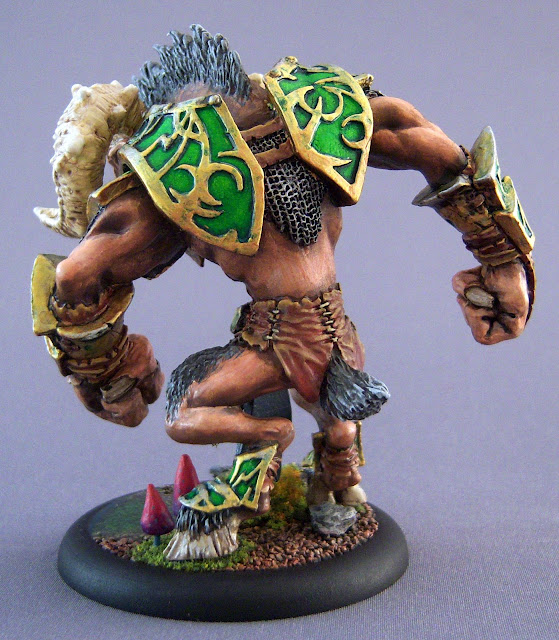
Painting the fur was an odd thing. Normally I work based on the texture, but the sculpting of the fur doesn't provide a good clean cutoff for where the fur ends. I had to "improvise" a little in how I did it. This time, it worked out much much better than the warpwolf I did before.

Overall, I'm quite happy with how this turned out. Some of the blending/shading on the skin could have been better. On the flipside, the horns worked out great. Using multiple washes and careful drybrushing really brought them to life. It helped that they are sculpted so beautifully.
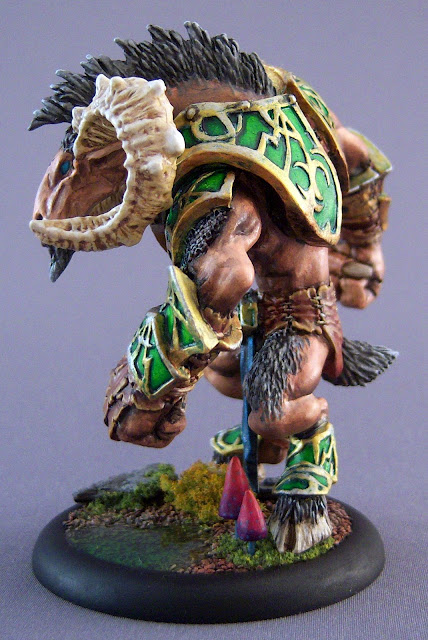
Well, enough rambling. Once again, it was a pleasure to paint another circle warbeast as a break from my usual stuff. I might post this one on CMON just to see how it rates since I haven't posted one there in quite some time.
Sunday, August 10, 2008

Gnarly (part 5)

Time to base old Gnarly.

Here are the steps to making this base.

1) Cut out a hole for the water. I drill an outline of holes in the base to make it easier to cut. Once cut, I put angled cuts around the edge so that it sloped downwards.

2) Cut out a piece of balsa wood to form a floor of the water pool.

3) Mix up some green stuff and fill in the pool. I basically rolled it into a snake and outlined the bottom of the hole, then squished the balsa wood onto the bottom. Then using color shapers, smoothed the green stuff in the hole to sloping edges.

4) With the leftover green stuff, I created a couple mushrooms. I just roll bits into cones, then stick a piece of brass rod into the bottom of the mushroom cap, then use color shapers and smooth out the fingerprint lines from the green stuff. [insert time while green stuff dries]

5) Cover base with white glue and lay down a layer of fine sand. Squish it down real good, then tap away excess. [insert more drying time]

6) Once dried, the sand was base coated with Battlefield Brown, then a heavy drybrush of Beast Hide, then a light drybrush of Rucksack Tan. I also painted the side of the pool Cygnar Blue Highlight to represent the outward facing water, and did a light drybrush of Wurm Green on the sand where the pool forms to give it a mossy sort of look.

7) I picked out a couple sufficiently rock-shaped pieces of bark from my basing bits and base coated them Bastion Grey. Then I white glued them to the base, shaded with a controlled wash of Armor Wash, and did highlights with drybrushing of Trollblood Highlight, and then lightly with Underbelly Blue.

8) Next I filled in the water. To do this, I mixed up a small amount of EnviroTex Lite. It's a 2-part resin mix that makes great simulated water. I added just a very tiny touch of Turquoise Ink. They key here is adding very very very tiny amounts at a time and mixing to get a sense of the opacity before adding more. Then I carefully poured it into the pond basin, using a small wooden stick to spread it to the appropriate places. I left it for about 10 minutes (enough time to update this entry) and then exhaled gently onto it to remove the bubbles. [again, insert more drying time, for the last time]

9) At this point I departed a bit from my usual techniques and did a thin red ink wash on the sand of the base to give it a slightly more earthy tone. In hindsight, I should have started with Bloodstone probably.

10) I white glued down a bit of simulated moss I've had for a while. I got this stuff from the model trains section of some hobby store long ago. I "drybrushed" this with Ember Orange to give it a more fall look. This stuff is pretty soft and delicate, so I had to just pat it down rather than the typical vigorous drybrushing technique. I gave it an extra and lighter pat down with Cygnus Yellow.

11) I white glued down some green flock to simulate moss. Mainly I did this so that when I pin the Gnarlhorn to the base, there won't be an unsightly gap between his feet and the sand.

12) I made painted the mushrooms. I started with a base coat of Skorne Red, then two-brush blended Murderous Magenta, then Beaten Purple. Then I used Trollblood Base to paint some spots and the stems. Then a simple matter of pinning them to the base.

13) I painted the edge of the base black to tidy it up.

And there you have it... 13 "simple" steps later and bam! The only real concern I have about this base is the purple mushrooms might create a bad visual dynamic for the Gnarlhorn once he's on it. We'll see. From just holding it up in front of him it doesn't seem too bad. I'm waiting until tomorrow though since I'm going to give it a final look over with Lance before sealing and pinning him to the base. Important tip here, if you use water effects, such as EnviroTex, DO NOT seal with matte coat over it. It will totally ruin the effect. I discovered this the hard way when I did the Totem Hunter.

Wednesday, August 06, 2008

Gnarly (part 4)

One more update. Done painting. Just need to work on the base. Here's the notes:

Leathers: highlight Rucksack Tan plus Bloodstone, further highlight Rucksack Tan, careful Armor Wash shading in the recesses

Loincloth: base coat Meredius Blue, wash Coal Black, highlight Meredius Blue, shade further Coal Black, shade further straight black.

Eyes/Gem: base coat Coal Black, highlight Meredius Blue, further highlight Arcane Blue. For the gem I added a tiny dot of MWH.

Not a great photo, but I was rather pressed for time this evening.

Sunday, August 03, 2008

Gnarly (part 3)

More updates since yesterday. Getting close to done now. Here's what I did:

Armor: Shading with Molten Bronze, highlights with Quick Silver, additional shading with straight Armor Wash

Hair: Base coat Ironhull Grey, drybrush Bastion Grey, drybrush Trollblood Highlight, drybrush Frostbite, wash black

Leathers: base coat Bloodstone + red ink, wash umbral umber,

Tattoos: Exile Blue + Armor Wash, very very thin wash Midlund Flesh to "bury" it


Next things to do are highlight the leathers, then I've got the gem, eyes, and loincloth. I should also start thinking about how to base it.

Saturday, August 02, 2008

Gnarly (part 2)

Made quite a bit of progress in the last few days. Here's the notes on what I did:

Horns: Thick wash of Jack Bone, thin wash Gun Corp Brown, drybrush MWB, light drybrush MWH, very thin wash umbral umber, highlights with MWH.

Armor: Base coat Cold Steel (over the black), thin wash green ink + flow medium (to darken the insets of the plates, Solid Gold base over the Cold Steel, medium wash turquoise ink + armor wash.

Chainmail: Drybrush cold steel, wash armor wash.

Next things to do include highlighting and shading the metals, and replicating the process from the horns on the hooves.

Sunday, July 27, 2008

Gnarly (part 1)

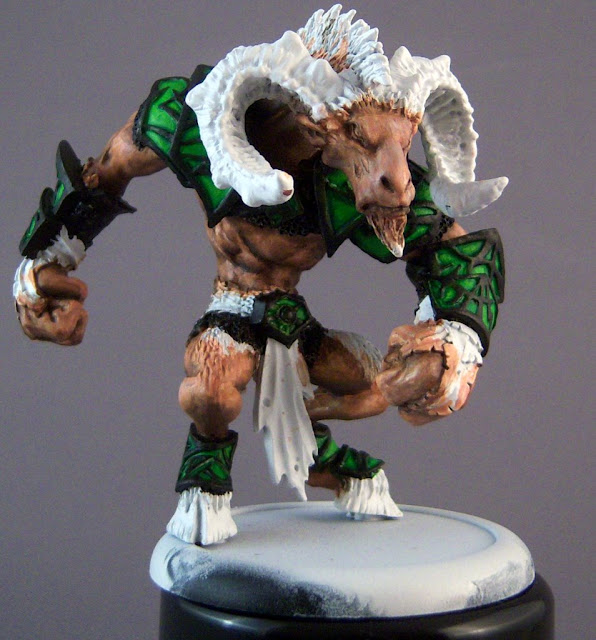
I started working on the Gnarlhorn for Sean yesterday and figured I'd snap a pic of the progress, along with the particulars of how I did what I did (not that it's really that spectacular).

First, I primed in white. It was just easier. I've still got mixed feelings about using white instead of black on this model, but it's clearly too late now. It has helped for doing the flesh, but has introduced an additional step for doing the armor.

For the skin, i decided to go with more of a human tone rather than a darker leathered tone. Primarily because it gives me more contrast range to work with, without having to go super dark, and I also feel it will make a better match with the more beaten tarnished gold color I plan to aim for on the armor plates. The skin so far is the following steps:
  1. Base coat Midlund Flesh.
  2. Add some lines of MWH. The idea here was from Matt DiPietro's post on the Ask the Studio thread about how he added texture to the skin and horns.
  3. Medium-thick wash of Bootstrap leather.
  4. Some two-brush blending of Battlefield Brown on the lower regions of the muscles.
  5. Thin wash of Ironhull Grey and Umbral Umber.
  6. ...next steps are to add some highlights to the upper regions of the muscles, and then some additional shading work.
The armor is pretty basic so far. Fill in the recesses with Necrotite Green, then a wash of Iosan Green, then another wash of Gnarls Green. Both washes have a touch of flow medium in them to hep them flow into the recesses. Then I carefully went over all the raised portions (the parts to become gold) with slightly thinned black. The black is to help with the metals once I start them. I'm still thinking I might do an ink wash on them, but it's undecided at this point.


Please note, this pic is my first attempt at moving towards using Google's Picasa and Picasaweb for my photos. I'm still working out the kinks, along with the lightbox image display kinks. If you encounter problems, please leave me a comment so that I know.