Showing posts with label trolls. Show all posts

Sunday, March 29, 2009

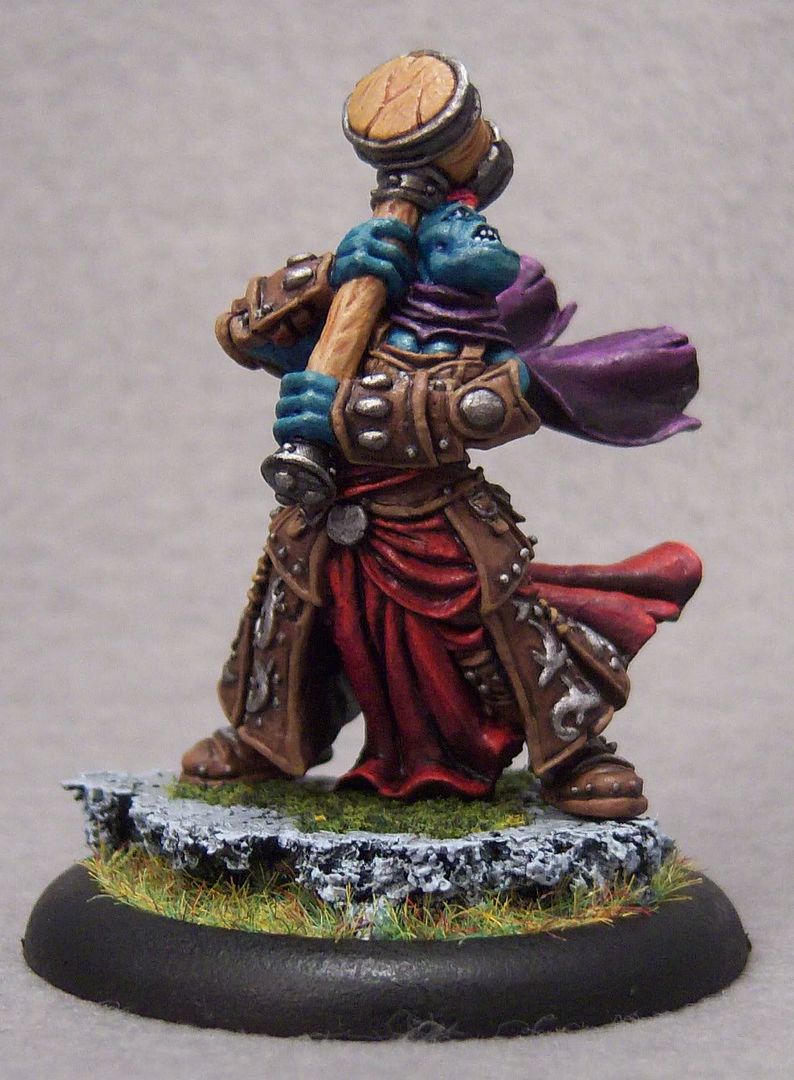
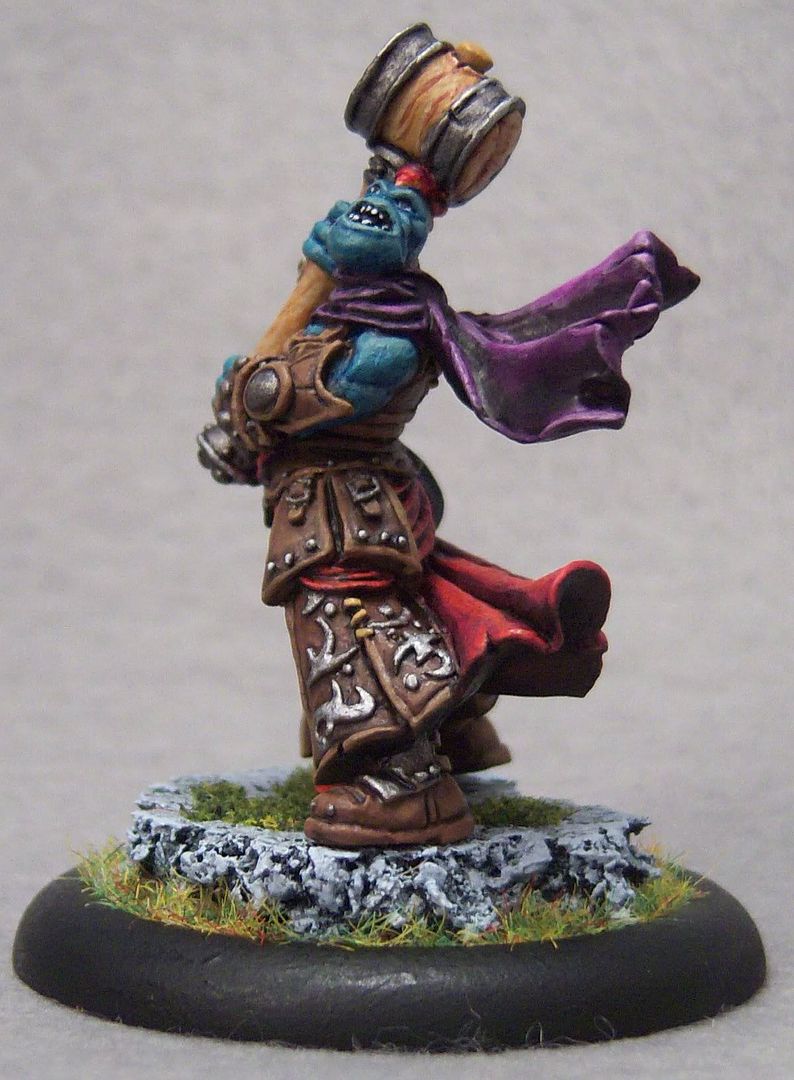
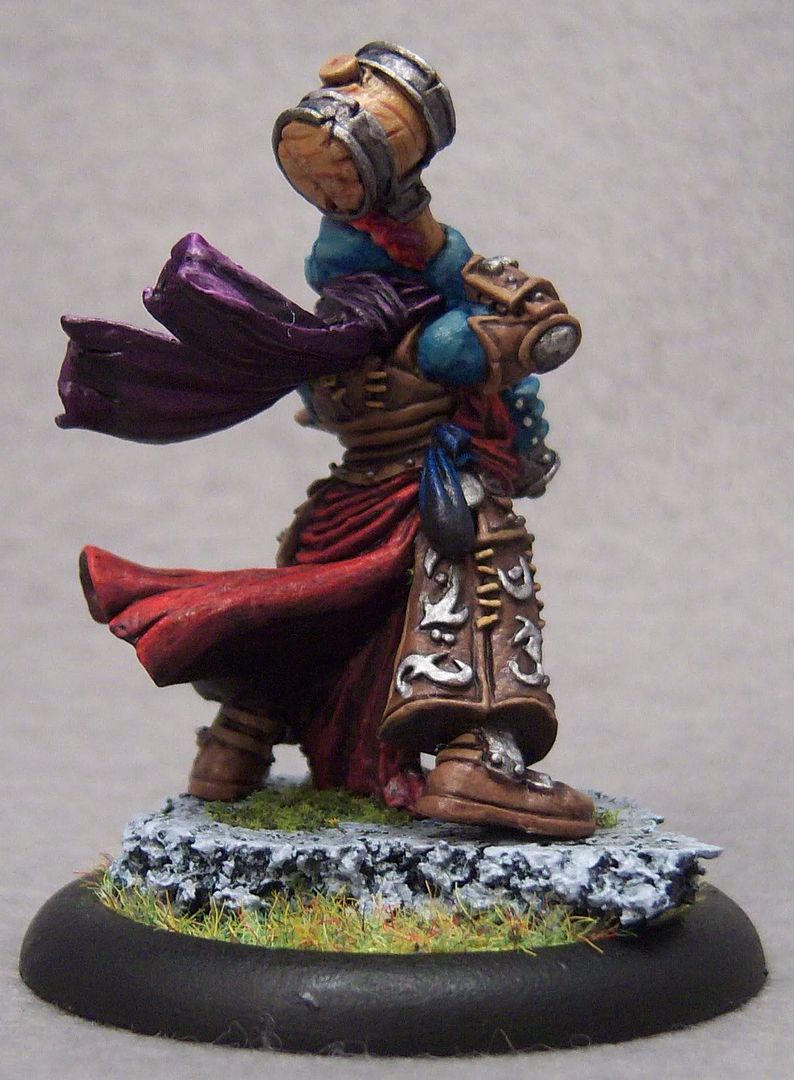
Hoarluk Doomshaper, Rage of Dhunia

I did it! My wife's painting challenge was just what I needed apparently. I'm not sure how many painting hours it was (probably 8 to 10), but it was basically just 2 evenings and some time on a Saturday. I'm sort of amazed that I pulled it off. I'm really looking forward to fielding him today at the Schism tournament. I'll make sure to post about the tournament tonight or tomorrow and include a review of how he performed. Fortunately I've got the DTMX to be his bonded beast as well!

Things that went right:
* The scrolls went fairly well. I started with Thrall Flesh and then worked up through MWB to MWH and a couple of spots of pure white on paper edges. A bit of a wash of Beast Hide helped give more definition to the paper as well.
* His flesh went well. I started with Underbelly Blue and then did a combination of washes and 2BB using layers and combinations of Trollblood Highlight, Trollblood Base, Exile Blue, Sanguine Base and Ryn Flesh.
* The basing went great. More on that below.
* The leathers worked out well despite some failed starts early on. Mostly it was a matter of starting with Bootstrap Leather, washing it heavily with Armor Wash and Battlefield Brown, then working it back up using more Bootstrap Leather, Beast Hide and Rucksack Tan. Man I do love those colors from the P3 range!
* GW's Devlan Mud wash worked out great this time too. I used it in some select spots and now I think I've figured out how to use it effectively. On the cloth on his feat I used Beast Hide, then some rough highlights with MWB, and then washed it with Devlan Mud. The results were quite good despite not doing any further highlights. It's definitely a shortcut, but it does look pretty nice for the amount of time needed. The key was to highlight first, then lay on the wash quite thick.

Things that could have been better:
* The tartan didn't go so great. I often struggle with them, but this one was so wavy and folded that it made it quite hard to paint effective lines. It also just sticks out in small places, making it harder to keep a coherent look to it. But, in the end, I'm not completely unhappy with it.
* The rune stones aren't great. The runes on them don't really jump out so well. Next time I think I'll need to hold off on the washes and stick to proper highlighting.
* Having no sprue tab was a pain. I had to work from a paperclip stuck through a cork, which is rather small for my hands. It doesn't afford the same stability that an empty mattcoat can affords. Next time I should look for a way to mount the paperclip-cork combo to the can.
* Mounting to base didn't go very smoothly. I should have better fit him down. His left foot is floating just a tiny bit above the stone slab of the base. Oh well, too late now.

One last note before I head out to the tournament: The base was an amusing departure for me. I wanted to make a base that was at least somewhat epic for Hoarluk so I figured I'd create a rune-carved slab on a pile of stones like a small altar. You can sort of see it in the picture. I too one of the prominent runes from his armor and from the artwork and carved it into the face of the top stone. It wasn't too hard to do actually. The base is made from Super Sculpy which hardens well enough for basing, but is still easy to carve into with cutters and a knife. He's standing directly on the run though so it makes it hard to see properly without having it up close to look at.

Anyway, off to breakfast, and then to play!

Saturday, February 21, 2009

Stone Scribe Chronicler

This is one of those models that I'm sure got got because at the time I thought it was a great model. Then it went into my queue... deep into the queue. I lost interest in it and after reviewing it, decided it wasn't such a great model. However, now that I've painted it, I have to say it was relatively nice to paint. The pose is pretty open, and everything was easy to get to. I'll admit it's not my favorite of the troll models, but it does help reinforce what makes a model pleasant to paint.

Things that went well:
* The wood worked out quite well for being speed painted. I used a base of Rucksack Tan, then washed it a couple times using a slightly thinned coat of Sepia ink, and then a thinned wash of Armor wash.
* The scroll went well too. I did some layers of heavy pseudo-drybrushing on it to give it that aged paper look. Then I used a mix of Umbral Umber and Armor wash to do the runes.
* The tartan went smoothly. I used the same pattern as on Borka. In hindsight, it would be nice to go back and do all my trolls that way.
* Overall color balance worked out pretty well I feel. It's a relatively dark model, but I sort of like that about it.
* The brass metals went nicely. I used VMC Brass as my base, then used washes of chesnut ink, turquoise ink, and armor wash, then highlighed back up with some GW shinning gold, and then some P3 Quicksilver. I like the depth it gives the brass metals, with sort of an aged and weathered look, but also creates some natural brushed metal texturing.

Things that could have gone better:
* The leather armor could have gotten more work, but honestly I spent enough time on it that I was disinclined to do any further shading work.
* The skin is not completely satisfactory. I used Sanguine Base to shade the skin, and although I like the color interplay, my execution of it was sub-par unfortunately. Borka had this same problem.
* His eyes could have used a little more effort.
Overall the whole model could have used a little more effort, but that's sort of a running theme for me these days. Once again, I'm focusing on getting paint to the model and not trying to perfect every blend. Color variation and balance is more of my focus right now when it comes to developing my skills, and that requires painting more models rather than painting for quality.

Monday, February 16, 2009

Borka Kegslayer

Shortcuts: yes. Top quality: no. Happy: yes. This was actually quite a fun model to paint. It was a little intimidating to start with, but I really did enjoy it a lot. There's plenty of detail, but not overdone with little tiny bits of detail, and his scale and pose makes everything accessible. I could have easily spent more time on him, but I'm trying to stick to an already tight schedule. Plus I spent some time working on basing ideas for my forthcoming Legion projects.

Something in particular that could have gone better is the fur. I used a combination of drybrushing and washes, but unfortunately it created kind of a dirty effect due to the wash's liquid cohesion. I need to remember to add something to break down that cohesion on washes that go into "high texture" areas.

Something in particular that worked out well was the tartan. I managed to get nice crisp lines, relatively smooth shading, and added a little highlighting to even the lines.

Sunday, February 15, 2009

Pyg Keg Carrier

I was going to wait to post this guy until after I finished Borka as well, but Borka is still a ways from complete. Plus I wanted to feel like I'm still on track to finish up my trolls by the end of February. The three day weekend is exactly what I needed to unwind from a long hard stretch of work and get re-energized to paint. It seems like every once in a while I hit a wall for painting and have a hard time picking up the brush again. This time at least I didn't have that initial trepidation.

In all fairness, this was just a tabletop quality job. I didn't try for anything great here. All three of these remaining trolls are in this boat. I did spend a fair amount of time on the keg though. I wanted to really work on he wood grain.

This was the first model in a while that I primed black. I'd gotten so used to painting over white primer that I sort of felt like I'd lost my chops at first. White primer is certainly nice for some things, and speeds up some processes. However painting over black has one distinct advantage for me: It forces me to be more disciplined about how I lay down paint. My base coats get a better treatment for sure, and I find that I think more carefully about my colors.

Ok, anyway, back to work on Borka.

Monday, November 10, 2008

Grim Angus

This model rocks. Plain and simple. I loved painting it. It's a great pose with a good level of detail. Everything was easy to get to on the model as well, which made it pleasant to spend an excessive amount of time on it. In fact, this guy got a much higher level of quality treatment than anything else for the last couple months. It was nice to slow down and spend extra time on this. It was also nice to paint a troll again, given that I hadn't painted one for quite a long time now.
I spent a fair amount of time working the metals on this model, as I've been prone to do lately. I really have found that the extra work really pays off. It gives the metals more "forced" contrast and helps create a better sense of surface. It also helps in the end product after I've sealed it so that the dullcoat effect doesn't flatten the entire thing.
I'm still not feeling very good about my zenithal highlighting skills, but it's coming along. It's just hard to think that way still. The face could have used a bit more work too, as the highlights seem to be much less dramatic than everything else. I won't even comment on the shirt/pants except to say that for some reason the color rubs me the wrong way, but I can't pin down why.
Something I did very different this time, best exampled in this third picture, is use a lot more color hue variation in several areas. The jacket is a good example. I used primarily brown-based colors, but varied between green tones and red tones as I went. I focused more on choosing hues carefully than blending. In the end, the blending turned out to be less important as the variations in hue created a sort of unique blending effect of its own. This was a real branch out for me, and required much more attention to color choice for me. I'm very happy with the result though, and looking forward to experimenting more with this.


Thursday, November 29, 2007

Grissel Bloodsong

Grissel marks the fully painted mark for my trolls. I'm now down to just my alt sculpt paladin left to paint. Looks like I'll reach fully painted before Christmas!

There's a couple key things I want to highlight before signing off for the night. First, I'm very happy with how the overall look of the model turned out. It wasn't the best paint job, but I was focused on practicing overall color balance, and specific effects. This one isn't perfect, and the sculpt itself didn't help, but I feel like it worked out ok. The leathers, metals, and wood grain were things I wanted to practice new techniques on too, and they panned out ok I think.

The second item is my photo setup is getting better. I tried out a bunch of different paper backdrops and found that paper is just too reflective. So now I've got a medium grey felt and that seems to be working quite well.


Tuesday, November 06, 2007

Krielstone Scribes

I think I've finally found a methodology to painting squads that keeps me from getting too frustrated. Rather than working by color, I work by element, completely shading that element before moving to the next one. This served me pretty well working on these guys. It also helps to pick larger elements at the start if possible. For these guys I did skin first, then main leathers, then weapons. By that point they were 70% covered in paint. Anyway, it's nice to have these little buggers finished. This leaves me with just one troll left, and 4 models total unpainted.


Monday, October 15, 2007

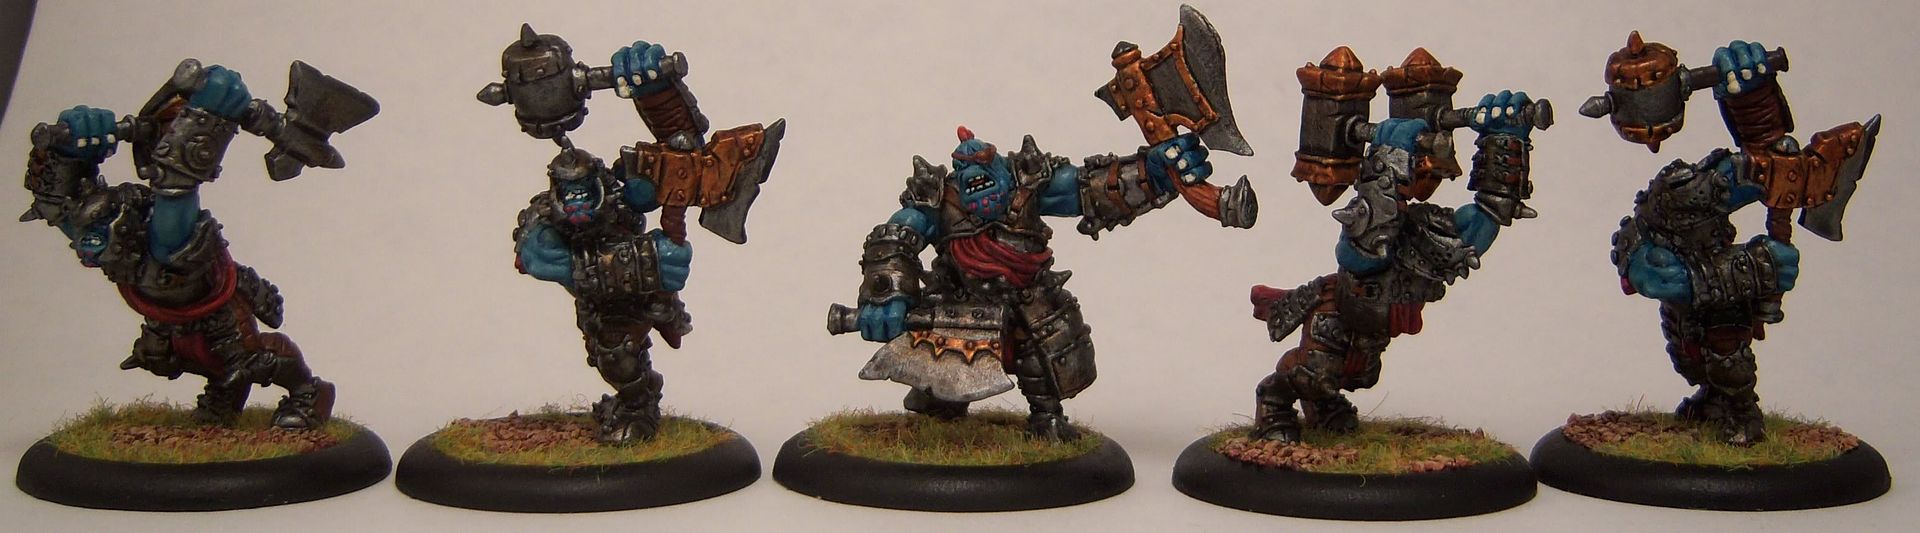
Trollkin Champions

Finally finished the champs. They had been about 75% done for well over a week now. This last weekend I wrapped up the many little details and then finished sealing them this morning before work. Overall, they weren't as painful to do as I expected, but I also didn't go for more than what I consider a tabletop quality job. No painting like I have a pair here, with perhaps the exception of using two brush shading on the skin.

Tuesday, September 25, 2007

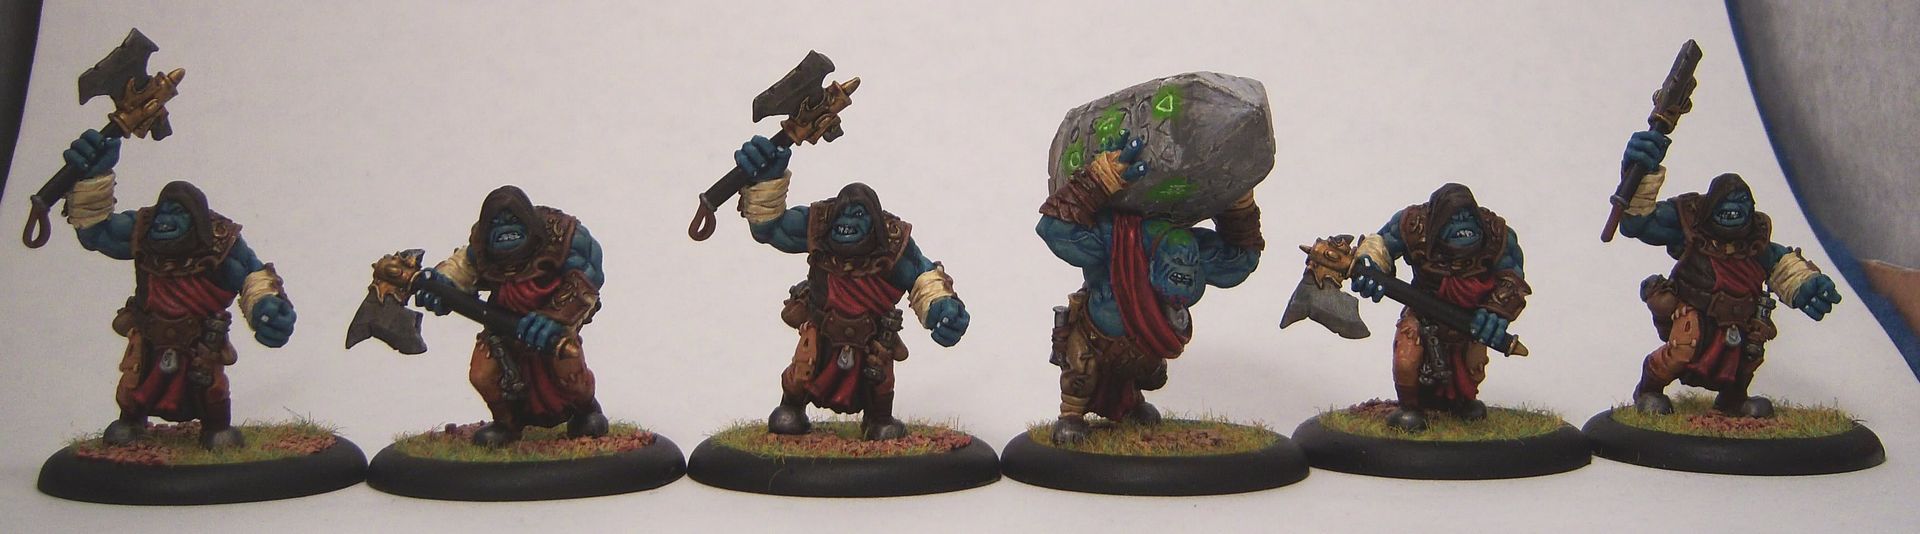
Krielstone Bearer

Finished up the Krielstone Bearer. The scribes are queued up for later though. I spent a little less effort on the painting quality this time and more effort on the overall composition and story effect instead. There were a couple specific things I focused on. First, I wanted to pick out a handful of the runes to have glowing. My "glowing" effect isn't great, but I'm more satisfied with it than I was on the Fell Caller. I also did a little OSL work on the runes around his hands and above his head, putting some reflected green on those spots. Second, I wanted to make the stone look like it had been uprooted from the ground recently, so I used some Vallejo smoke to make a "dirt line" on the bottom of the stone. Overall I wanted this to draw the attention to the stone more than the troll. Again, not my best painting quality effort, but I'm happy with the overall results.

Saturday, July 21, 2007

Dire Troll Blitzer

Finally got off my lazy butt and finished up the blitzer. He'd been sitting there all done except for his Pyg Ace rider for almost a week. I used alot more washing techniques on this one with mixed results. I'm not entirely happy with it, but it did give me more experience with a technique that I feel I could really benefit from using more. Something I think will help in the future is to add matt medium to washes in order to eliminate the reflectiveness that often results from using the flow extender in the washes. Something to try next time I guess. Beyond using washes, the rest of this was pretty standard techniques for me. The model itself was rather hard to work with due to its shape and weight. I'm not sure if I like the bone-style protrusions. Painting them as rocks achieves a better look I think, but this does help maintain a better color balance. Overall though, a very entertaining model.

The camera is starting to get more comfortable for me. Plus, I learned how to use Gimp to crop the image down. For those interested (and as much for my own benefit in case I forget next time), here are the steps:
  1. Open the image in Gimp (Duh)
  2. In the image window, go to: Tools -> Selection Tools -> Rect Select
  3. Select the region of the image to keep
  4. Go to: Image -> Crop Image
  5. Save the image

The reason this is so valuable is that the camera really produces a very large image (larger than necessary), and also that taking the picture from further away helps focus the image better, especially for a model like this that has much more depth of field

Sunday, July 01, 2007

Fell Caller

Finished the Fell Caller tonight, and I must say, this model was both very fun and very torturous at the same time. There were a zillion little details to paint. There was a comment I had heard about Hordes models when they were first released: "You can spend as much or as little time painting them as you want." Well, this is definitely true for the high end. I spent the better part of 3 days working on this guy. In any case, I'm very pleased with how this bad boy turned out. The picture is kinda lame for a couple reasons, the primary of which is that it makes the water effects of the base look bad, and they really aren't. This time I was smart and sealed the model before attaching him to the base.

There were 2 things that I decided to just paint like I had a pair. First, the fire effects on his torch-banner-thing was something I hadn't really done before. I think this turned out not too shabby overall. I started by painting the inset part white, and then building towards orange as I went out, with a final haze of orange around the edge. Second, the Tartan patter, which is moderately ok. I'm pretty unpracticed at freehand work, so the lines are pretty poor. Still though, I'm glad I did it. From more than 12" away, it looks decent enough.

Well, my desk is a total disaster so I need to clean it up. I have this habit of leaving out the paint pots that I used for a model until I finish that model (yes, I only paint one model at a time), and for this guy I seem to have an excessive number of pots out. Let's see... [insert abacus sounds]... 32 pots of inks and paints.

Saturday, March 31, 2007

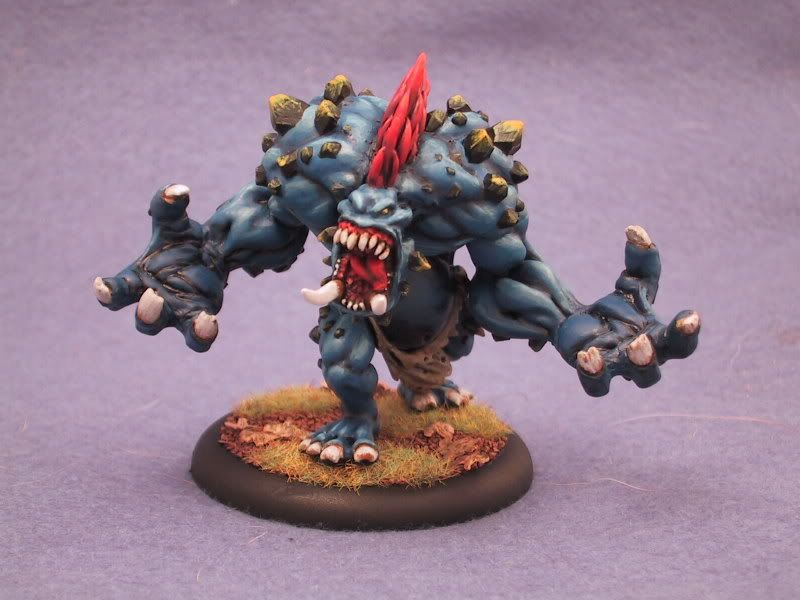
The Mauler Extreme

No witty title today. This guy has taken a long time. He's not fabulous, but he's done.

Things I learned while working on him:

  • With a really large model, simpler is better. Trying to mix my own shades got me in some trouble when I didn't mix enough to finish all the areas I wanted to work on.

  • Large heavy models are hard to handle. I fully assembled this guy to avoid having join points show up as much, but this guy is a beast. Seriously, he was just awkward to hold while painting.
  • Future floor wax is great and all, but too much of it makes things shiny (duh). I went back to using just water to thin paints for this model. I used entirely P3's for paints and the P3's already have a somewhat satin finish. Lots of Future was just making it too shiny.
  • Matt medium rules.

Tuesday, February 27, 2007

Shaping Up!

Sorry... bad pun. Doomshaper is done! 9.5 hours of half torture, half fun. The photo is ok, but the raised rune details on the leather armor got washed out. I used the P3 Blighted Gold on them and they have sort of that mild-metalic look to them that reflects differently at different angles. I totally love the look of it, but it does have a tendency to not show up on first glance, as the photo demonstrates. Anyway, with the finishing of Doomshaper, I now have all my troll models painted, and I'm a mere 2 models away from fully painted!

Monday, February 19, 2007

Mauled


And then there were 3... The Dire Troll Mauler is finished! He was about 7.5 hours of work total. Using Lance's distance rating scheme (which is basically the distance at which the model still looks like a good paint job), I'd rate this guy as between 12-18". He was alot of fun to paint, similar to the Ogryn Bokur, due to having alot of muscle and skin to blend. It's not a super paint job of course, but it was fun and good practice anyway. The base was a slightly different experience for me. I pretty much fully assembled the base (painted, grass, leaves, etc) before mounting the Mauler on it and it worked out pretty well.


Today's lesson is, don't stay up till 4am playing some stupid computer game just because it feels like the game is almost over. Stupid game. I got a pretty minimal amount of sleep and it left me with a headache and feeling mildly sick all day. This bothers me mostly cause I think of how many hours I spent playing that stupid game instead of painting. I could have literally painted an entire model instead of playing that last mission of that stupid game. Anyway, lesson learned, moving on.


3 models left till fully painted! I'm expecting to cave and order new models before I finish all 3. Next on deck is Hoarluck Doomshaper, and the second Ogryn Bokur is sitting in bits waiting for a vision of how to convert it to strike me.

Monday, February 12, 2007

Madrak Finished!

4 models to go! Madrak was about 6 hours of painting. Rather than the storyline version of him that makes him an albino, I decided to try out a green skin scheme instead. He's ok, but I could clearly have done better in the details department. There's a lot of fanboyism on given them scottish patterned sashes which I've clearly departed from primarily because I just don't like it. Actually, as I look at the picture again, I did a pretty decent job of blending. It's just the little details like the ax highlights, the teeth and nails, and the "warts" or whatever those bumps are that could have used a little extra effort. The funny thing is that after doing the Harbinger, Madrak felt like minimal effort. Blending color is so much easier than white and black.


I started the Mauler last night. There's some unfortunateness with the join points, but I'm not really very concerned. He'll be big and blue and badass. He'll probably go faster than most large bases since he's 80% unobstructed skin. I did however fully assemble him (except for a base) before starting. I'll probably regret it, but I can always paint another.

Monday, January 01, 2007

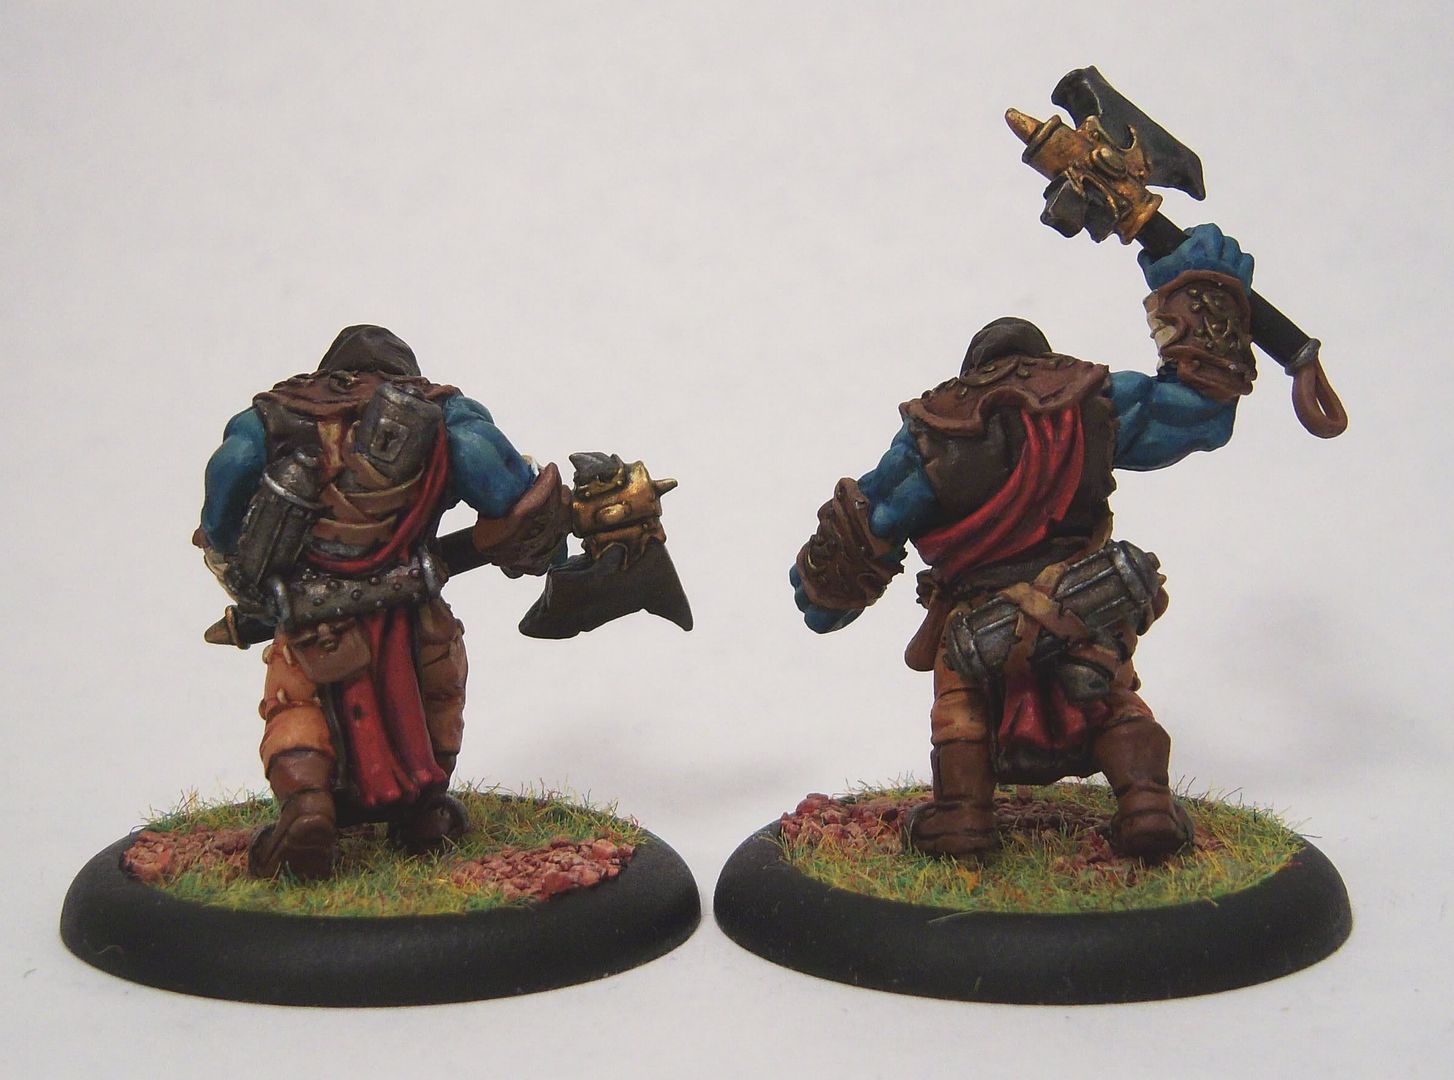
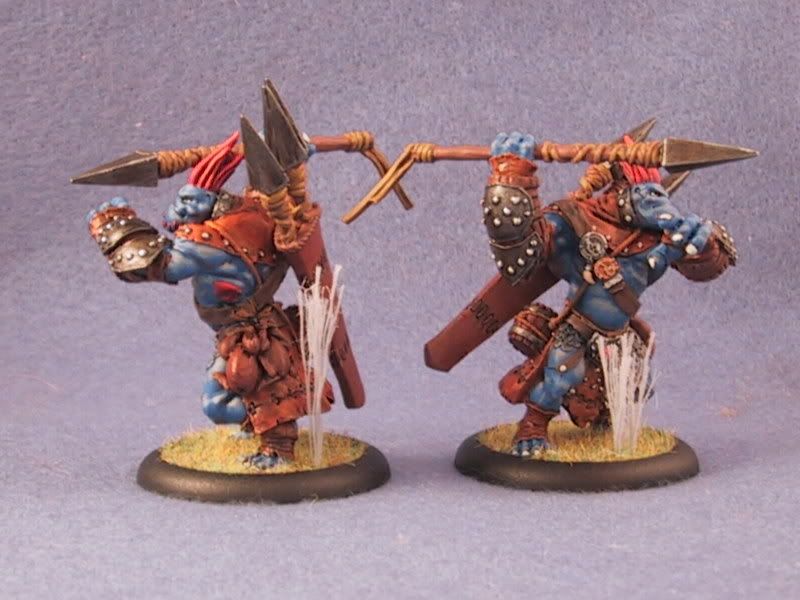
Impaled!


I'm officially up to halfway on painting my trolls now. These 2 Impalers put me at 3 painted, 3 unpainted. The remaining 3 of course are much larger or detailed than the first 3 were. Anyway, here's the counts: ~8 hours painting time, 34 paints.
I took some shortcuts, but aso tried some new things. The leathers were not my standard lazy leathers. Instead I did 2 different layers of inks: chesnut, and dark brown.

Next on deck is the Harbinger. The acolytes are primed and ready to start, whereas the Harbinger herself is still mostly in pieces. There's still some fitting and pinning that needs to be finished before I can prime her. It'll probably be at least 2 weeks before I get even close to done with her, so in the mean time I'm going to try and post stuff like my own set of tips, total hours on a backlog of models, and also get more pics posted of older stuff once I can get another good lamp.

Oh, and one last note, I need to start planning an army for Kublacon. I'm definately playing Menoth, but I'm still not clear who I want as my warcaster.

Saturday, December 23, 2006

Troll Axer


Finished! 5 hours and 25 colors. It's not super quiality, but it was fun to paint and easier than I expected. I'm actually looking forward to painting the rest of my trolls now. Before I started this one, I made sure to read Fluffy's righteous tutorial on troll skin on the Privateer forums.