This is my personal diary of painting experiments and Warmachine, Hordes and other miniature adventures (and perhaps a splash of real life thrown in occasionally too). This blog is as much for my own motivation as to share my experiences with others. My self imposed rule for my army is that I only field painted models. If you're a fellow painter, I encourage you to challenge yourself, learn new skills, try new things, and most of all, paint like you have a pair!
Showing posts with label warpwolf extreme. Show all posts
Monday, January 07, 2008
Warpwolf Extreme
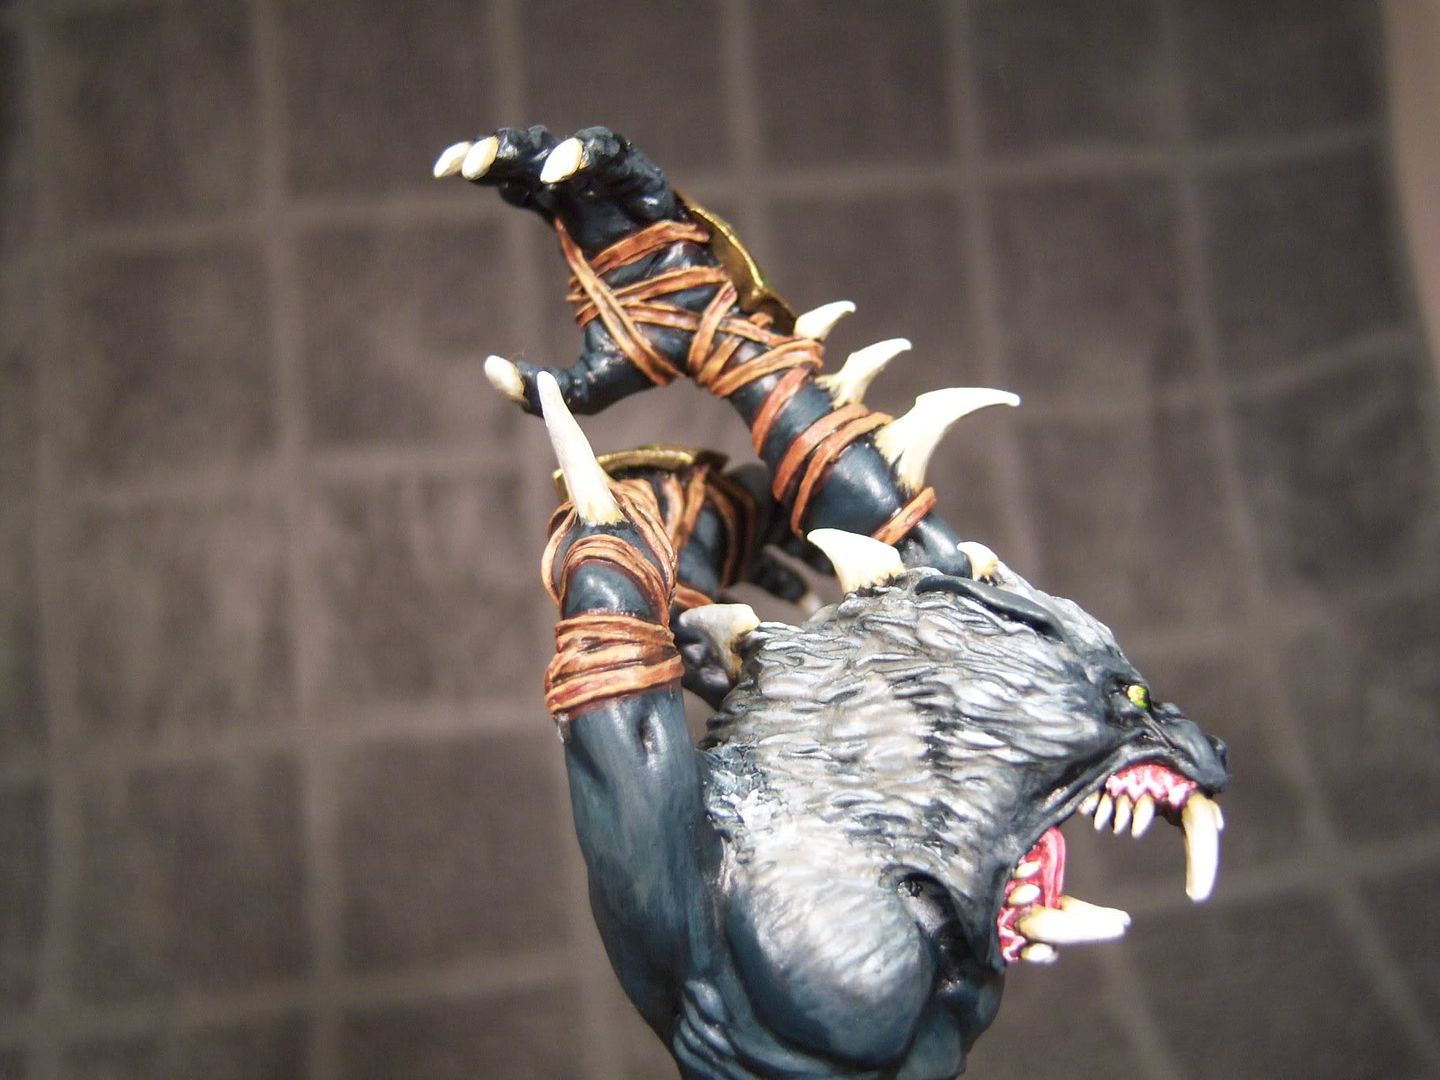
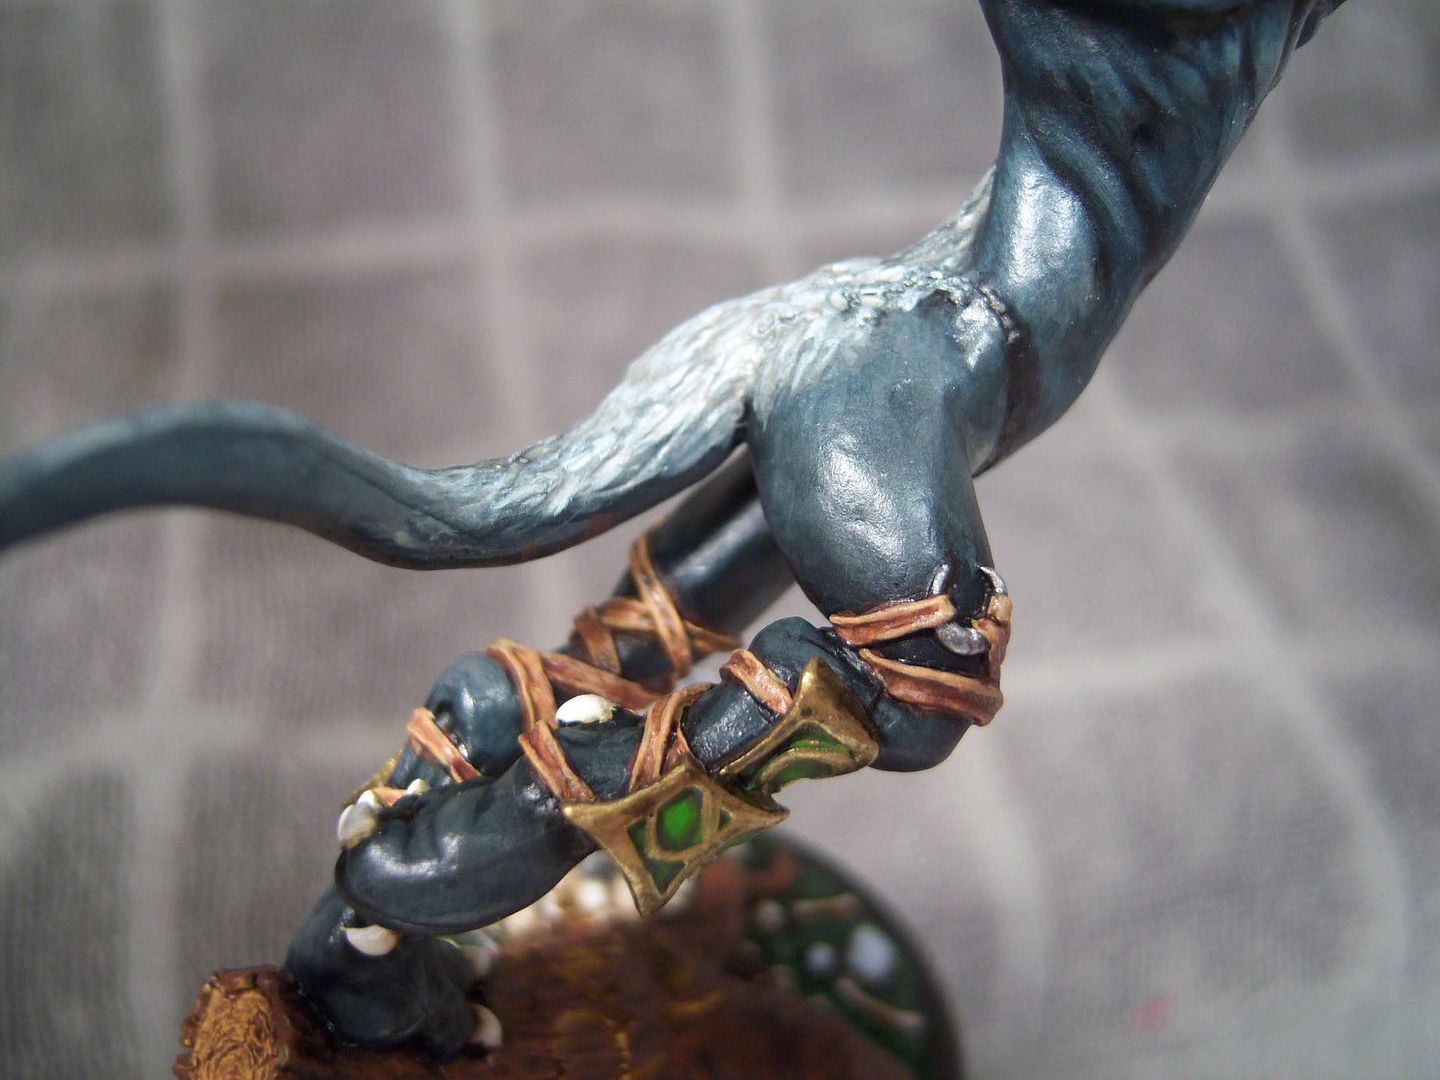
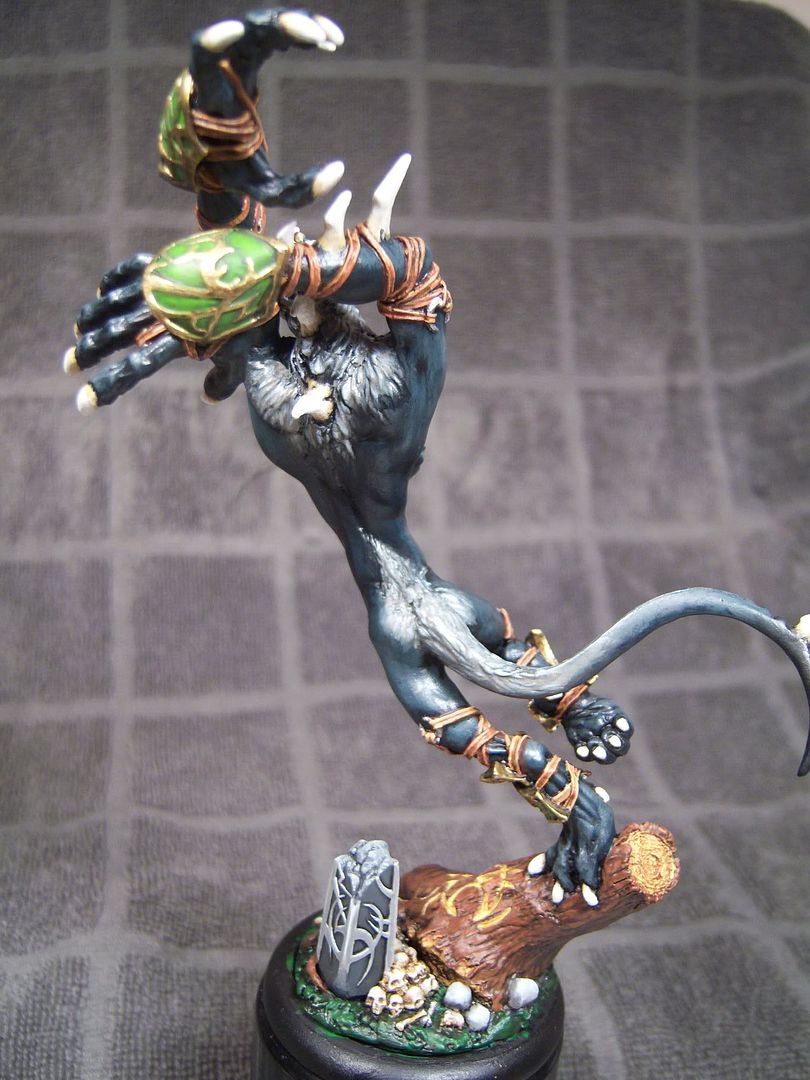
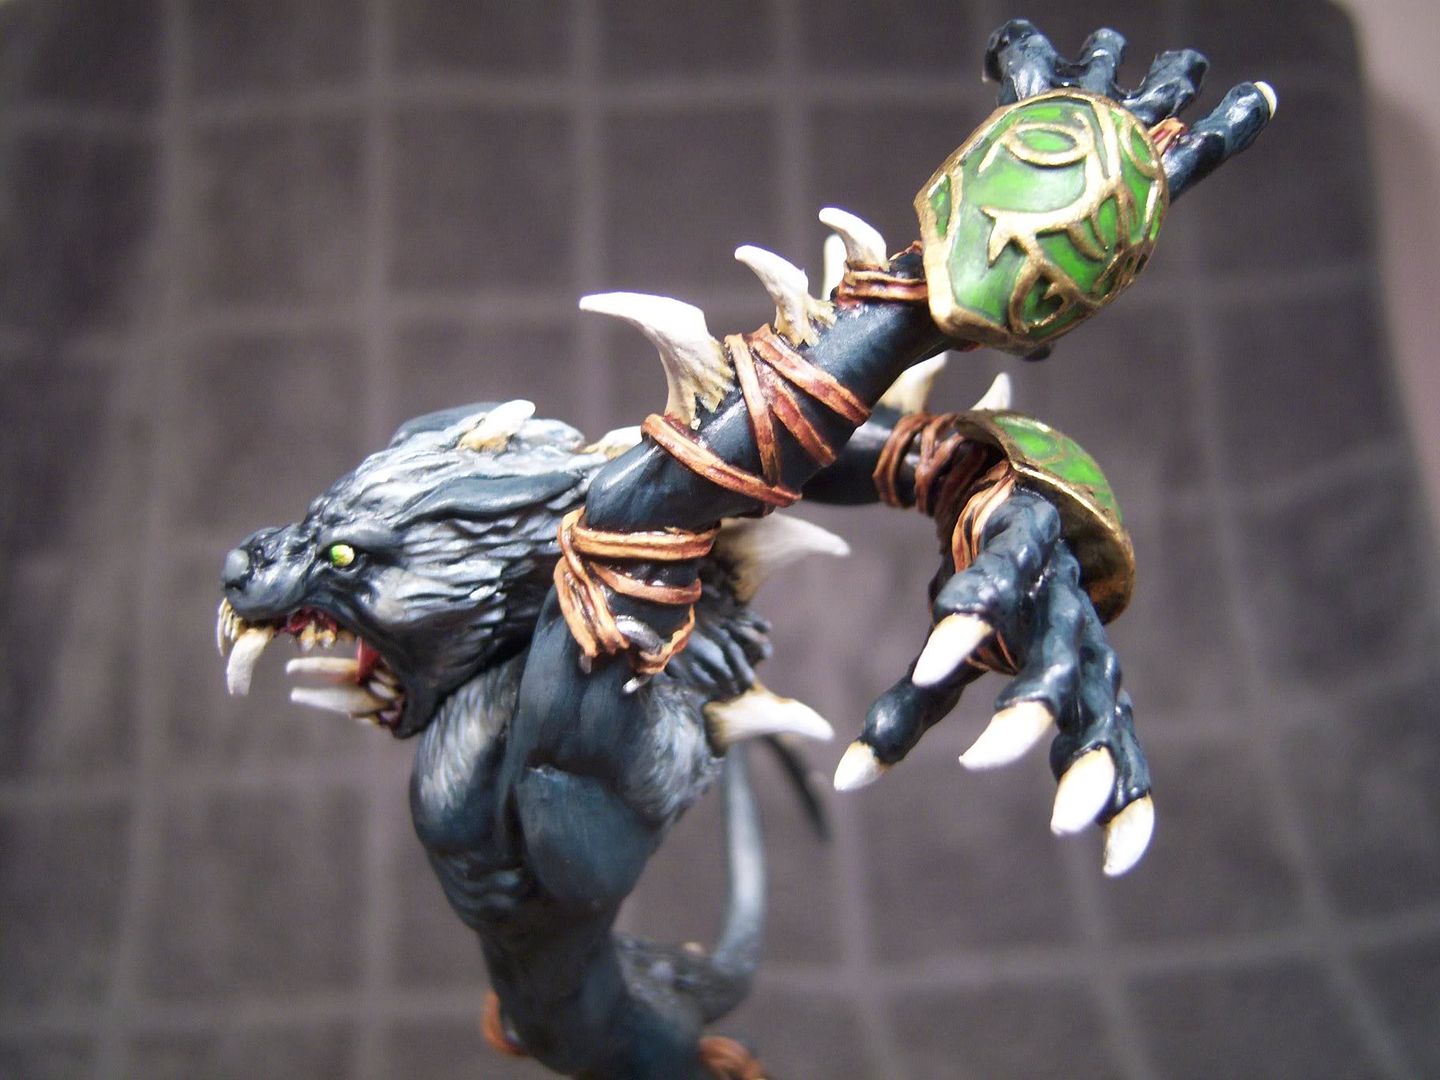
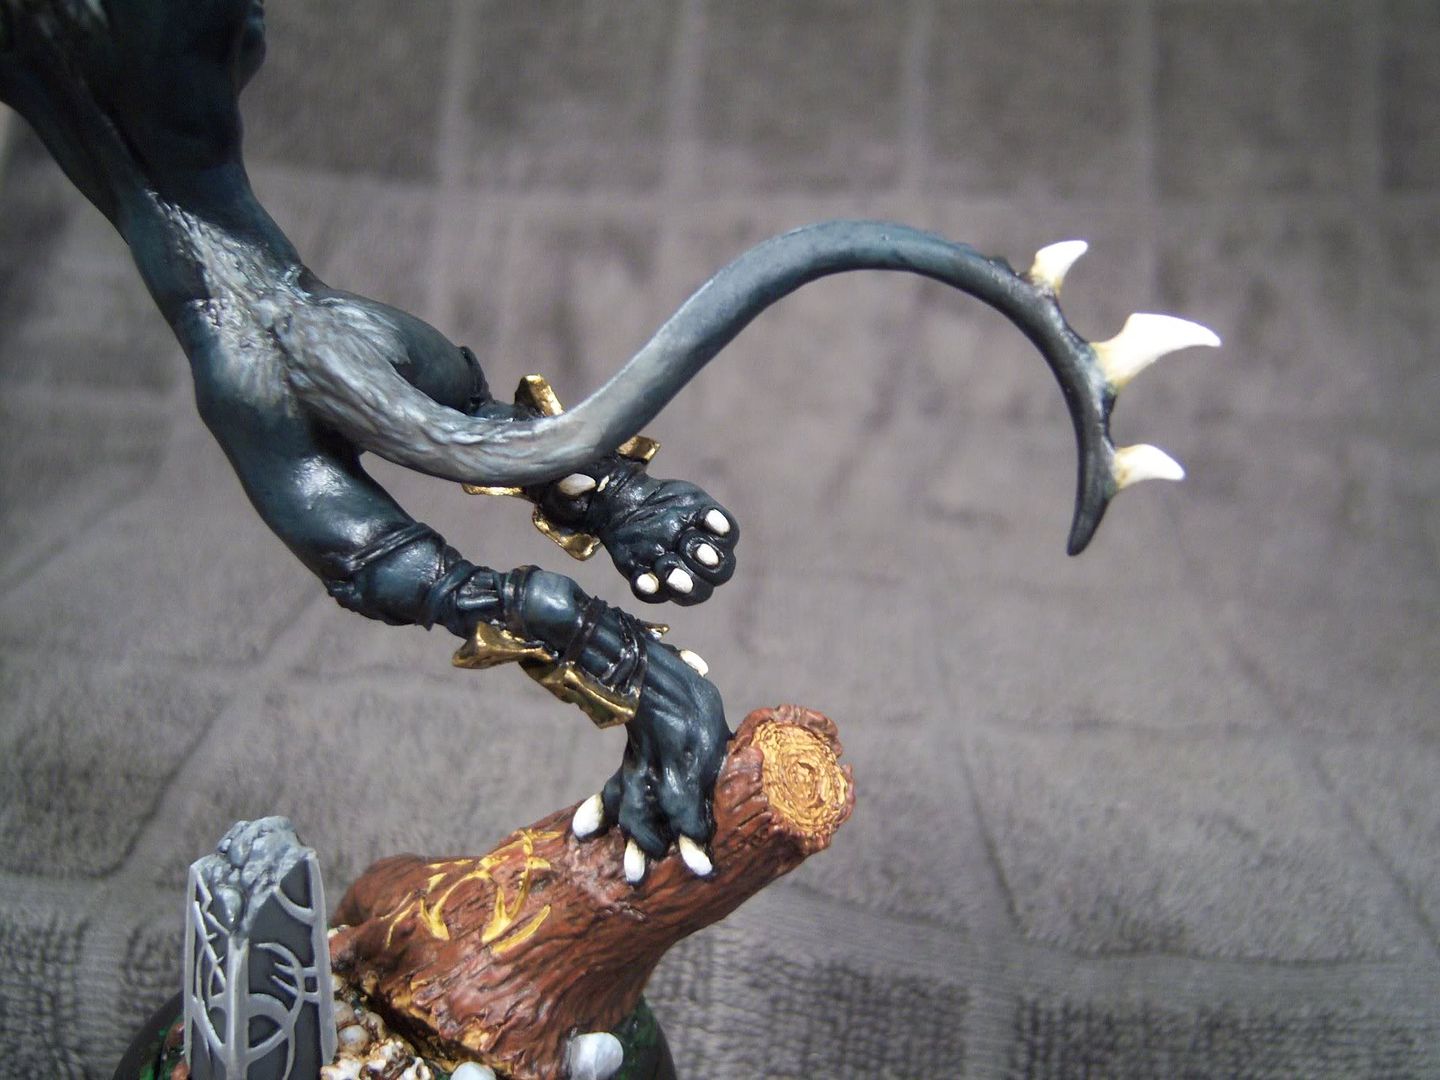
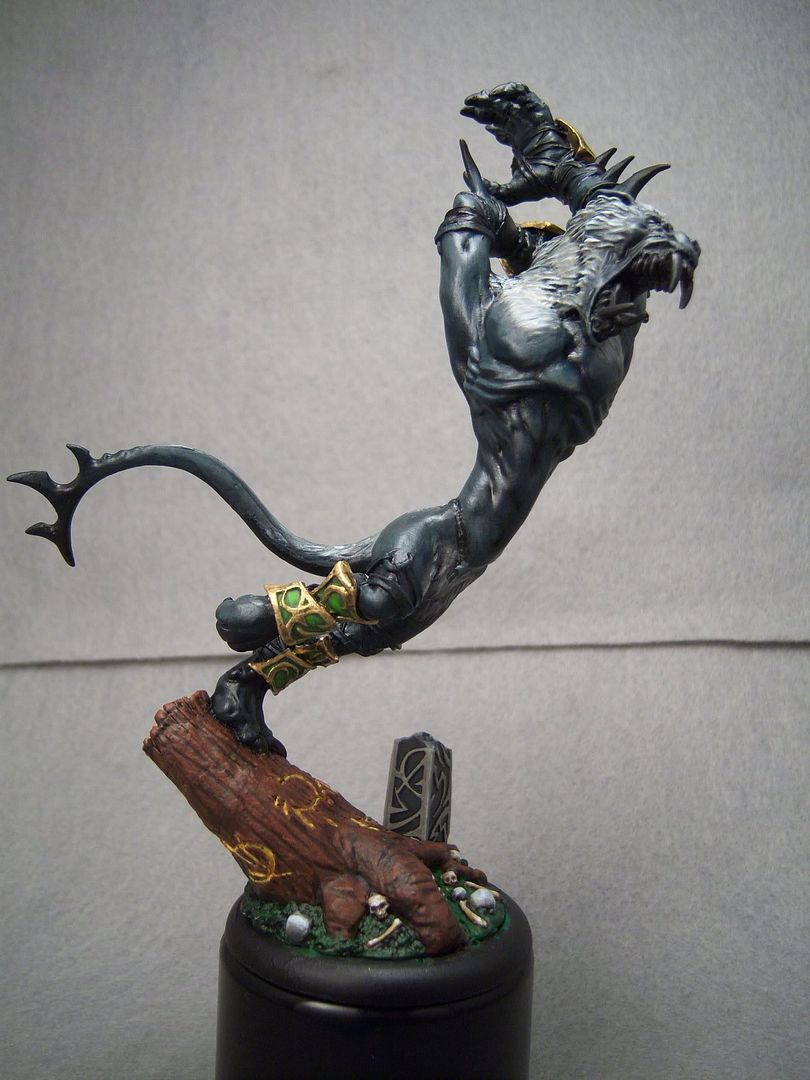
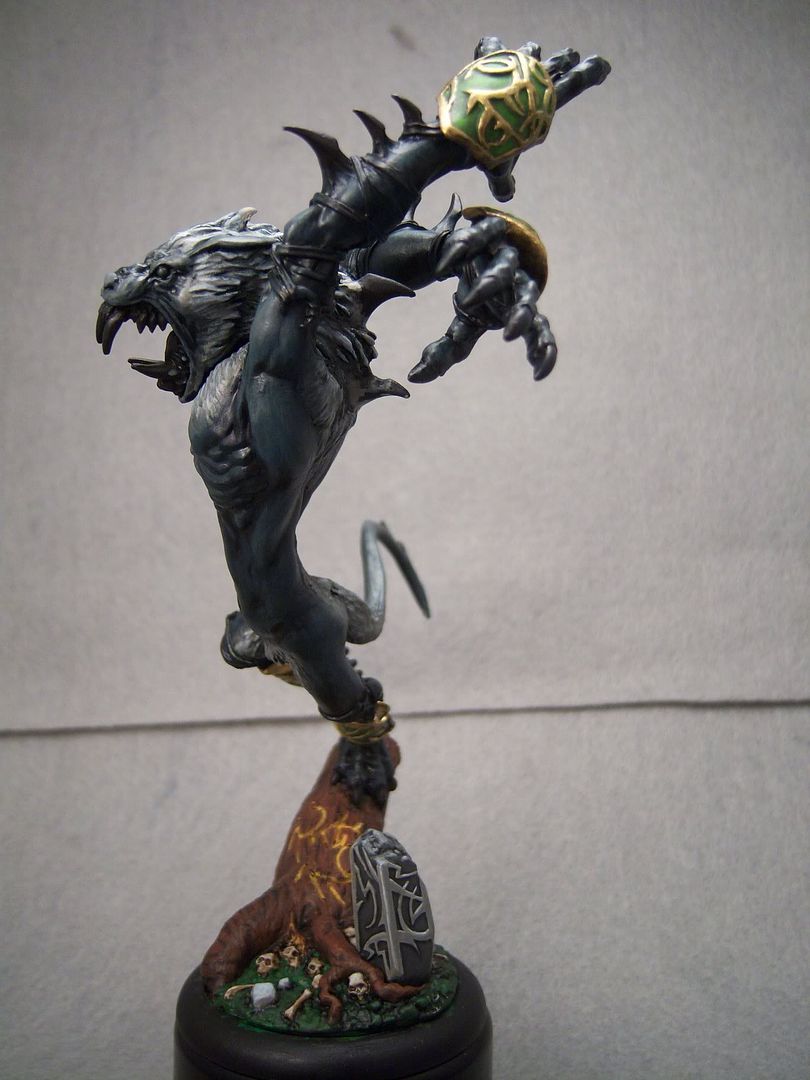
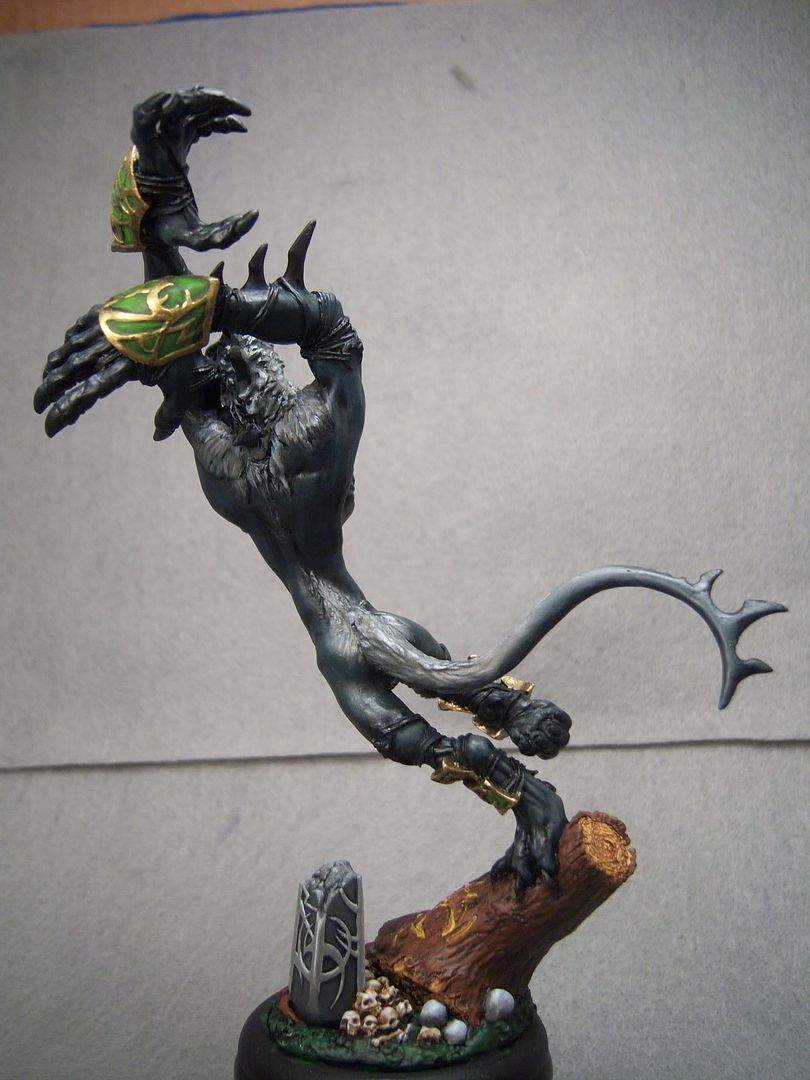
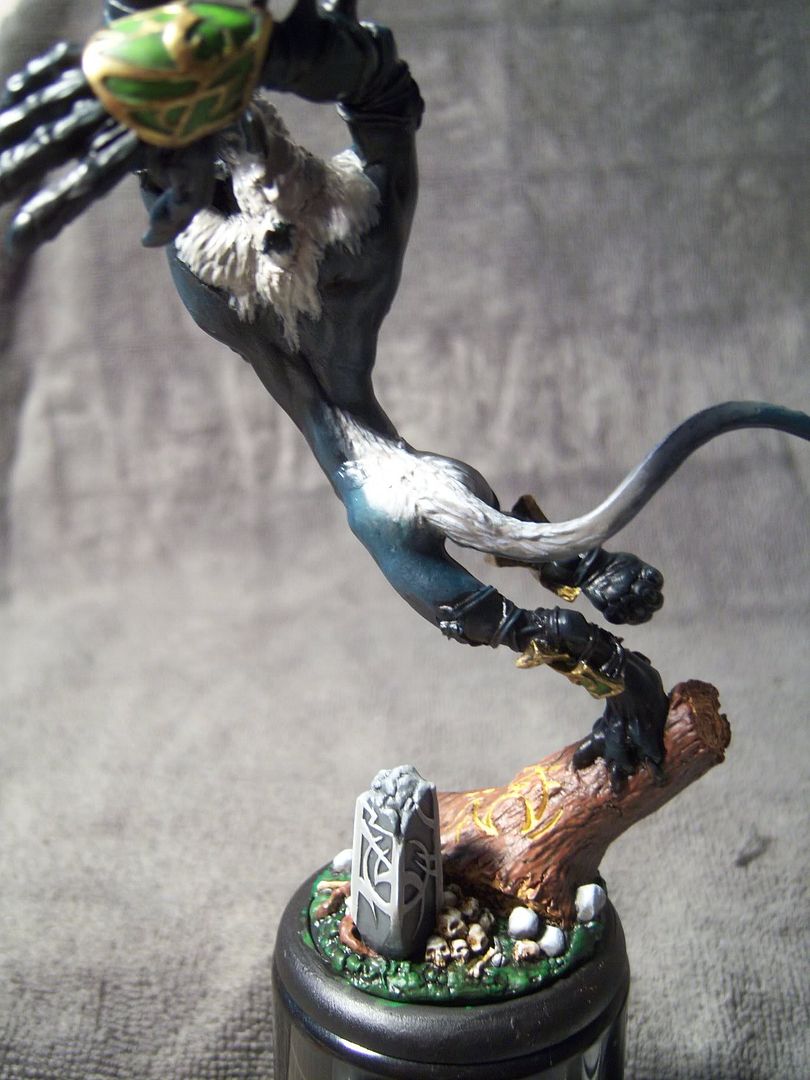
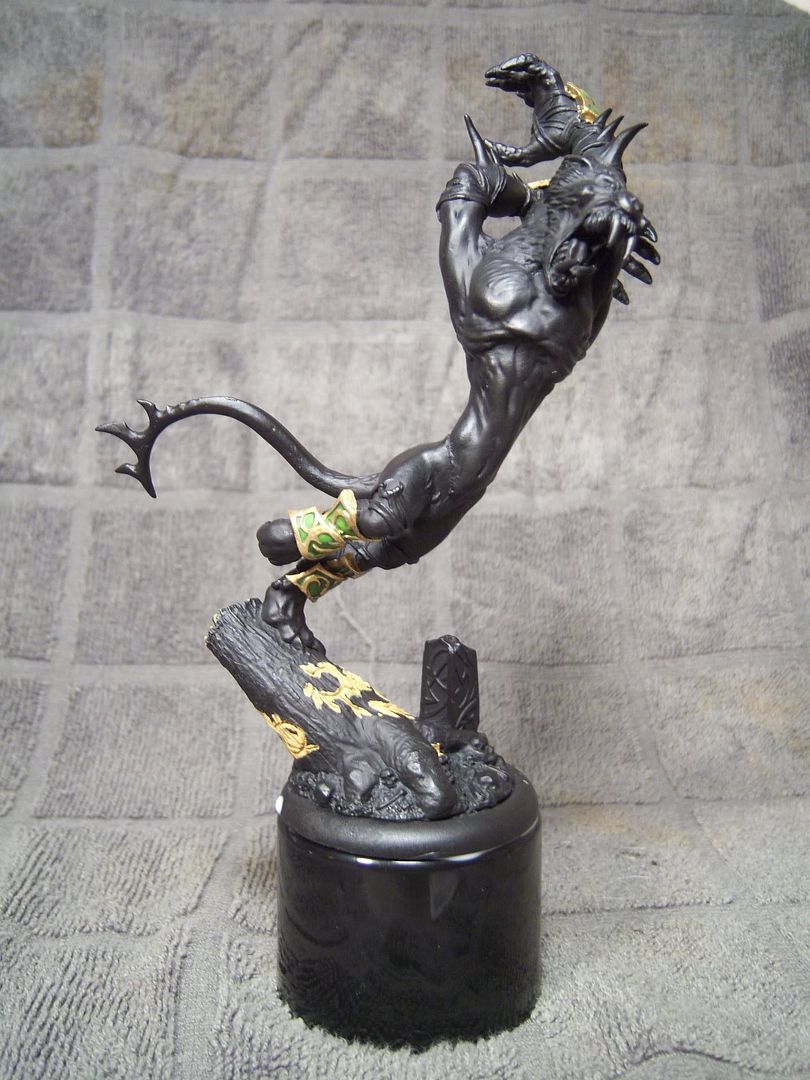
Here's the final pics for the Warpwolf Extreme. Basically the only stuff done since the last post was flocking the base and sealing it. I added a couple size comparison pics that I took from earlier on in the project.


Thursday, December 06, 2007
WWX: Leathers
Worked over the leathers. It took longer than I expected, mostly just cause of basecoating them. Here's the rundown how how I did them:
* Base coat: Rucksack Tan
* Wash: Skorne Red + Brown Ink + Battlefield Brown
* Wash (thin): Bloodstone + Thamar Black
* Minor black touchups
* Highlight: Rucksack Tan + touch of Skorne Red
I also did the eyes and the metal strap hooks. Those were pretty straight forward, although I don't think the eyes turned out so great. I might redo them later.


* Base coat: Rucksack Tan
* Wash: Skorne Red + Brown Ink + Battlefield Brown
* Wash (thin): Bloodstone + Thamar Black
* Minor black touchups
* Highlight: Rucksack Tan + touch of Skorne Red
I also did the eyes and the metal strap hooks. Those were pretty straight forward, although I don't think the eyes turned out so great. I might redo them later.
WWX: Pokey Bits
All the teeth, spines and claws are done now (mostly). There's some blacklining left to do, and some minor touch-ups, but those parts are pretty much done. This is something I went a little overboard on. I started with Thamar Black, then worked through Battlefield Brown, Rucksack Tan, Jack Bone, Menoth White Base, Menoth White Highlight, and finally pure Morrow White. It takes a long time, but I've been pretty happy with the results.

Tuesday, December 04, 2007
WWX: Getting Better
I've finished the bulk of the skin work now. There's a few cleanup spots, but in general it's done. The steps I added after finishing the fur were mostly to add some highlighting with Coal Black through Ironhull Grey. Then I added a couple very very thin washes of Coal Black through Thamar Black over the whole thing to bury the highlights a bit. This was a technique I learned from practicing wood grain and bone texture and I think it works well here as well.
The model still looks kinda dumb to me at this point, but hopefully once I start filling out the rest of details it will look better. I'll probably keep working tonight, but this was a good point to stop and take a picture and chronicle the effort.


The model still looks kinda dumb to me at this point, but hopefully once I start filling out the rest of details it will look better. I'll probably keep working tonight, but this was a good point to stop and take a picture and chronicle the effort.
Saturday, December 01, 2007
WWX: The Line Between Fur and Skin
I've started working the furs now. This is the point where the model is in an in-between state and I get frustrated cause it looks sucky. I'm basically hitting the fur areas with a base coat of Trollblood Highlight, and then catching the sculpted fur bits with highlights of Frostbite and then Morrow White. I've also used some Ironhull Grey and Coal Black to blend and smooth the transitions between the fur base coat and the skin. I'm about 30% done at this point and need to take a break to go out, but figured I'd snap a pic anyway. I'll probably get back to it more tonight. I'm thinking that I'll need to do a couple very thing washes of Coal Black of even just straight black to bury the fur highlights a bit and tone it down.
Friday, November 30, 2007
WWX: All Your Base!
Spent this evening working on the base some more. It's mostly done at this point except for putting some static grass and flock and such on it. The remaining work was pretty straightforward:
* Grass base - This is just Iosan green as a base coat with a couple washes of Ordic Olive and Battlefield Brown. My goal here isn't to make it look great, just to provide enough base so that when the static grass and flocking go on top, it looks decent.
* Rocks - Very easy. Just Trollblood Highlight as a base coat, followed by a wash of Ironhull Grey and then highlights of Frostbite.
* Skulls - These I tried something new. Base coat of Jack Bone, then a wash of Vallejo Smoke, then highlights of Menoth White Highlight.
I also put down a base coat of Coal Black over all the skin and fur. After a couple of discussions, I'm going to try to make the skin black and the fur medium grey. It's going to be a stretch for my skills, but it's all about painting like I have a pair.

* Grass base - This is just Iosan green as a base coat with a couple washes of Ordic Olive and Battlefield Brown. My goal here isn't to make it look great, just to provide enough base so that when the static grass and flocking go on top, it looks decent.
* Rocks - Very easy. Just Trollblood Highlight as a base coat, followed by a wash of Ironhull Grey and then highlights of Frostbite.
* Skulls - These I tried something new. Base coat of Jack Bone, then a wash of Vallejo Smoke, then highlights of Menoth White Highlight.
I also put down a base coat of Coal Black over all the skin and fur. After a couple of discussions, I'm going to try to make the skin black and the fur medium grey. It's going to be a stretch for my skills, but it's all about painting like I have a pair.
Saturday, November 24, 2007
WWX: Suit Up!
This is going to be a massive project. I started painting the armor plates today and it really hit me how big this is. The model itself is huge, which is causing a couple problems, not the least of which is the sheer amount of brush strokes needed to get the whole thing painted. However, even more annoying, is holding the model is a problem. It's heavy enough that holding it much has caused primer to rub off in a few places. So, to combat that, I've glued and pinned it to the top of an old Testors spray can. Hopefully this will let me hold it safely and still be able to get at the parts I need to get to.
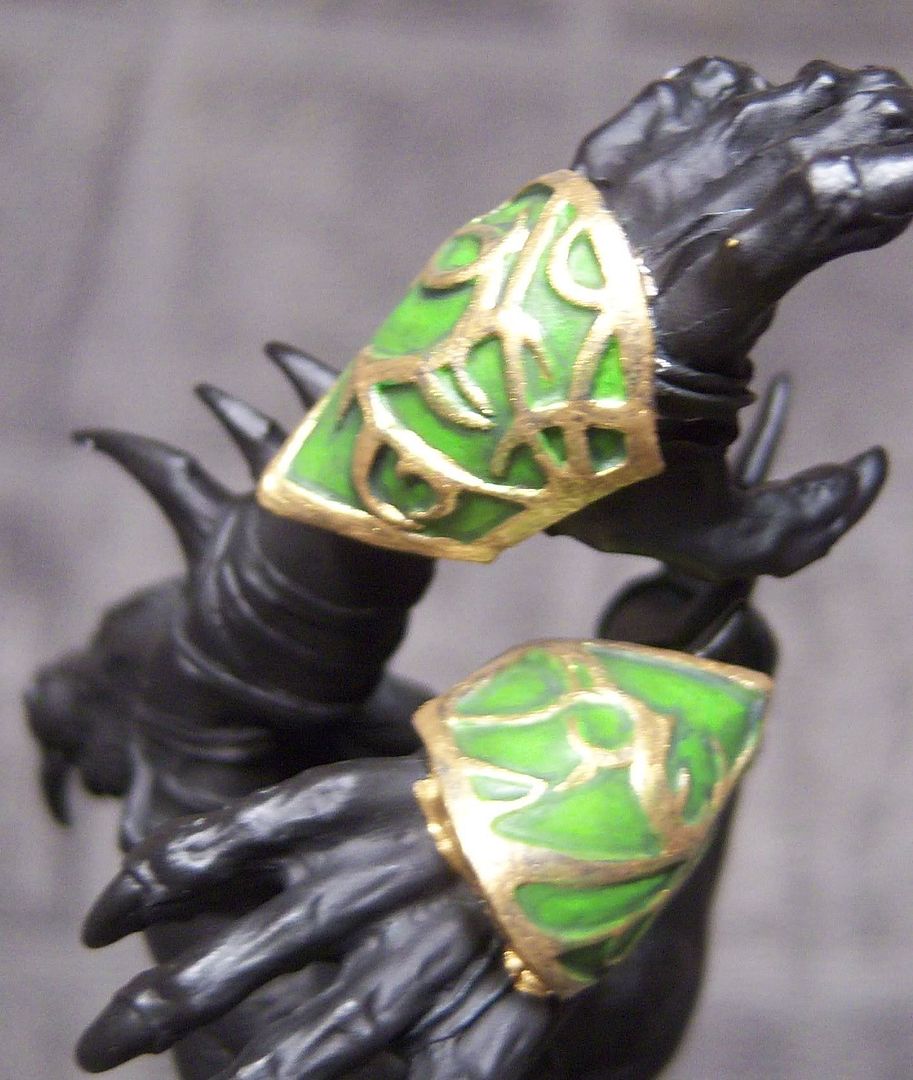
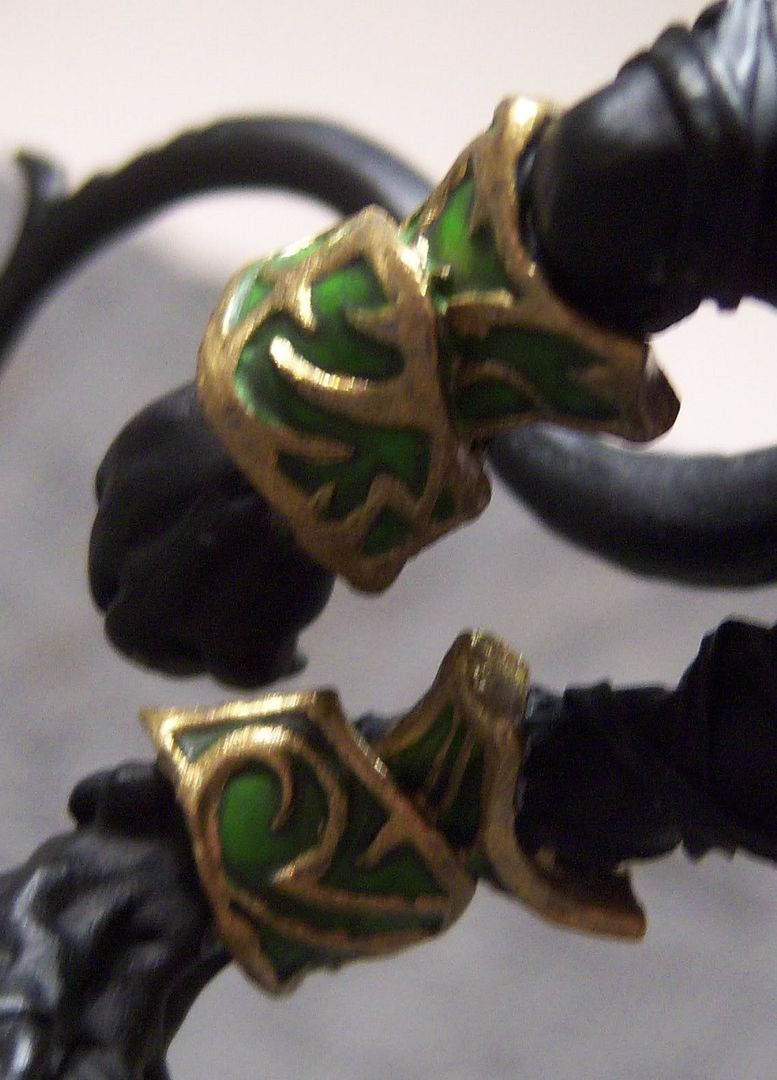
The armor plates are pretty straight forward. First I did the insets, starting with Necrotite Green (3 coats to get a nice smooth undercoat. Next I did a wash of Wurm Green. Then I started doing shading working from Wurm Green through Ordic Olive, then to Cryx Bane Base. I decided to shade rather than highlight because the inset plates were simply easier to shade into the recesses rather than try to blend highlights into the centers of the plate areas.
Once this step was done, I put down a base of Pig Iron on the plates, then covered that with Brass Balls. I find that a base coat of Pig Iron really helps when adding yellowish metallics so that it doesn't take as many coats of paint to get good coverage.
I'll probably do some additional work on the metals of the plates, but I'm exhausted tonight, so I'm going to give it a rest for now.


The armor plates are pretty straight forward. First I did the insets, starting with Necrotite Green (3 coats to get a nice smooth undercoat. Next I did a wash of Wurm Green. Then I started doing shading working from Wurm Green through Ordic Olive, then to Cryx Bane Base. I decided to shade rather than highlight because the inset plates were simply easier to shade into the recesses rather than try to blend highlights into the centers of the plate areas.
Once this step was done, I put down a base of Pig Iron on the plates, then covered that with Brass Balls. I find that a base coat of Pig Iron really helps when adding yellowish metallics so that it doesn't take as many coats of paint to get good coverage.
I'll probably do some additional work on the metals of the plates, but I'm exhausted tonight, so I'm going to give it a rest for now.
Friday, November 23, 2007
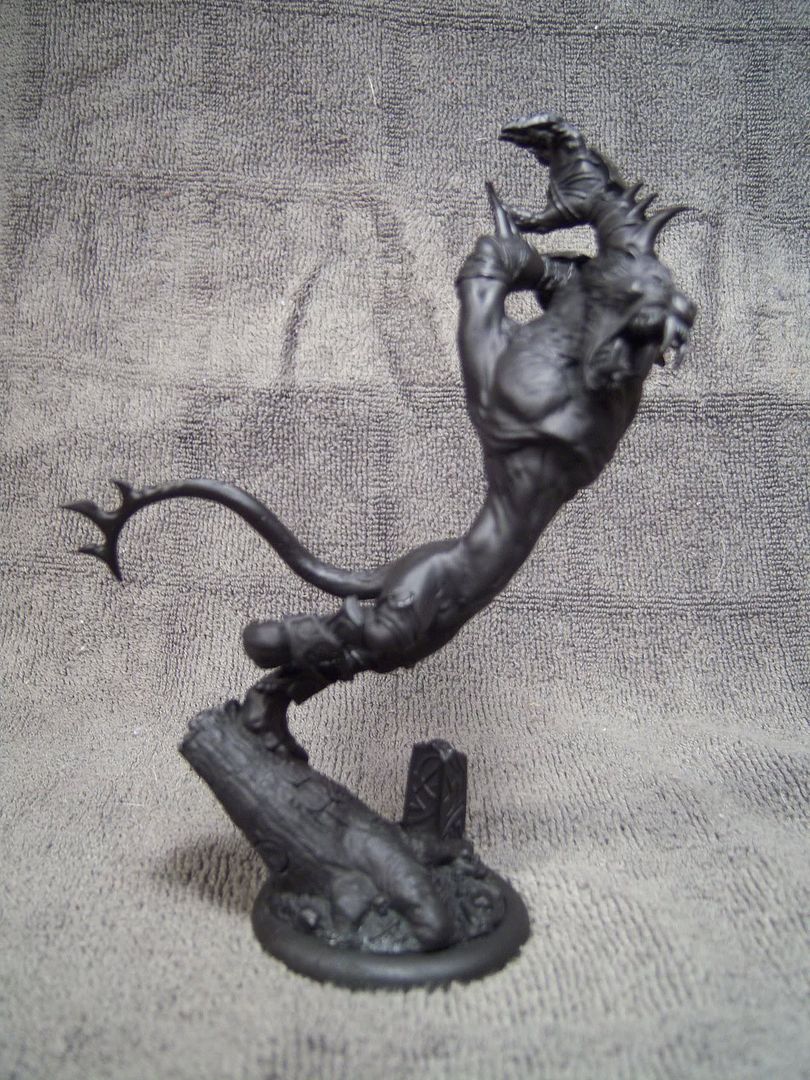
WWX: Primed and Ready
Thursday, November 22, 2007
WWX: Smoothing the Longcat
I picked up the WWX from Lance today so that I could finish up the last bit of sculpt cleanup and prep work. Most of the work was done already with a couple exceptions. There were a couple join spots that needed smoothing, especially at the waist. Also the right hand and teeth needed to be attached. Anyway, the remaining cleanup was pretty easy. Here's a couple pics...


This project is a Christmas present for Sean, so I'm saving all these posts as drafts until such time as the gift is given. I'm going to once again try to take as many pictures as possible and document all the steps as I go.
Subscribe to:
Posts (Atom)