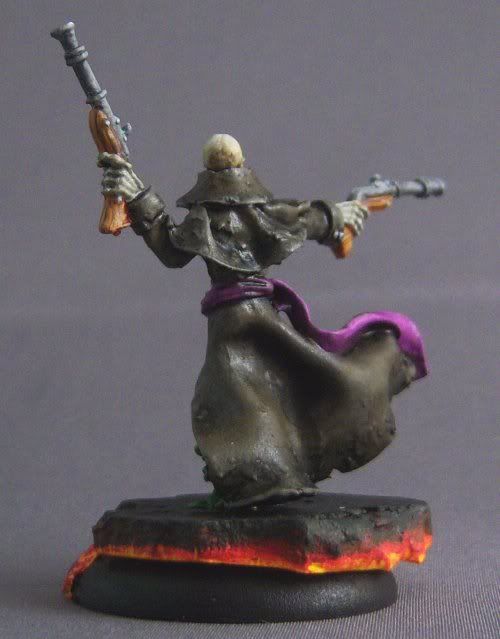
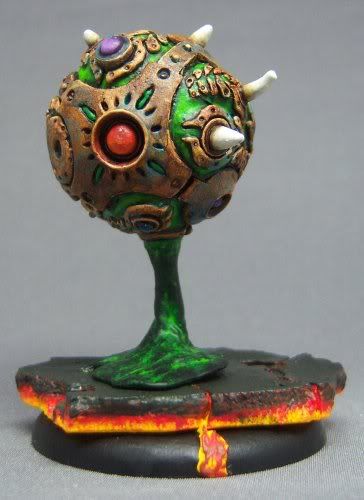
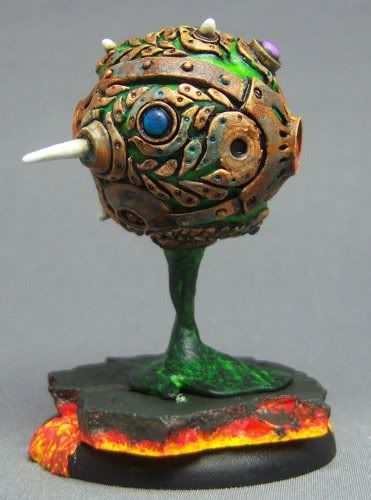
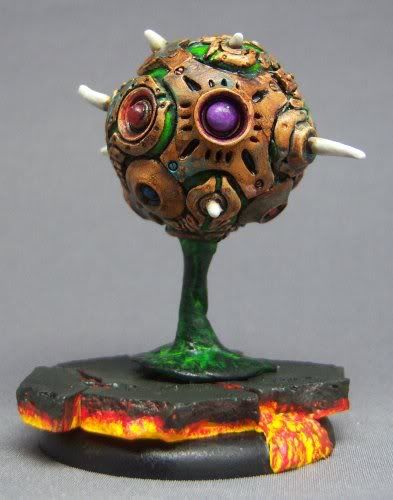
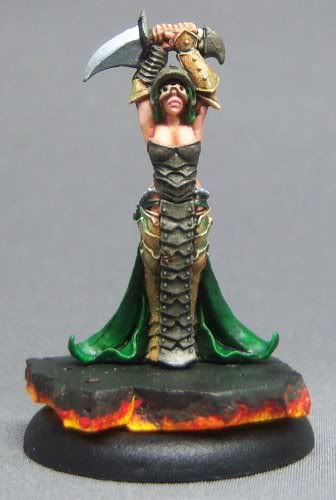
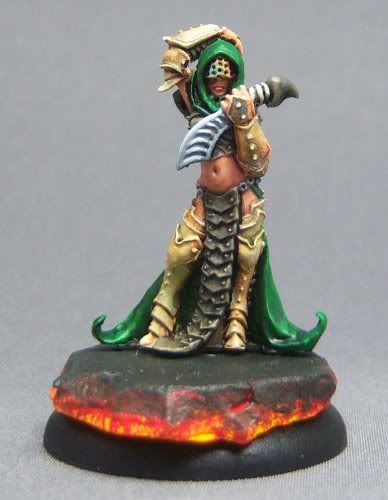
So this was done a while ago but I forgot to post it. Literally it was just a practice model for SketchStyle that I had sitting around waiting for some reason to paint it. Nothing amazing except that this was roughly 75 minutes of painting max.
 So this was done a while ago but I forgot to post it. Literally it was just a practice model for SketchStyle that I had sitting around waiting for some reason to paint it. Nothing amazing except that this was roughly 75 minutes of painting max.
 Finally done! After sitting on my desk for probably 3 months, Skarre is finished. A very big reason that she got done this week and not 6 more weeks from now is pretty much my desire to wrap her up before I leave on a bunch of work travel. More about that in my weekend roundup post later today.
 What worked well:
 Now this was a remarkable model to paint. Beautiful pose. Great detail. I think I'm in love! Seriously, this was one of the most fun models to paint out of all my Privateer collection. After rushing through all the other Cryx stuff, it was nice to hit the fully painted mark on Cryx with this model. Definitely worth spending the last 2 weeks working on her.
 There were a number of things that went well, and a number that went poorly. First the good stuff. The skin worked out great. I used purple to shade the skin, bringing it fairly dark underneath where the light wouldn't hit directly, but not completely to purple. I feel it gives a rather warm feel to it. The detail on the face worked out pretty well too. I spent a lot of time trying to get the details to a level I was happy with. I'm still no expert, but it was a marked improvement over previous projects.
 The base worked out great. Two key things here. First, it was pre-sculpted, and had lots of detail. After doing probably 5 or 6 washes and 3 or so highlights, I was pretty happy with the level of variation. Creating two different wood styles worked out better than I expected as well. It really helps the whole thing pop without being overpowering. Second, I used beach sand to fill in around the base. I didn't even paint it. Just superglued it down and it looks good. Gotta love natural beach sand.
 Highlighting overall worked quite well. I used a combination of washes and highlights on some places, and multiple layers of two-brush-blending on others. The coat in particular was a good learning experience. I tried to get a bit more hue variation, and then do some decent blending while not changing contrast too quickly on the blends.
 Ok, now a couple bad things. First, not attaching the sculpted base to a normal plastic base beforehand was a mistake. I ended up rubbing the paint too much and having to do some touch ups afterwards. I had debated it initially, but just decided to deal with it later. I'm starting to consider the merits of completely assembling the solid parts of a base before priming.
 Second, and much worse, the model fell. At least twice. It cause some paint chipping. Mostly this happened because I hadn't attached it to a proper base, and just used a pin which I stuck to an old spray can. Being the clever monkey I am, I forgot to properly glue the pin in, so it fell off and landed on the edge of my porcelain palette. Fortunately it missed the wet paint, but unfortunately it chipped the paint in multiple places. I really hate doing cleanup work like that.
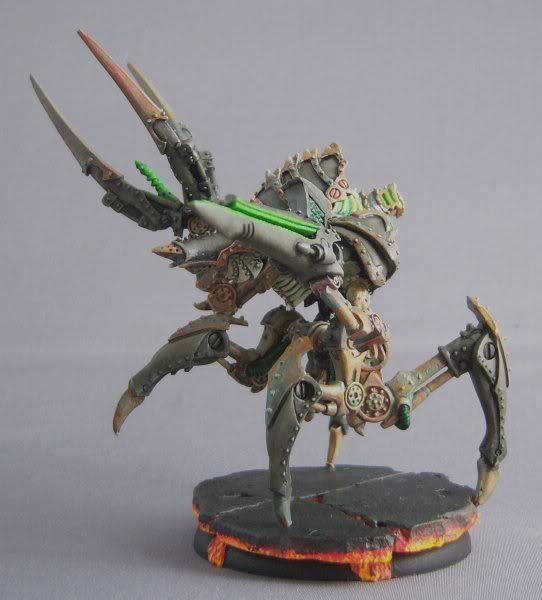
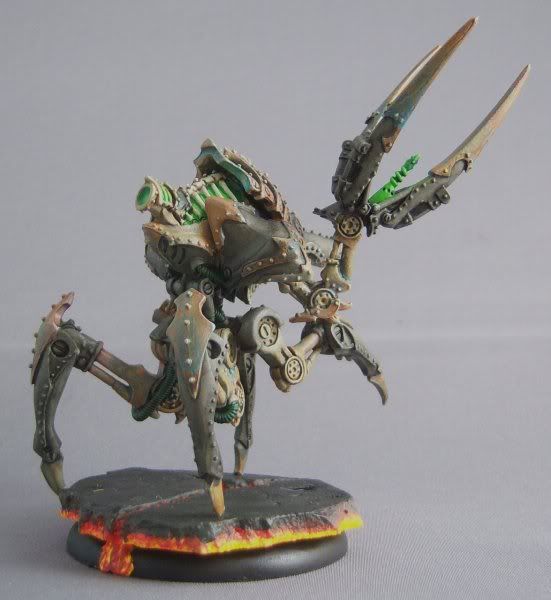
 Hooray! I actually have a second painted Cryx warjack. And this one was a delight to paint. There is definitely a certain advantage to only painting models that I'm interested in painting. Then I'm not dragging my way through models that I'm only painting so that I can field them. I won't, of course, debate the competitiveness of such a model selection strategy.
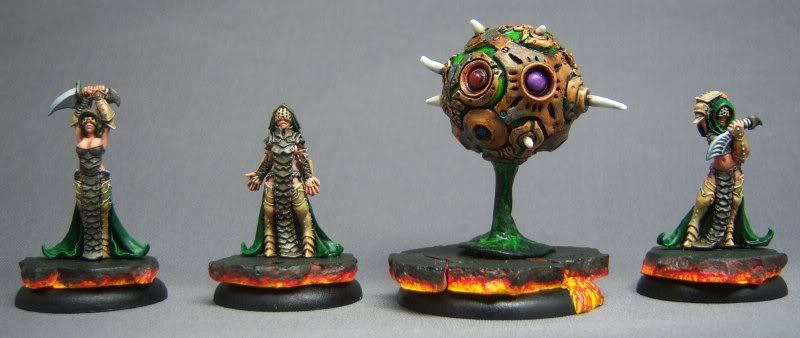
 I used the same scheme as I did for Deneghra on this one. Only fitting as the story on Nightmare is it's the jack that rescued her when she was cut in half by her sister, Haley. So I kept the same NMM scheme with rusted iron, dark green plates, and clean steel blades. Also the lava base reinforces that unity with Deneghra. I've been quite happy with the relatively uniform look of my Cryx force, and even though they aren't painted to as high of quality as I could do, I really enjoy the look of the force together.
 One of the most fun parts of this model were all the glowing runes. They are sculpted as raised runes on the surface of the armor plates (and a couple of skulls). In order to really bring them out, I started with Iosan Green covering the raised portion and a small bit on the surrounding surface. Then I used Necrotite Green on the raised rune itself. Then to really step up the glow, I used some Cygnus Yellow in select spots to enhance the brightness of the runes. Typically I used it where rune lines cross, or on any dots, but also on a few rune ends. For the very top central runes I used a little pure white on the points where the lines cross to really enhance the glow. I'm really pleased how these turned out.
 The NMM effect on this model is not so great, but I decided to limit the amount of time I spent on all the Cryx models. It's an interesting exercise to aim for the balance of speed and quality and see what turns out. I honestly do not regret doing this either.
 |
 |
 |
And a group shot of everyone including the Slaver... |
 Now this was a big model. Lich Lord Terminus is probably in the top 5 largest models I've painted. This is the latest addition to my Cryx force. I kept in style with the other Cryx models I've painted, and also focused on a balance of speed painting and quality. As a result, I got him done pretty fast, mostly due to the use of washes and 2 brush blending techniques.
 The armor was the standard formula I've used before. The skirt and darkened armor plates was CXH then 2 brush blended with CXB and then black to shade them.
 There were a number of features of this model that I didn't like so much, nor make a big attempt to work with. The face/mouth are an example. He actually has a gun barrel in his mouth, but honestly I thought it was kinda silly. There's lots of detail under his chest as well which I didn't put much work into other than the standard washes. I could have done a bunch of OSL work, but again, the focus was on finishing in a timely manner. Overall I'm happy with the results and don't regret any of the shortcuts I took.
 This model got a bit of an unplanned bump in my painting schedule. I'd been eyeballing it for a while and love the look of it, but and planned to wait until I was ready to do the whole squad of Cephalyx Drudges as well. However, I finally couldn't resist the itch to paint it and got him primed and prepped the other day. Poor Dougal is in progress still while this guy got preferential treatment.
 I pretty much followed the painting advice in No Quarter #14 for this one. However there were a few differences. First, I added some shading to the deeper folds using armor wash, and shaded some of the lower sections as well. Second, since the article didn't have any advice on the metals, I decided to start using a basecoat of Pig Iron, then a heavy Metal Wash, then actually paint over the lower portions using Thamar Black in order to make the metal look like very dark iron. Then I picked out highlights using Cold Steel. The hinge points got Blighted Gold and Shining Gold treatments to make them stand out and give the metal arms a little more character.
 Due to holiday visitors, I had to tear down my photo setup and reassemble it today. Unfortunately, I seem to have gotten the lighting positioning wrong. So the color balance is a little off, but not terrible. You can see how the right side of all the pictures is a little more yellowing from the tungsten bulbs, but the left side is more balanced (due to sunlight bleed from the window through the curtains). I had the same problem with the Gandalf model I just posted a moment ago. Anyway, it's still not too shabby.
 This model went remarkably fast. I primed her Saturday afternoon and pretty much painted her all in one day yesterday. Again, it helps that I'm balancing quality vs speed, so the couple corners I cut really helped speed things up, but part of that was offset by trying to do more NMM work on this one as well as having to work delicately on the skin. I ended up spending a lot of time correcting mistakes that spilled over onto her skin. However, the end result worked out pretty well. I like the overall look of the NMM on her witch barbs. The spear could have been better, but I decided not to dwell on it. I can always get the other sculpt at some point and paint her over again.
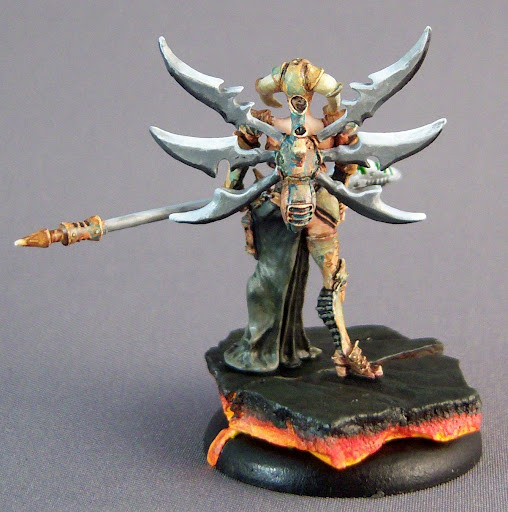 Working the NMM areas was much easier on a single model instead of 10 at once like with the Bane Thralls. I was able to keep paint wet and workable longer and could take my time getting just the right shades. Her skirt was also a nice place to practice some very controlled, small 2-brush blending work. I wouldn't necessarily rank this in my favorite models to paint category, but the delicate and accessible features made for a much easier project that some of my other recent choices.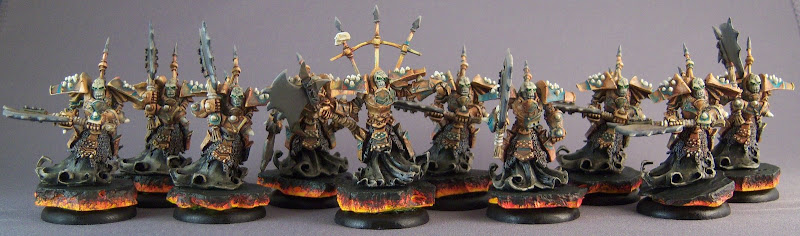
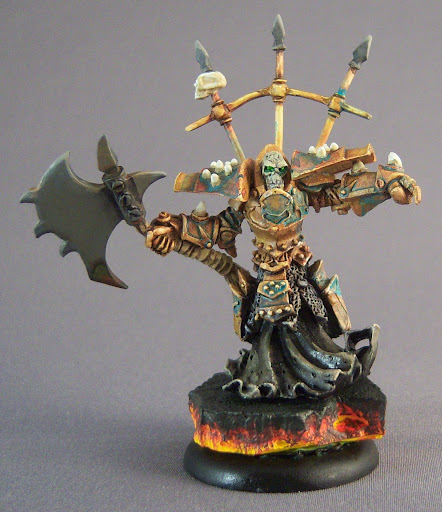 Again, I used the NMM rust technique I've used before (on the witches for example) and I really like how it turned out. I also used NMM on the axe heads which, well, it turned out adequate, but not fabulous. They clearly could have benefited from much more effort, but by the time I got to the axe heads (last) I was pretty antsy to get them finished. I used a couple washes on them (black and Bloodstone) to sort of dirty them up which really helped. In hindsight, I think getting a better spread of grayscale paints would really ease the whole NMM thing for simulating steel.
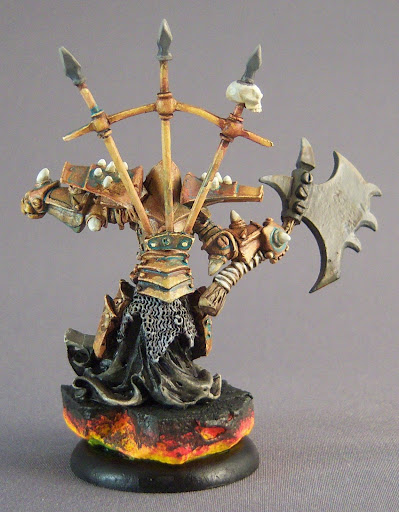 Admittedly I cut a few corners. There were some inner sleeves that I skipped, and some dangly bits that didn't get extra attention. Fortunately the washing technique gave them enough pop that they didn't need additional work, and in a group it's less likely to be noticed. Part of me hates to cut these corners, but I'm trying to stick with balancing quality and speed. It's sort of a "time boxing" rule I guess, as much as using that term makes me sick.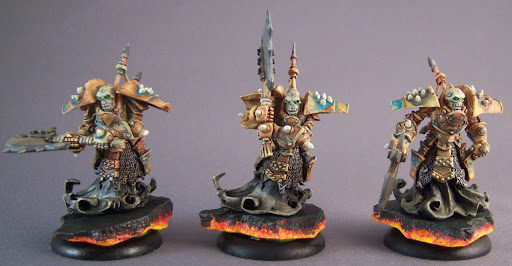

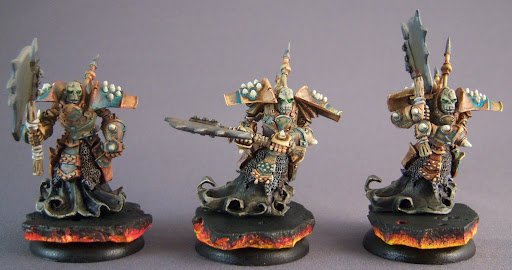
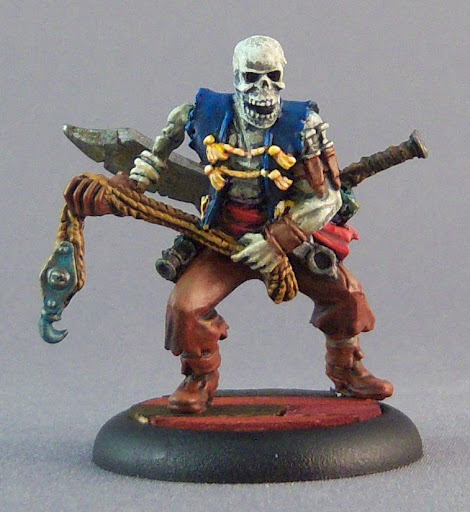 And finally I round out the Revenant Crew that I have been working on for so long. This one is a converted Press Ganger Pirate. I loved the model, but wanted to make him a Revenant instead and this worked out pretty well. Probably one of the more extensive conversions I've ever done, which is kinda sad for my conversion abilities. Anyway, no more Revenants until Rengrave managed to press a warcaster into service on the field of battle.
 Here's Revenant #10. This one is half Risen (bottom half) and half Revenant. It makes his torso seem a little extra long the way I assembled him, but I don't think it's terribly obvious. This is another fast tabletop quality paintjob. One last Revenant left on my desk at this point.
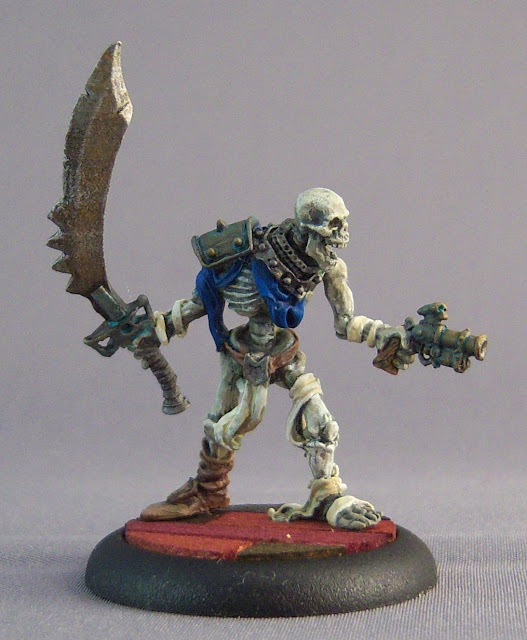 Nothing fancy here, just trying to round out my Revenant Crew finally. 5 of them have been sitting on my desk for practically a month now with just skin and metals done, so I finally am getting these little buggers done. Just tabletop quality stuff here (barely).